- Click on "Current Projects" from the menu.
- Click on the project that is beside your name.
- Login using your NTU username and password.
- Under the administration dashboard, select "Settings" > "Reading" > from the left column
- Here, you will see 6 Site Visibility options:
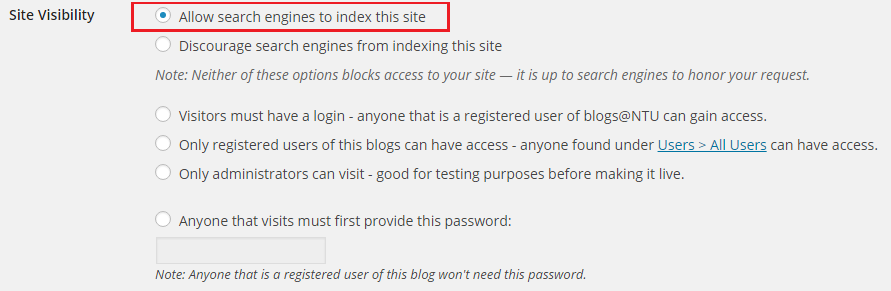
- Set it to "Allow search engines to index this site" once your project is completed.
- Enter a title of your page.
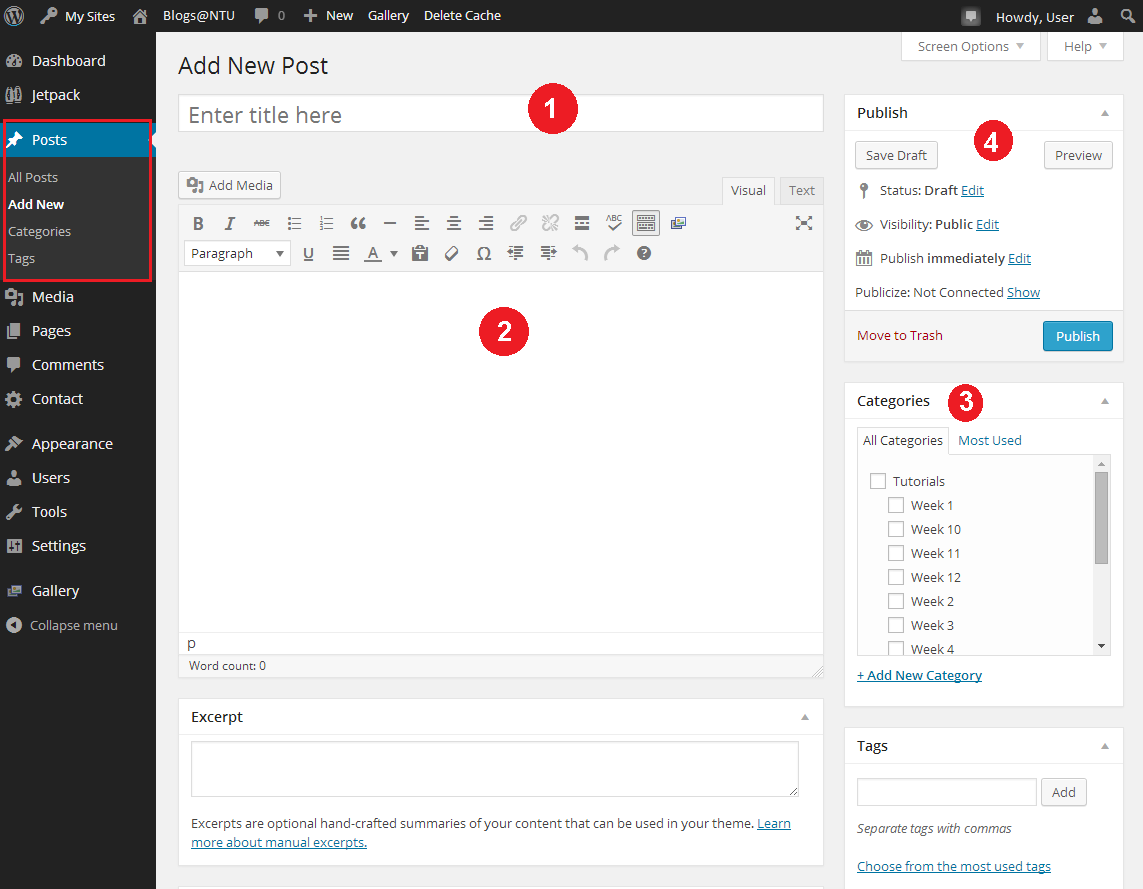
- Enter your page content using the post editor. There are two modes of editing: Visual and Text. Choose the mode by clicking on the appropriate tab. Visual mode gives you a What-You-See-Is-What-You-Get (WYSIWYG) editor. Click the
 icon in the row to get a second row of controls. The Text mode allows you to enter HTML along with your post text. Please note that typing or copying HTML codes with visual mode will reformats your html code.To add media into your page
Click icon above the post editor to insert media files. You can select existing images and files (e.g. PDF) uploaded to the Media Library, or upload new media to insert to your page or post. You can also edit the image via the Media Library or from the posting.Visit below links to find out:
- How you can find and attribute copyright free images
- 10 places to find free stock images
- Using Getty Images
- Free Online Image Editors
To embed media into your page
You can also embed media from many popular websites including Twitter, YouTube, Flickr, and others by pasting the media URL on its own line into the content of your page. To learn more about embeds, please visit http://blogs.ntu.edu.sg/creating-contents/embed-content/To add audio into your page
Click icon above the post editor to insert media files. You can select existing images and files (e.g. PDF, audio files) already uploaded to the Media Library, or upload new media to insert to your post. The default setting when inserting an audio file to your post is "Embed Media Player". You will noticed the audio file will be embedded as follows:

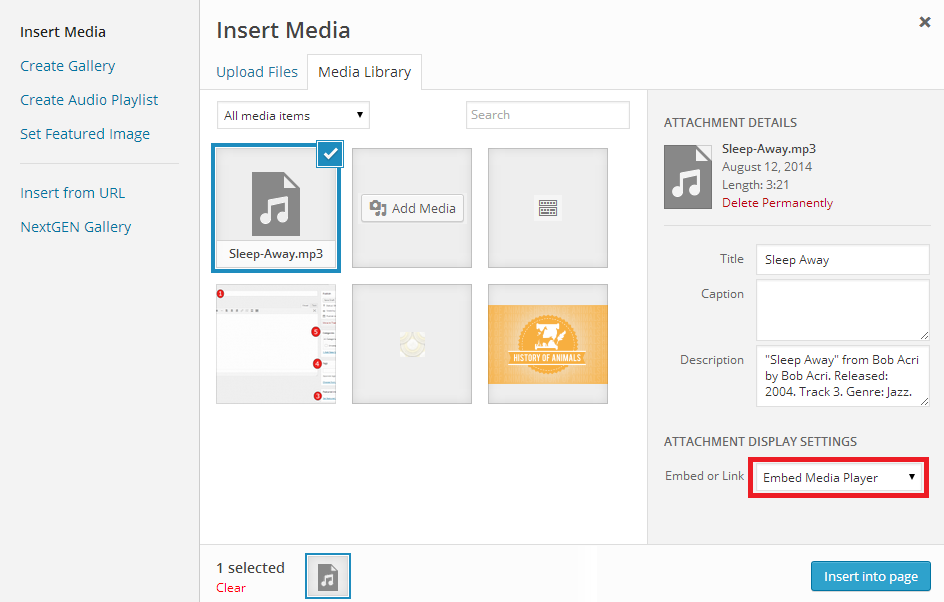
To de-link the file from the player, select "Media File" under "Embed or Link". You can use a third party platform like SoundCloud to embed audio.
To insert a hyperlink to your post
Select the text you want to be hyperlink. Click the link button. Paste the desired URL into the link field.
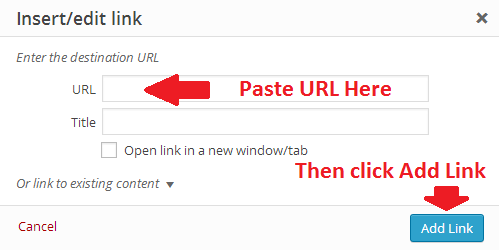
To create a table into your post
See here on how you create a table. - Set category(s) to your post. Categories provide a useful way to group related posts together and to quickly tell readers what a post is about.
- Publish your post. You can set the terms of publishing your post in the Publish box. For Status, Visibility, and Publish (immediately), click on the Edit link to reveal more options. Publish (immediately) allows you to set a future or past date and time, so you can schedule a post to be published in the future or backdate a post.
- Preview your page to see how it really looks like.
- Select Settings > Reading on the left menu in your Dashboard.
- You will see the following options. Set yours to look like this.
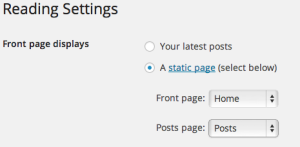
- Click "Save Changes"
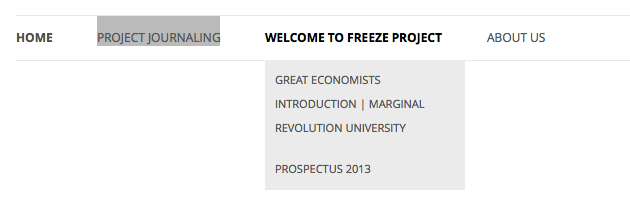
- The navigation tab on top header can be set to link to pages, categorized postings and custom links.
- Go to Appearance -> Menus in your WordPress admin. If you do not see the Appearance menu option, you do not have administrative rights.

- To create a custom navigation menu, type in a name for it and click Create Menu.

- Adding pages to your menu by checking the proper boxes for the pages you want and then clicking Add to Menu.
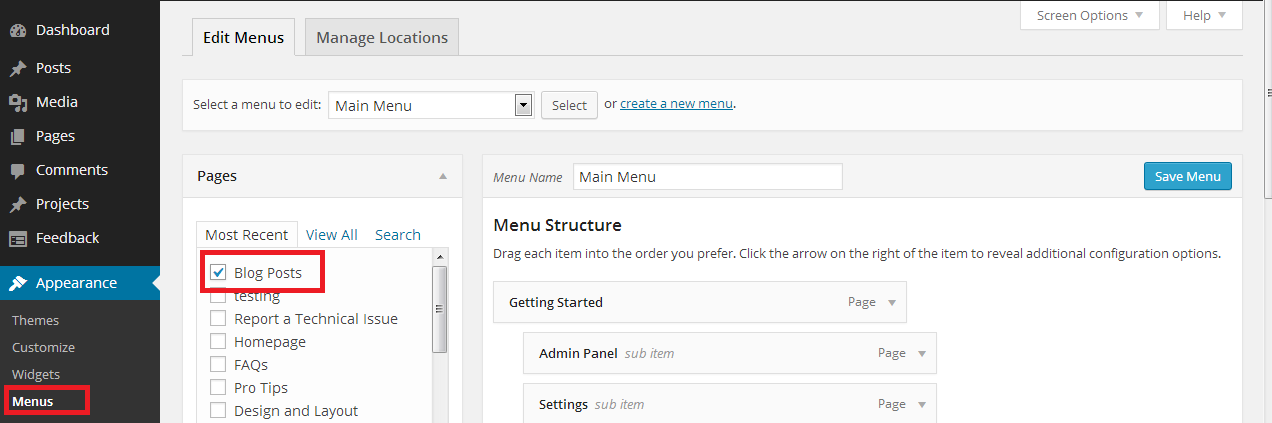
- You can also create category pages that only display posts from a specific category. Simply check the box of the categories for which you want to create a page, and click “Add to Menu”.

- Be sure to click "Save Menu" each time you make changes to your custom menu.

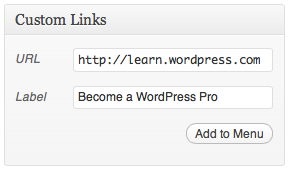
- To custom a tab to link to a specific URL. Type in the URL, the label name, and then Add to Menu.
- You can create and save as many custom menus as you like, but only one of them can be activated as your top menu; the rest can be kept as potential alternatives.
- You can also change the label and the hover-over text of menu items independently from the page name itself. To edit a page or category title, click the down arrow to the right of the item.

- Once expanded, enter the new label name and any desired hover-over text. The underlying page will always show its name in the Original section of the menu item.

- To remove menu items, expand the item you are going to remove by clicking the down arrow to the right of the item.

- Once expanded, click on the Remove link.

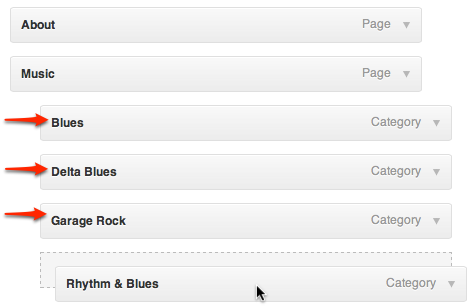
- At any time, you can change the order and placement of menu items. Drag and drop the items up and down to change the order of menu items. Drag and drop the items left and right (as shown below) to create sub-menu items.
- You can also add static top-level tabs to organize your content. These tabs are basically place holders – they don’t link to any content, but are there to add structure to your menu items. Select “Custom Links”, and set the URL as #. Using # will prevent the page from refreshing when you select the tab.
- In the Theme Locations module, under "Primary Menu", select the title of the custom menu you want to activate and click "Save"
To add a mouseover text pop-up to the image that you have just added to the page, follow these steps:
- Switch to text mode in the editor.

- Identify the line of code that represents the image.

- Insert a line of text: title="insert popup text here"

- Update the page to save the changes.
In order to align text around an image, first insert the image at a point before the text.
- Then click on the image to get the image alignment selection tool.

- Click on the first button to align text to the right side of the image.

- Alternatively, click on the third button to align the text to the left.

- Update the page to save the changes.
Centering your YouTube Video embeds
Grab the embed code from YouTube video: on the YouTube video, click on "Share", and then "Embed". The code should look like this:
<iframe width="560" height="315" src="https://www.youtube.com/embed/LKyrLFyOi04" frameborder="0" allowfullscreen></iframe>
Notice that you can change the width and height (in pixels) as well.
On your page, input the HTML code and the embed code like below:
<div style="text-align:center">
<iframe width="400" height="300" src="https://www.youtube.com/embed/LKyrLFyOi04" frameborder="0" allowfullscreen></iframe>
</div>
Demo Site
Demo site URL: https://blogs.ntu.edu.sg/demo-hp3203/
Read our Support Guide for other interesting features you can use on your project blog site.