
So I began by sewing the LEDs onto the dress. I use conductive thread here to connect all the LEDs in parallel.


Good thing I had 2 layers of cotton because it hides the conductive thread well! you can see it very faintly, the grey lines in the picture above.

I then connect the + side to the arduino pin numbers, and – side to the negative. Peng Cheng and I found out that A1-A5 are analog pins so they wont allow the LEDs to fade. Thus, I only have the number pins to work with and it wasn’t enough given the number of layers of LEDs I needed to activate in the dress. In the end, I had to use 2 arduinos to make up for it. The second arduino is connected to the first via + and – as well. The code is then connected and uploaded to both arduinos. We needed to constantly test the LEDs to see if the connection is correct and functioning. It was difficult to plan the connection sometimes too, because they overlap. thank goodness for the double layer cotton that allowed me to sew the positive thread over the cloth, and the negative thread crossing right under the cloth at the same spot.

While the crossing over-and-under thread trick works wonder, it wasn’t perfect. It burned a small hole in my dress while I was testing it. So i re-sew and dabbed a few spots of hot glue where the threads crosses again.
I then went on to sew and connect the GSR sweat sensor:

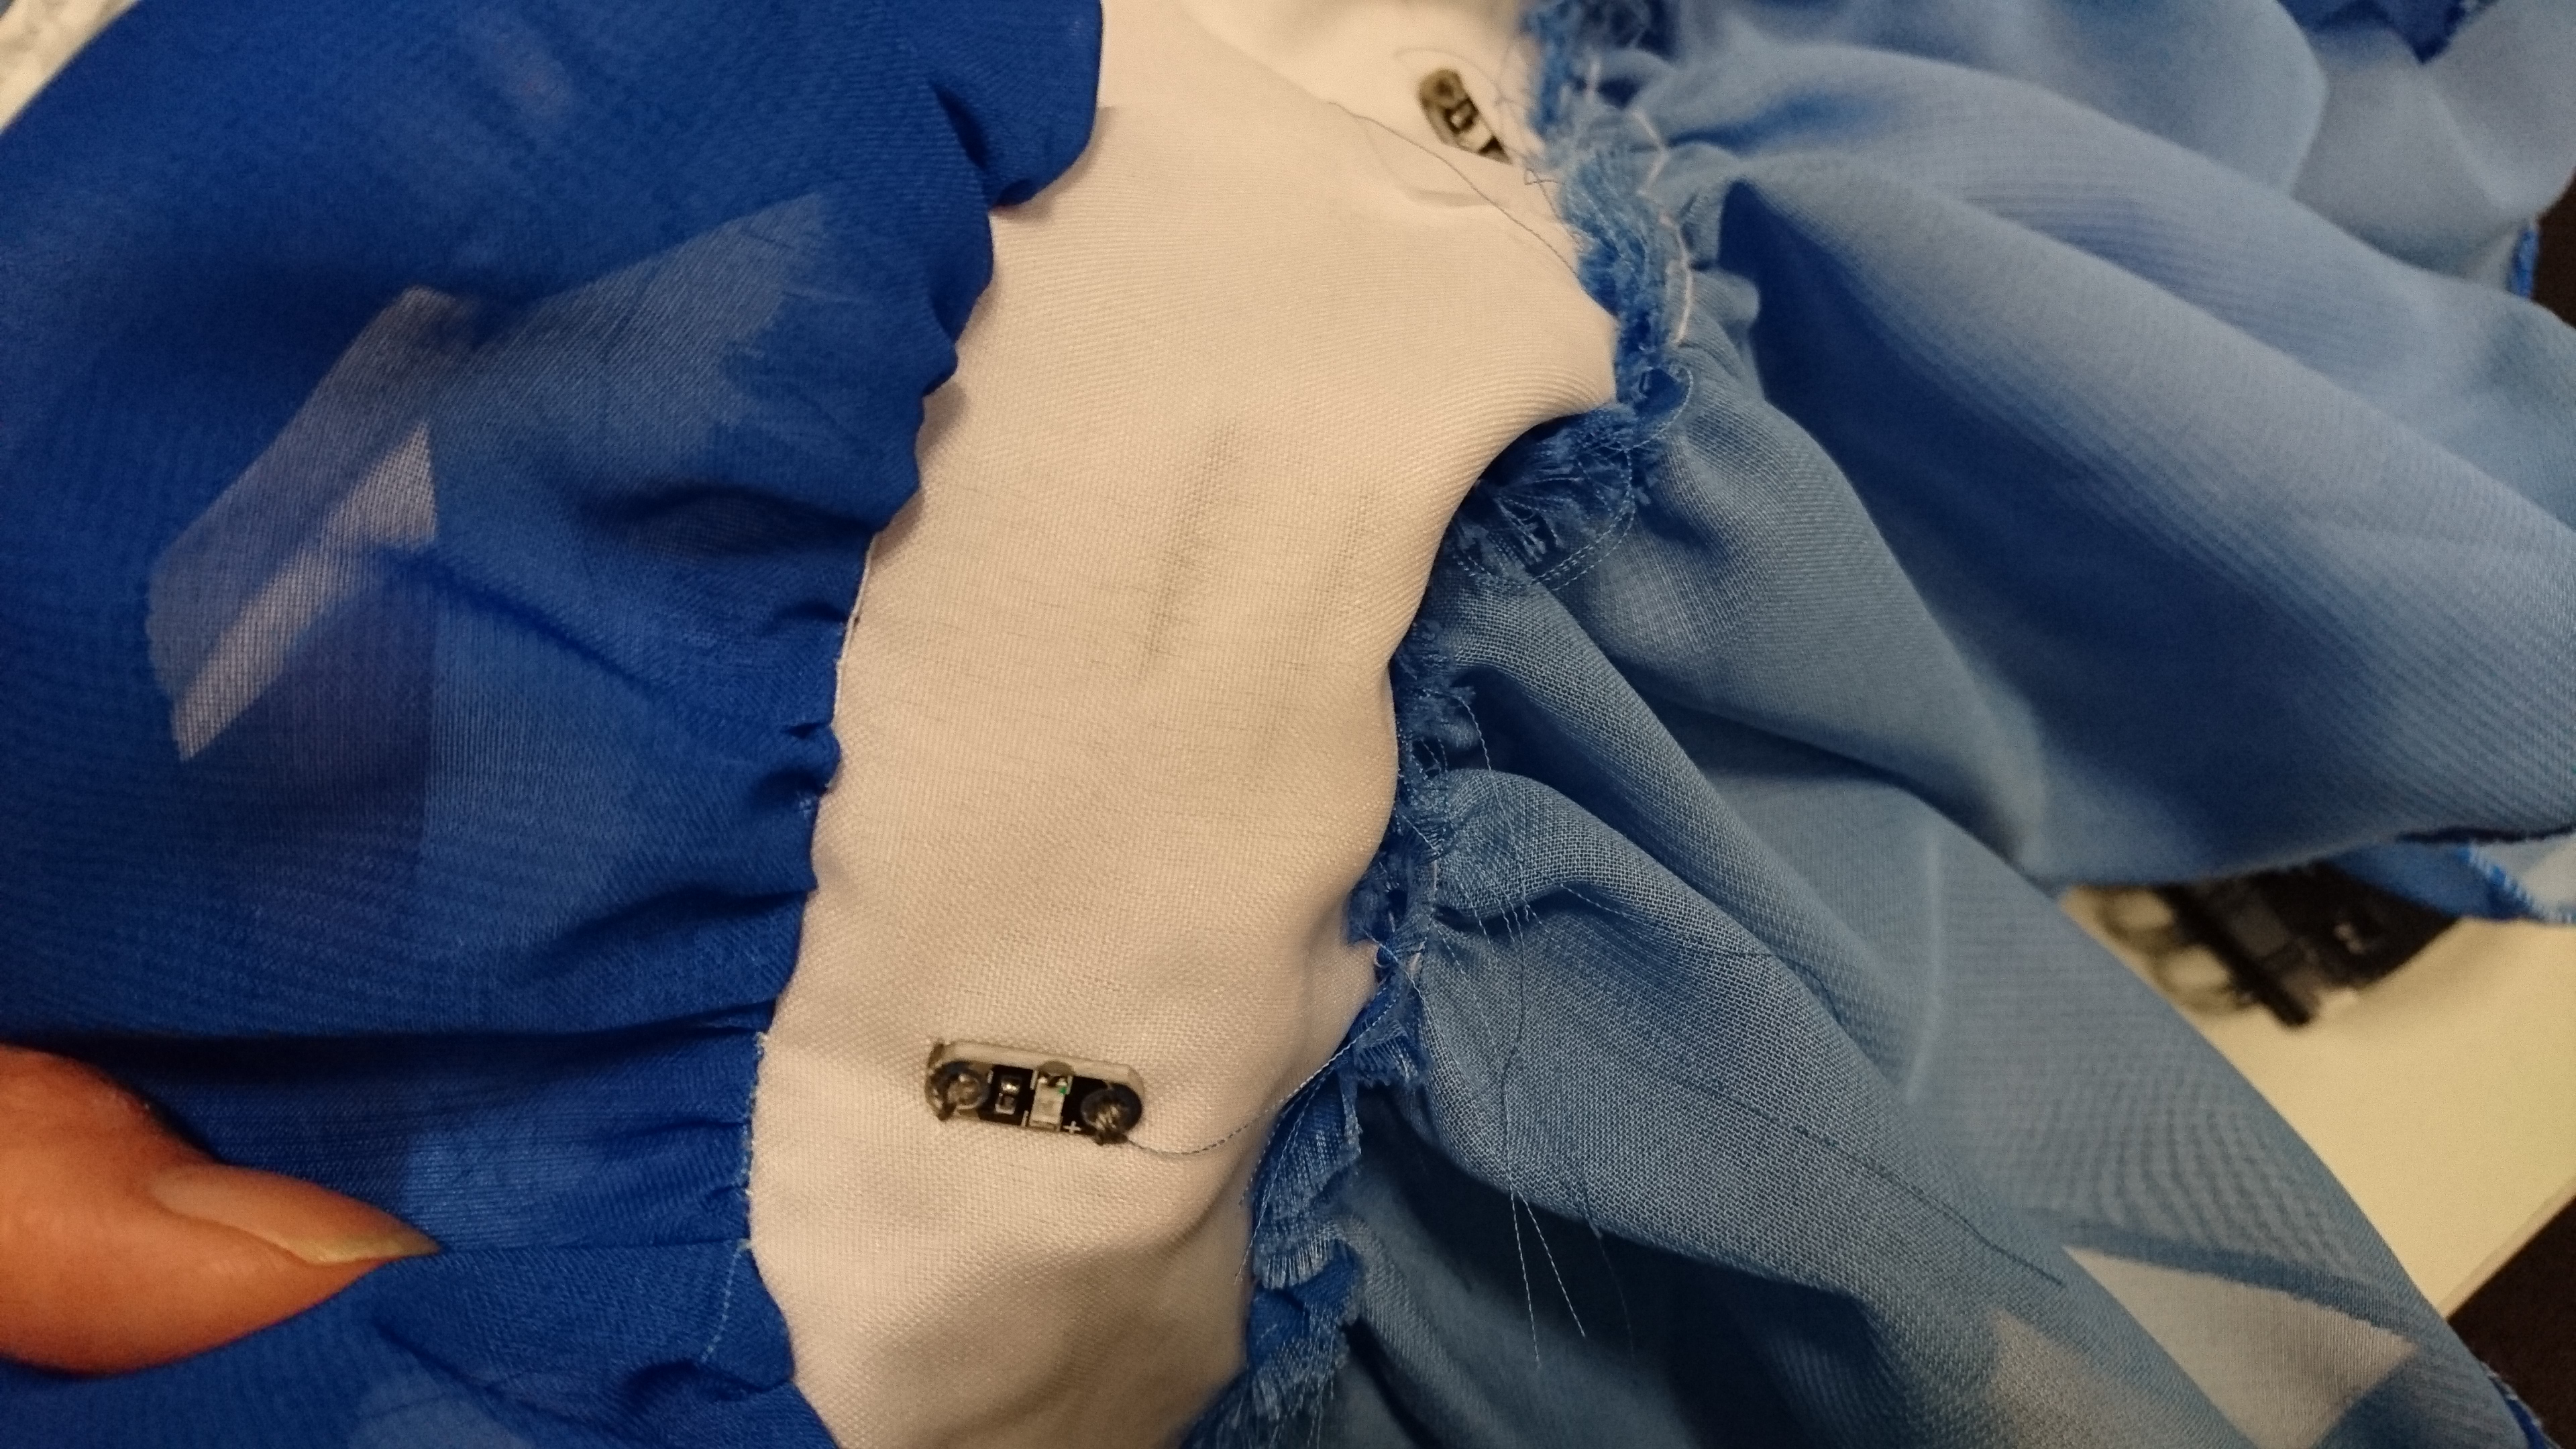
And the pulse sensor:

This is the overall circuit within the dress. AND it is all hand-sewn! -proud- hahahaha

AND HOORAY! THE DRESS IS FINALLY DONE!