
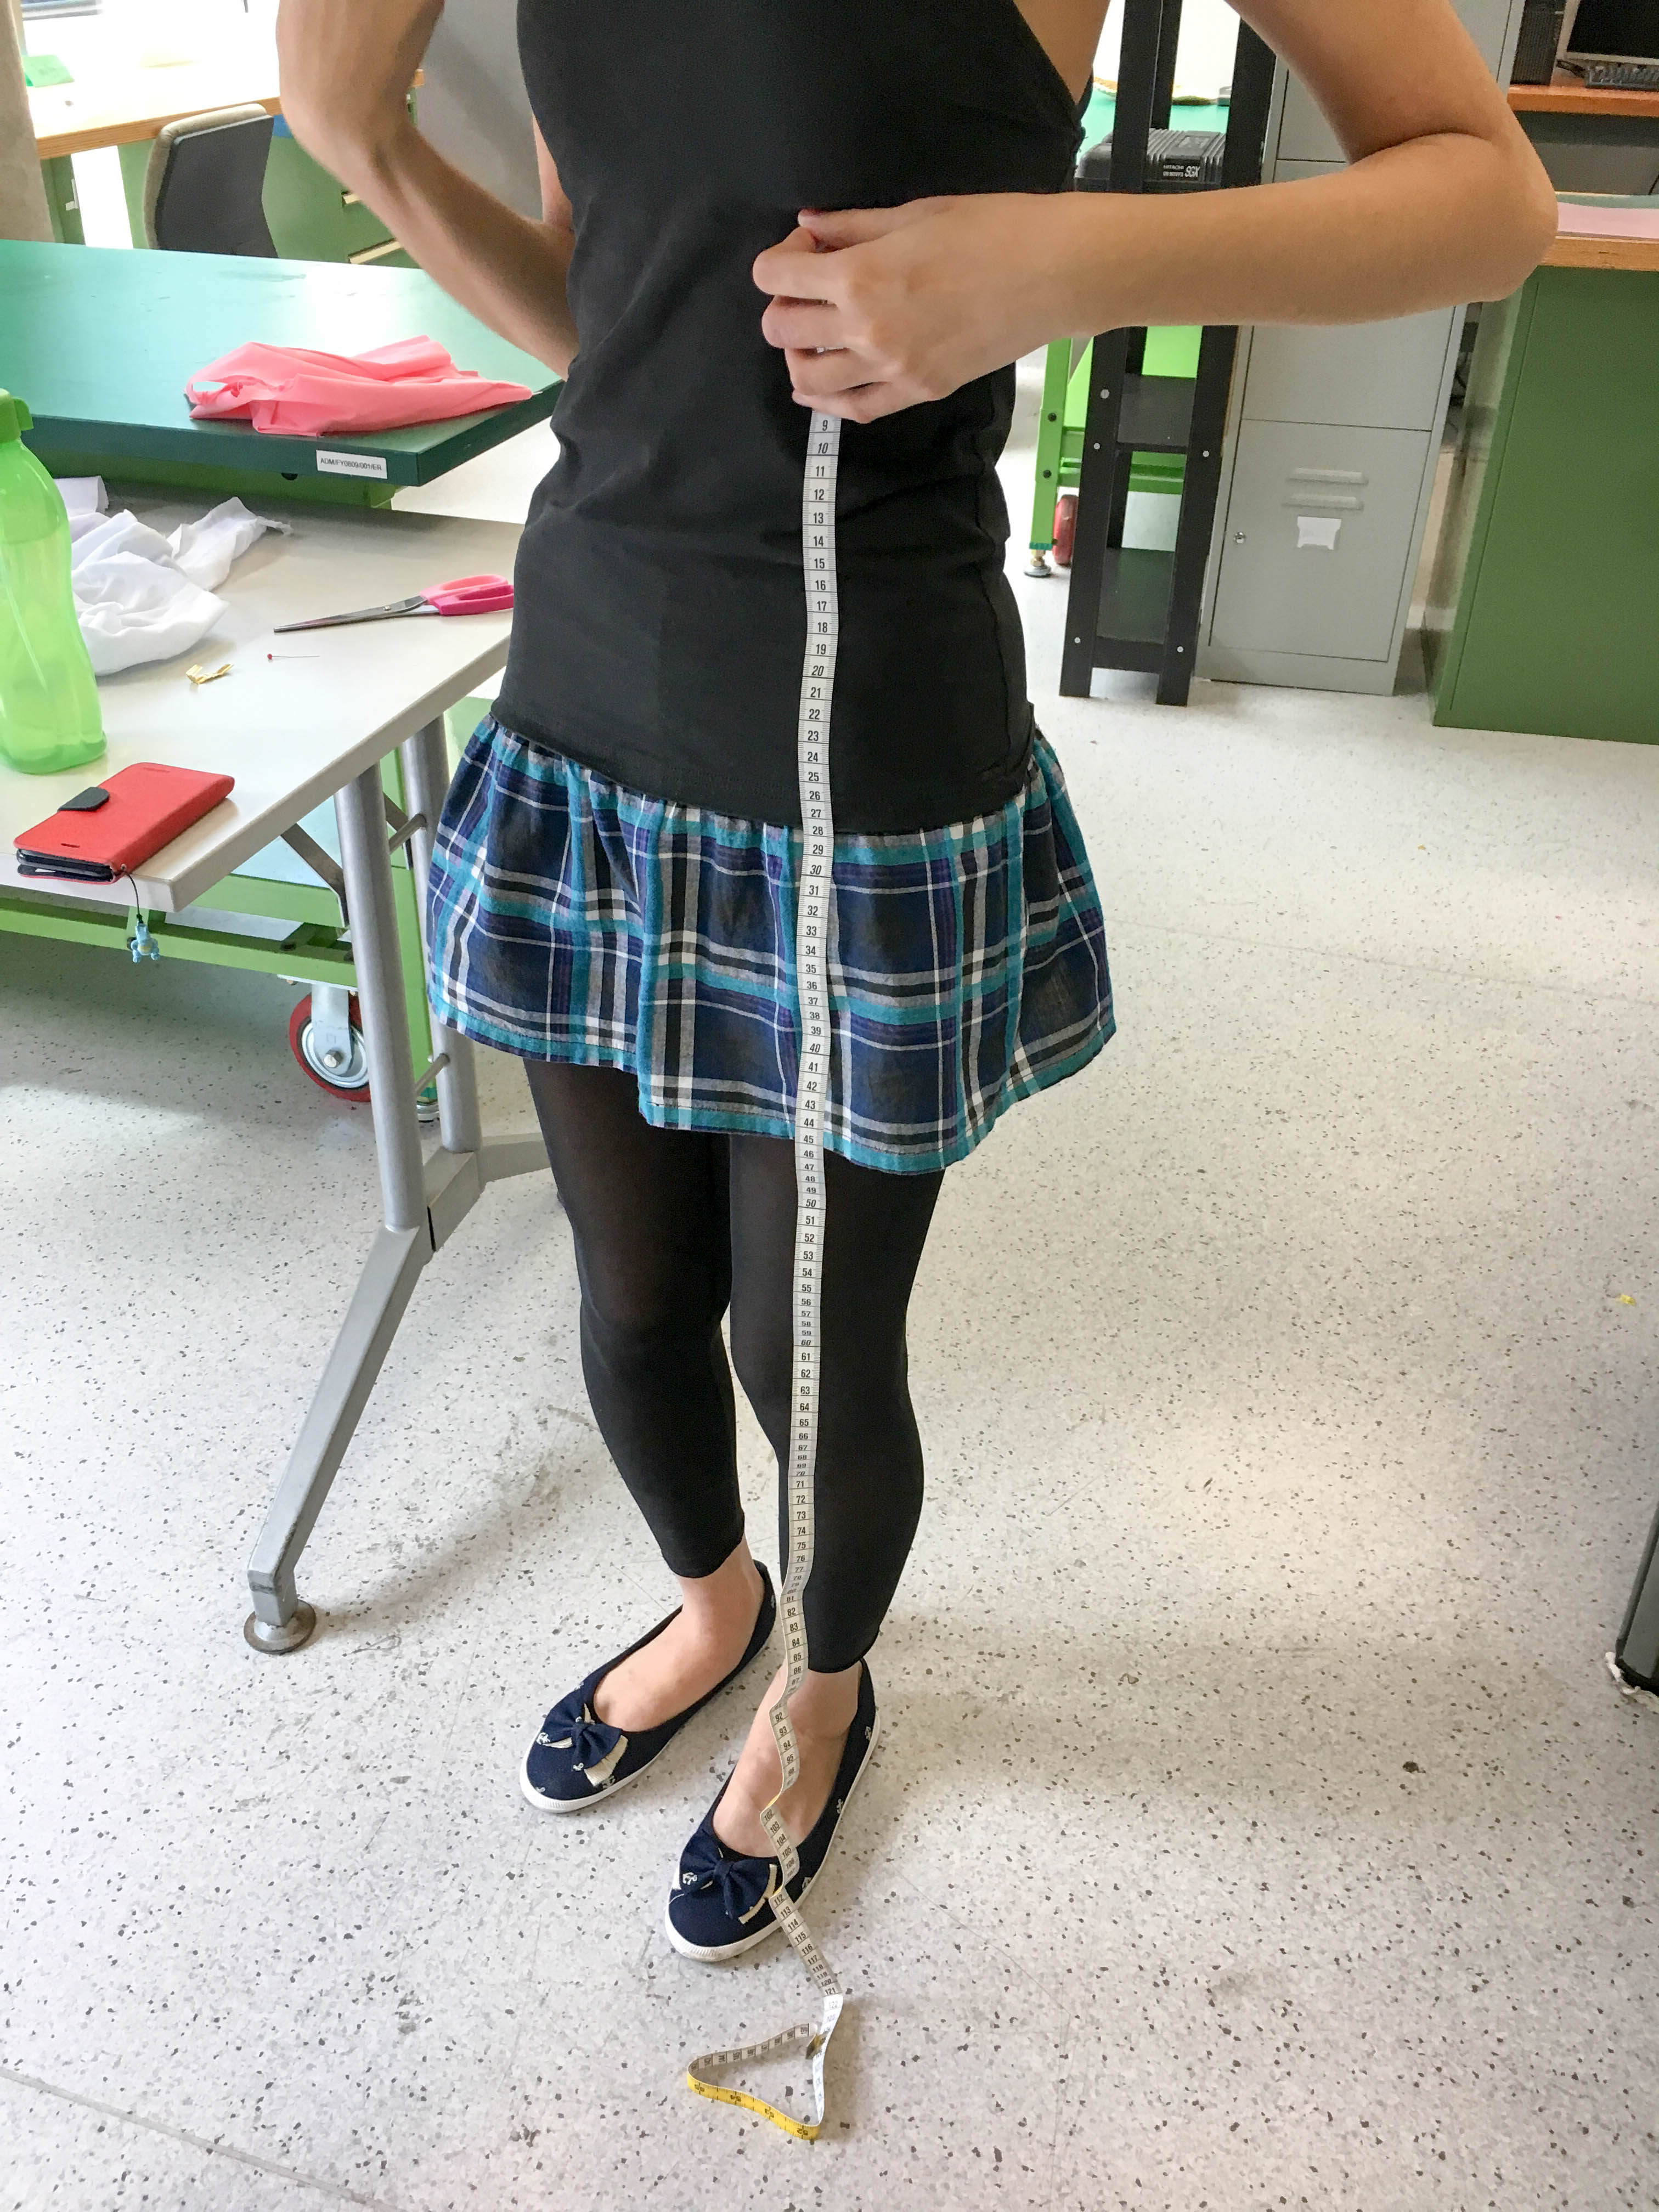
After knowing how to construct the foundation (it will contain all my electronics) for my dress, I had to take my model’s (Kimberlyn) measurements to ensure that she can fit the dress.
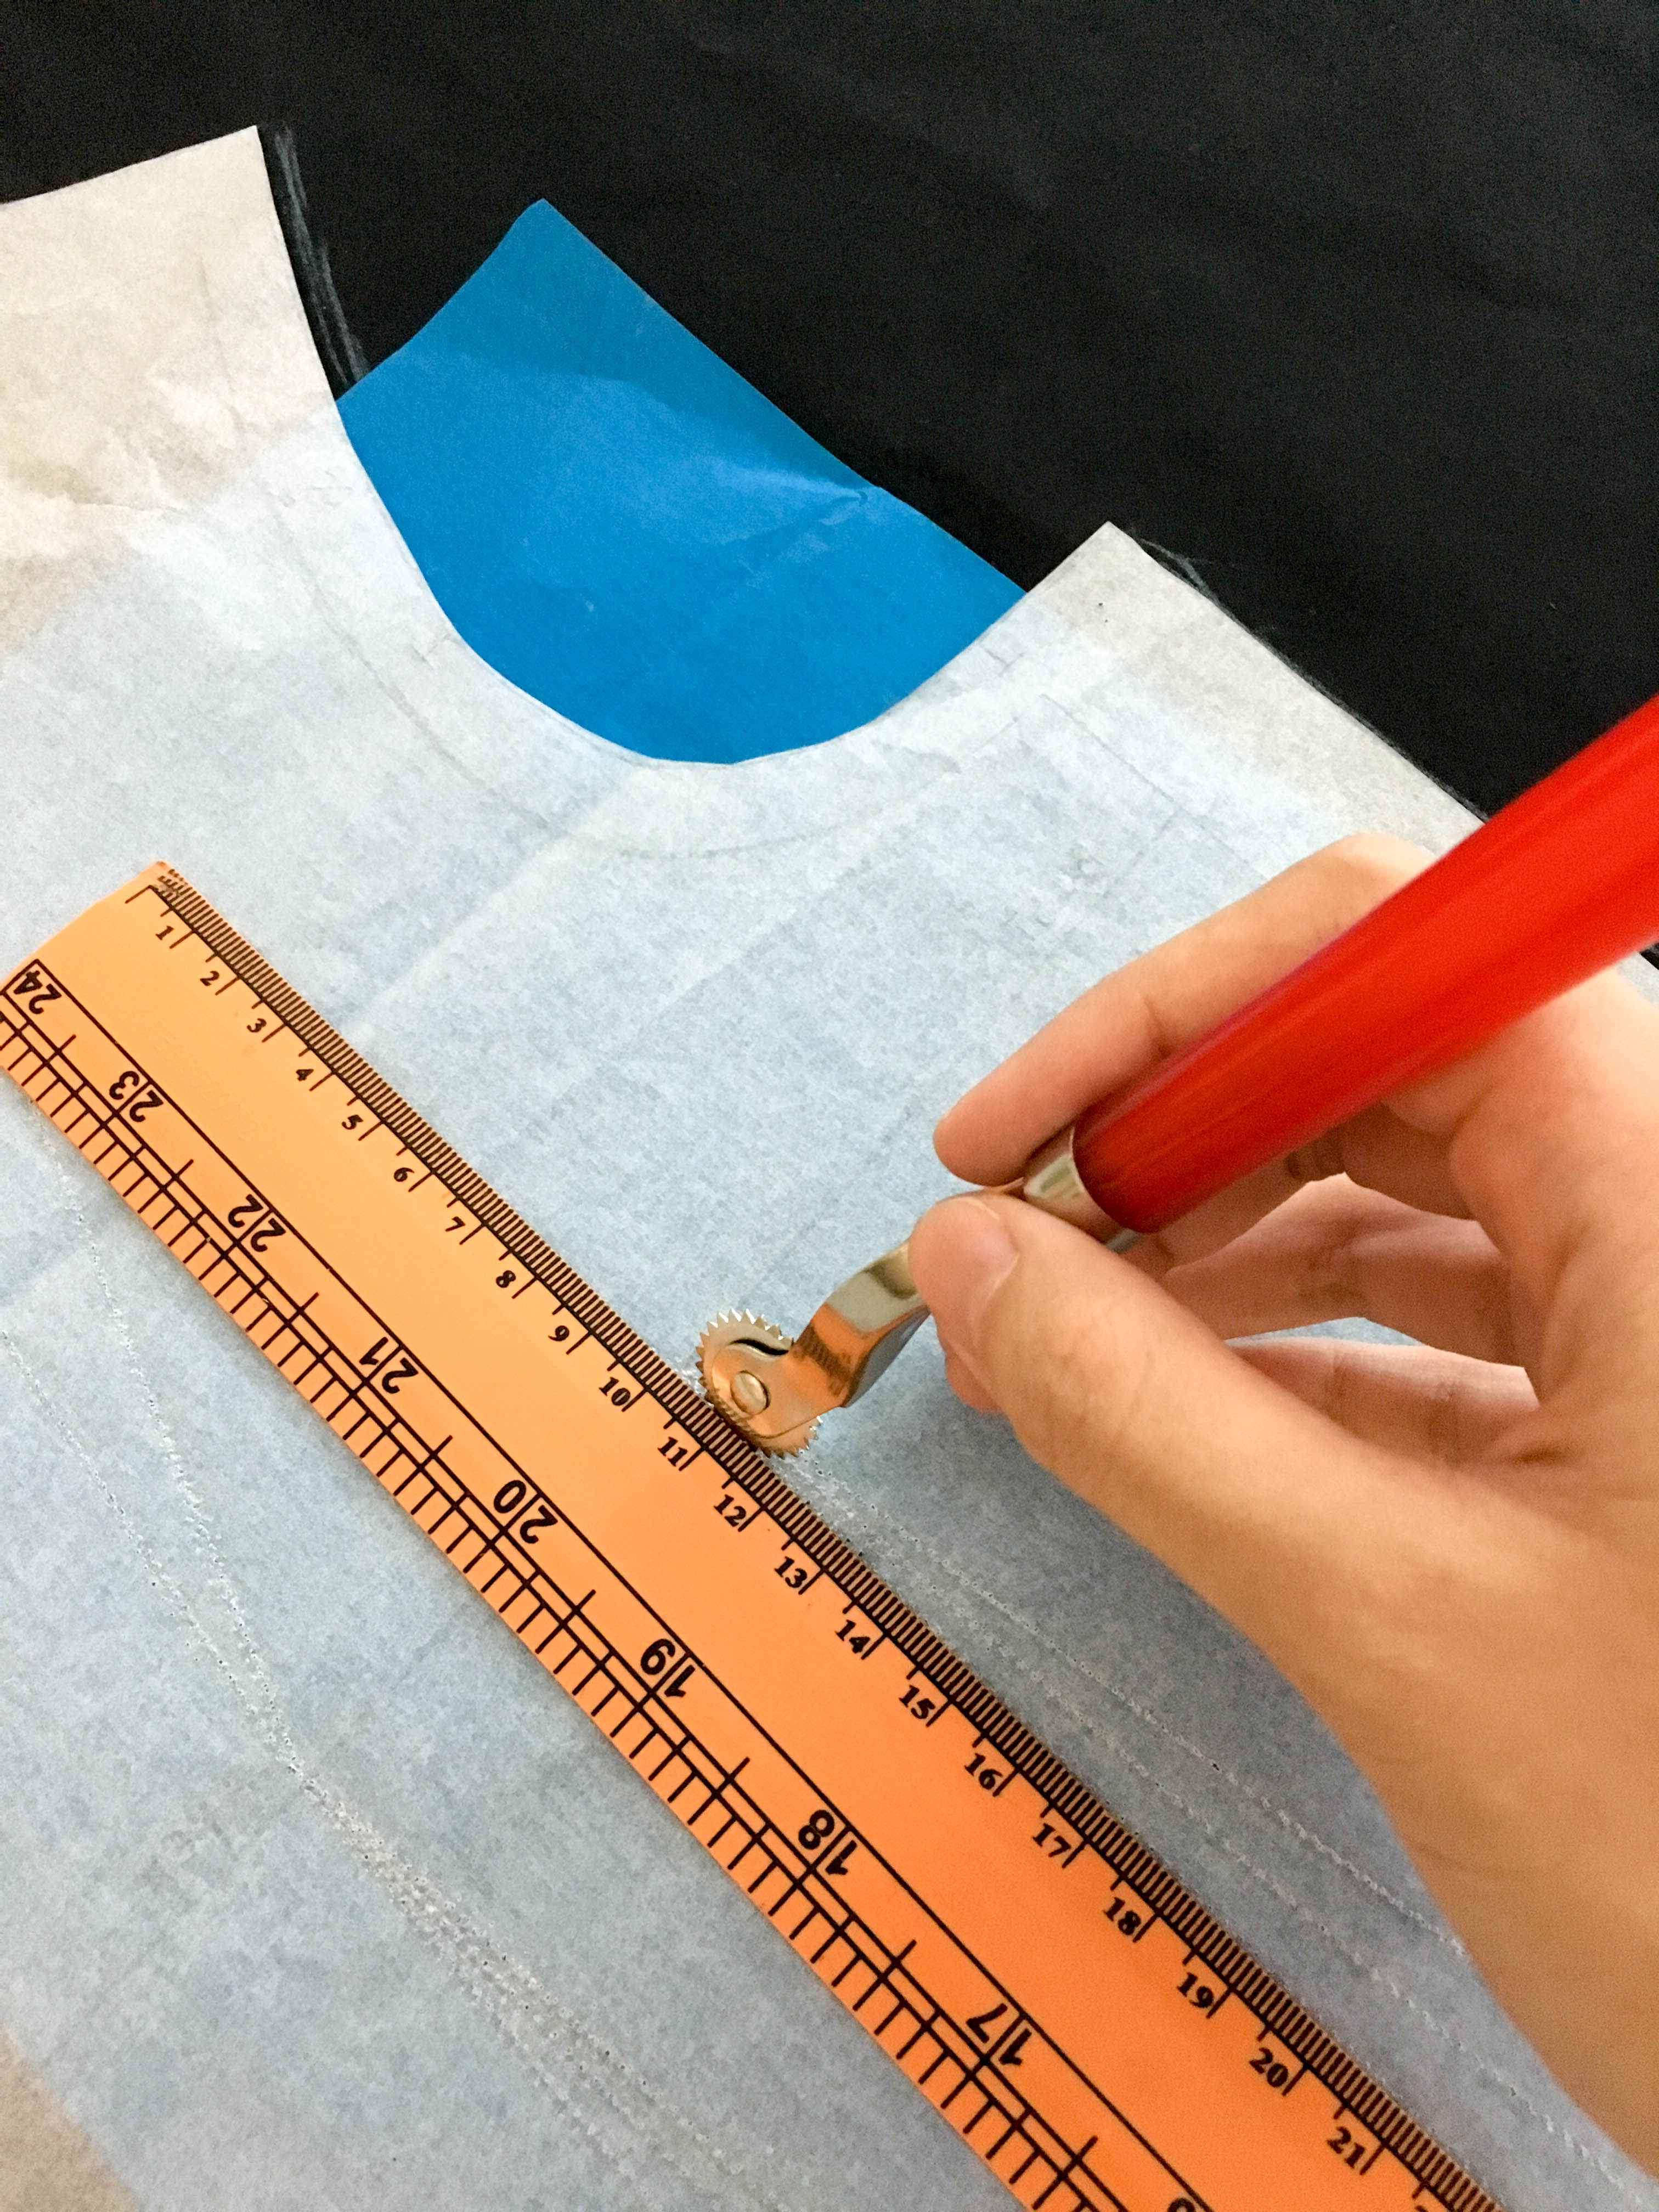
After getting Kim’s measurements. I proceed to start working on the actual piece.
After sewing the top, I had to pin the bottom part of the dress to the mannequin to see how I want to drape the dress.
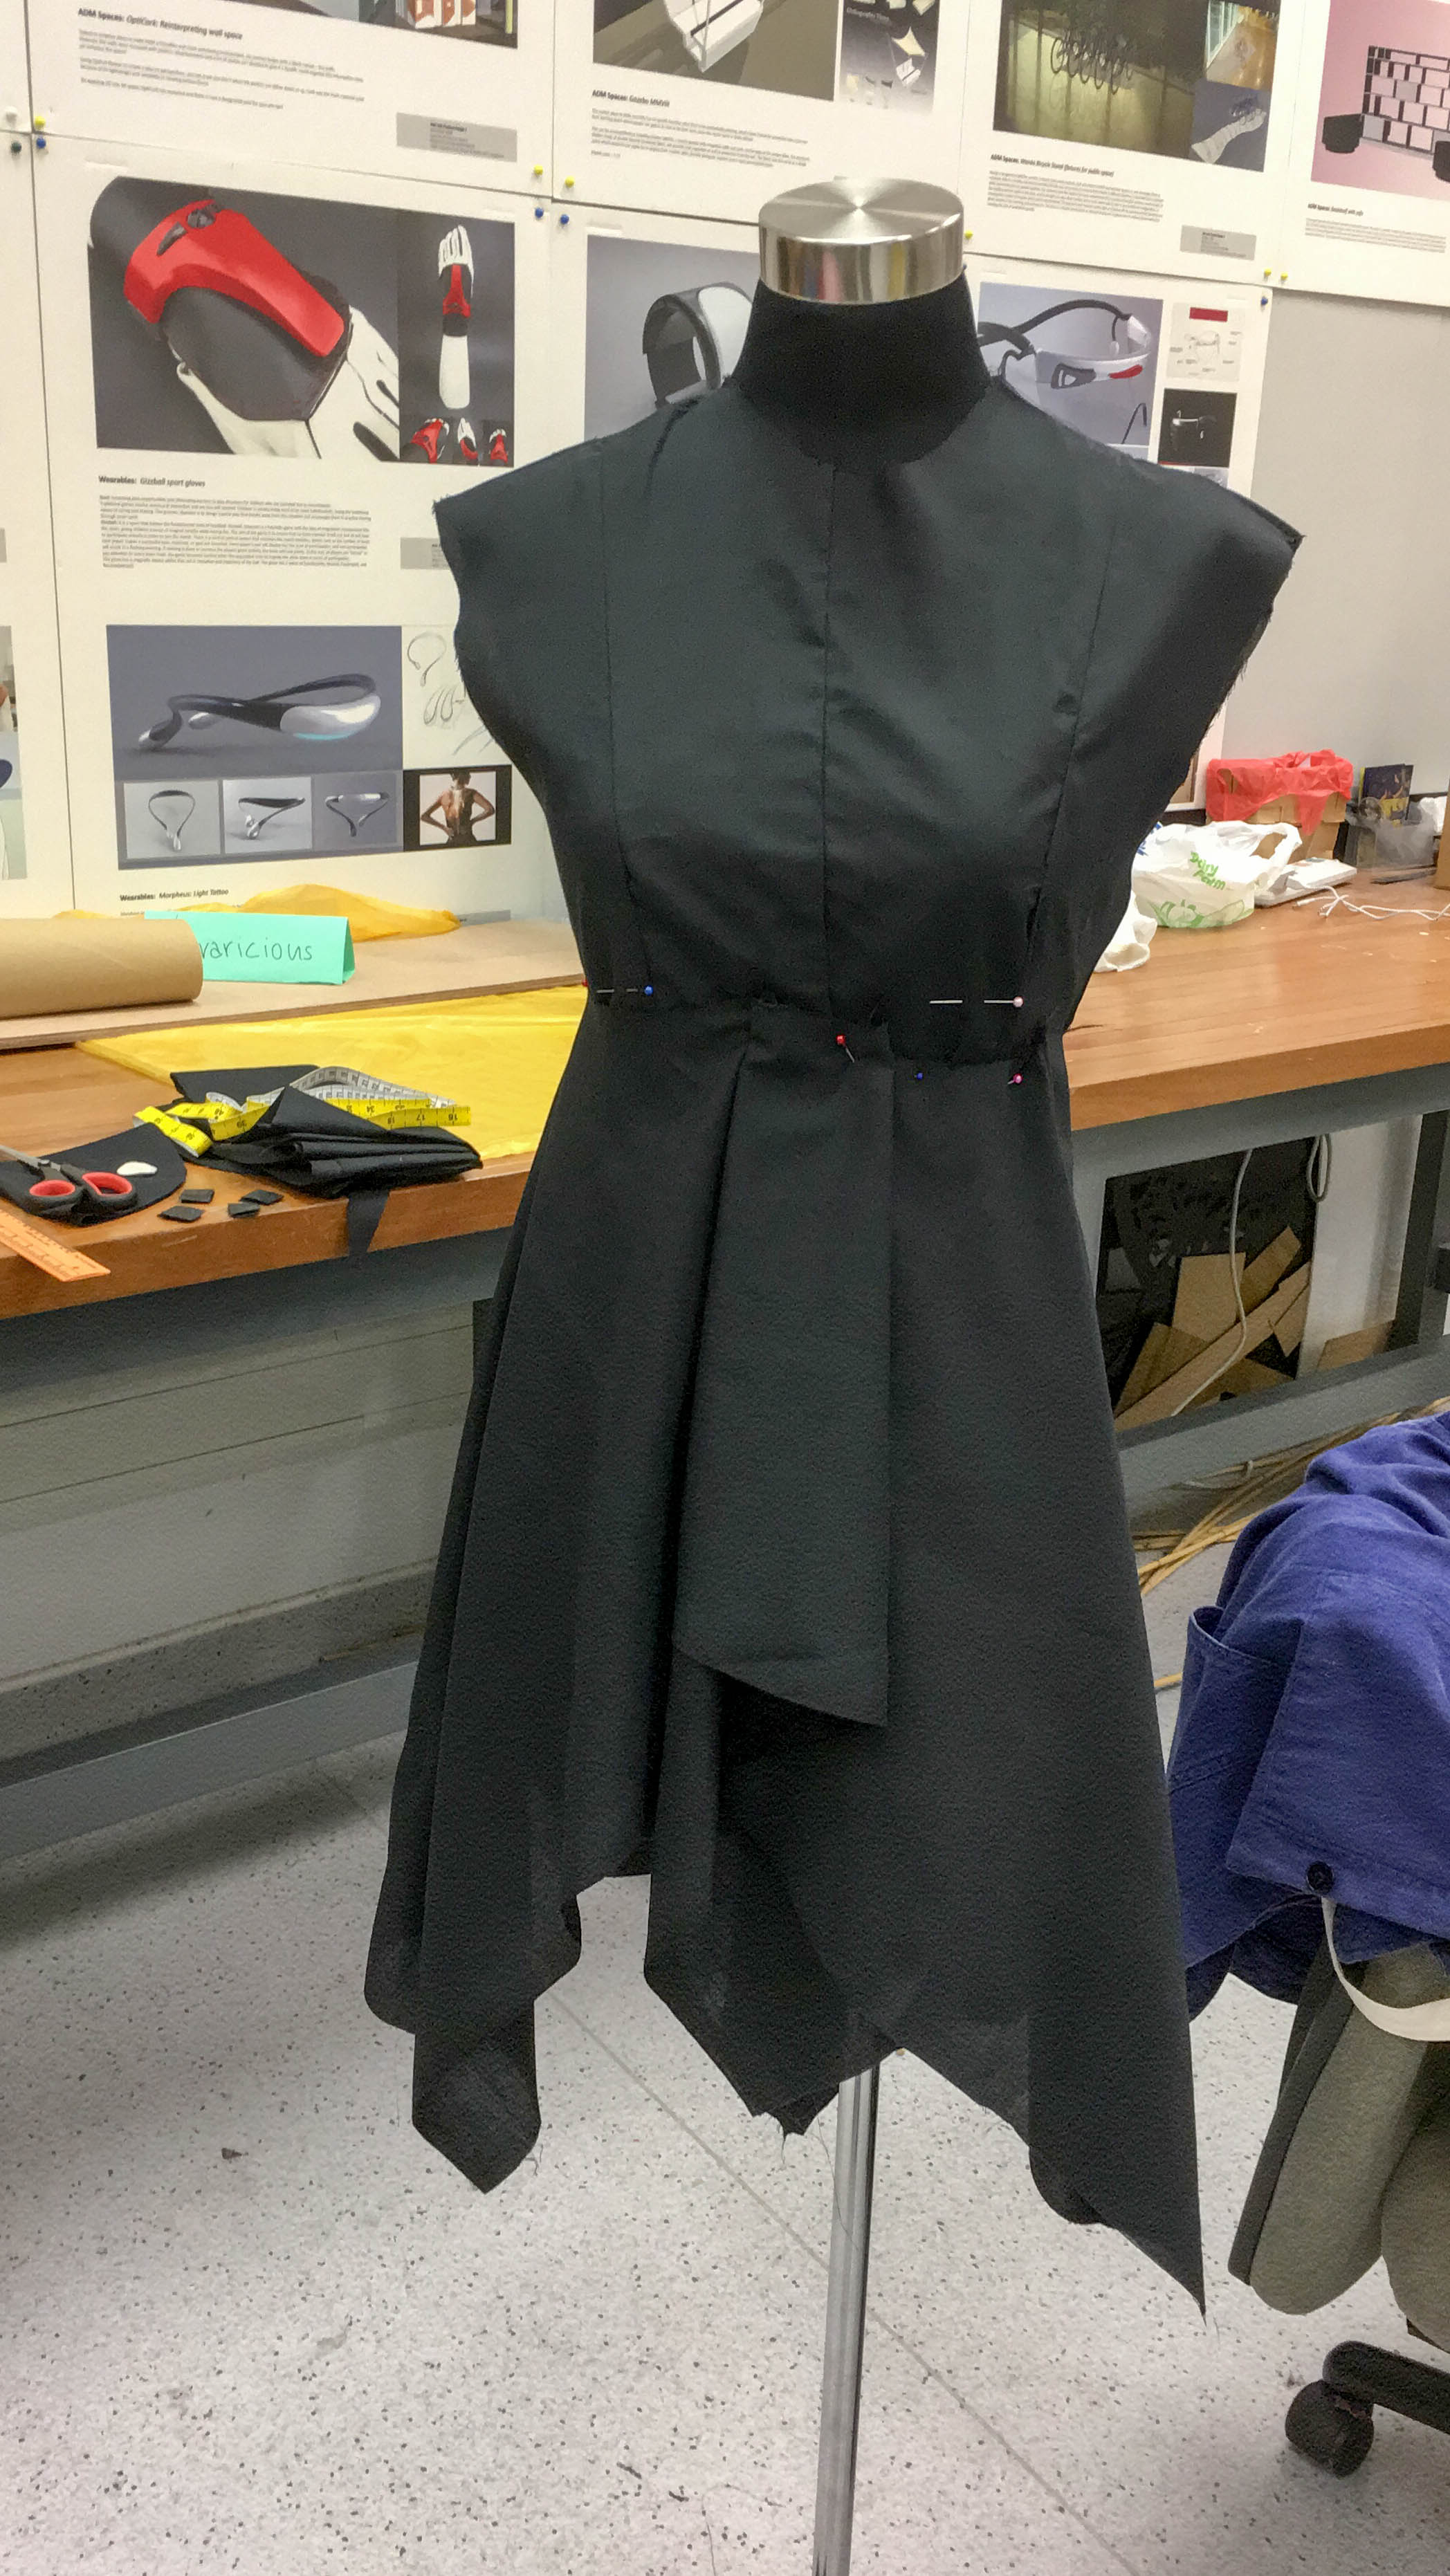
After pinning to the dress to my satisfaction, I proceed to sew the top and bottom together. As this dress is the foundation layer for my electronics, I had to sew an extra layer for the top to cover up the wires and hide the LED lights. As for the bottom, I need not sew an extra layer as I know I would be layering a few layers of organza over the bottom part.
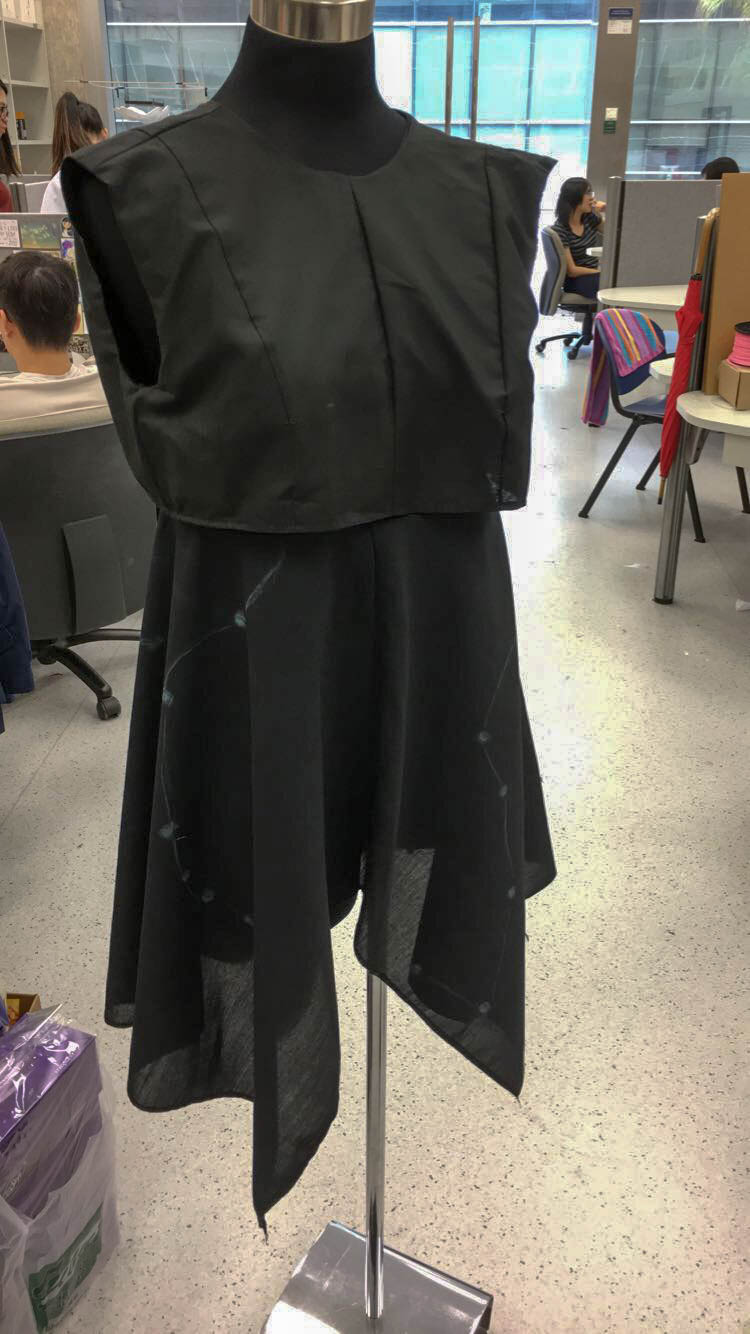
With the base layer done, I had to plan out the path of my LED lights and electronics component.
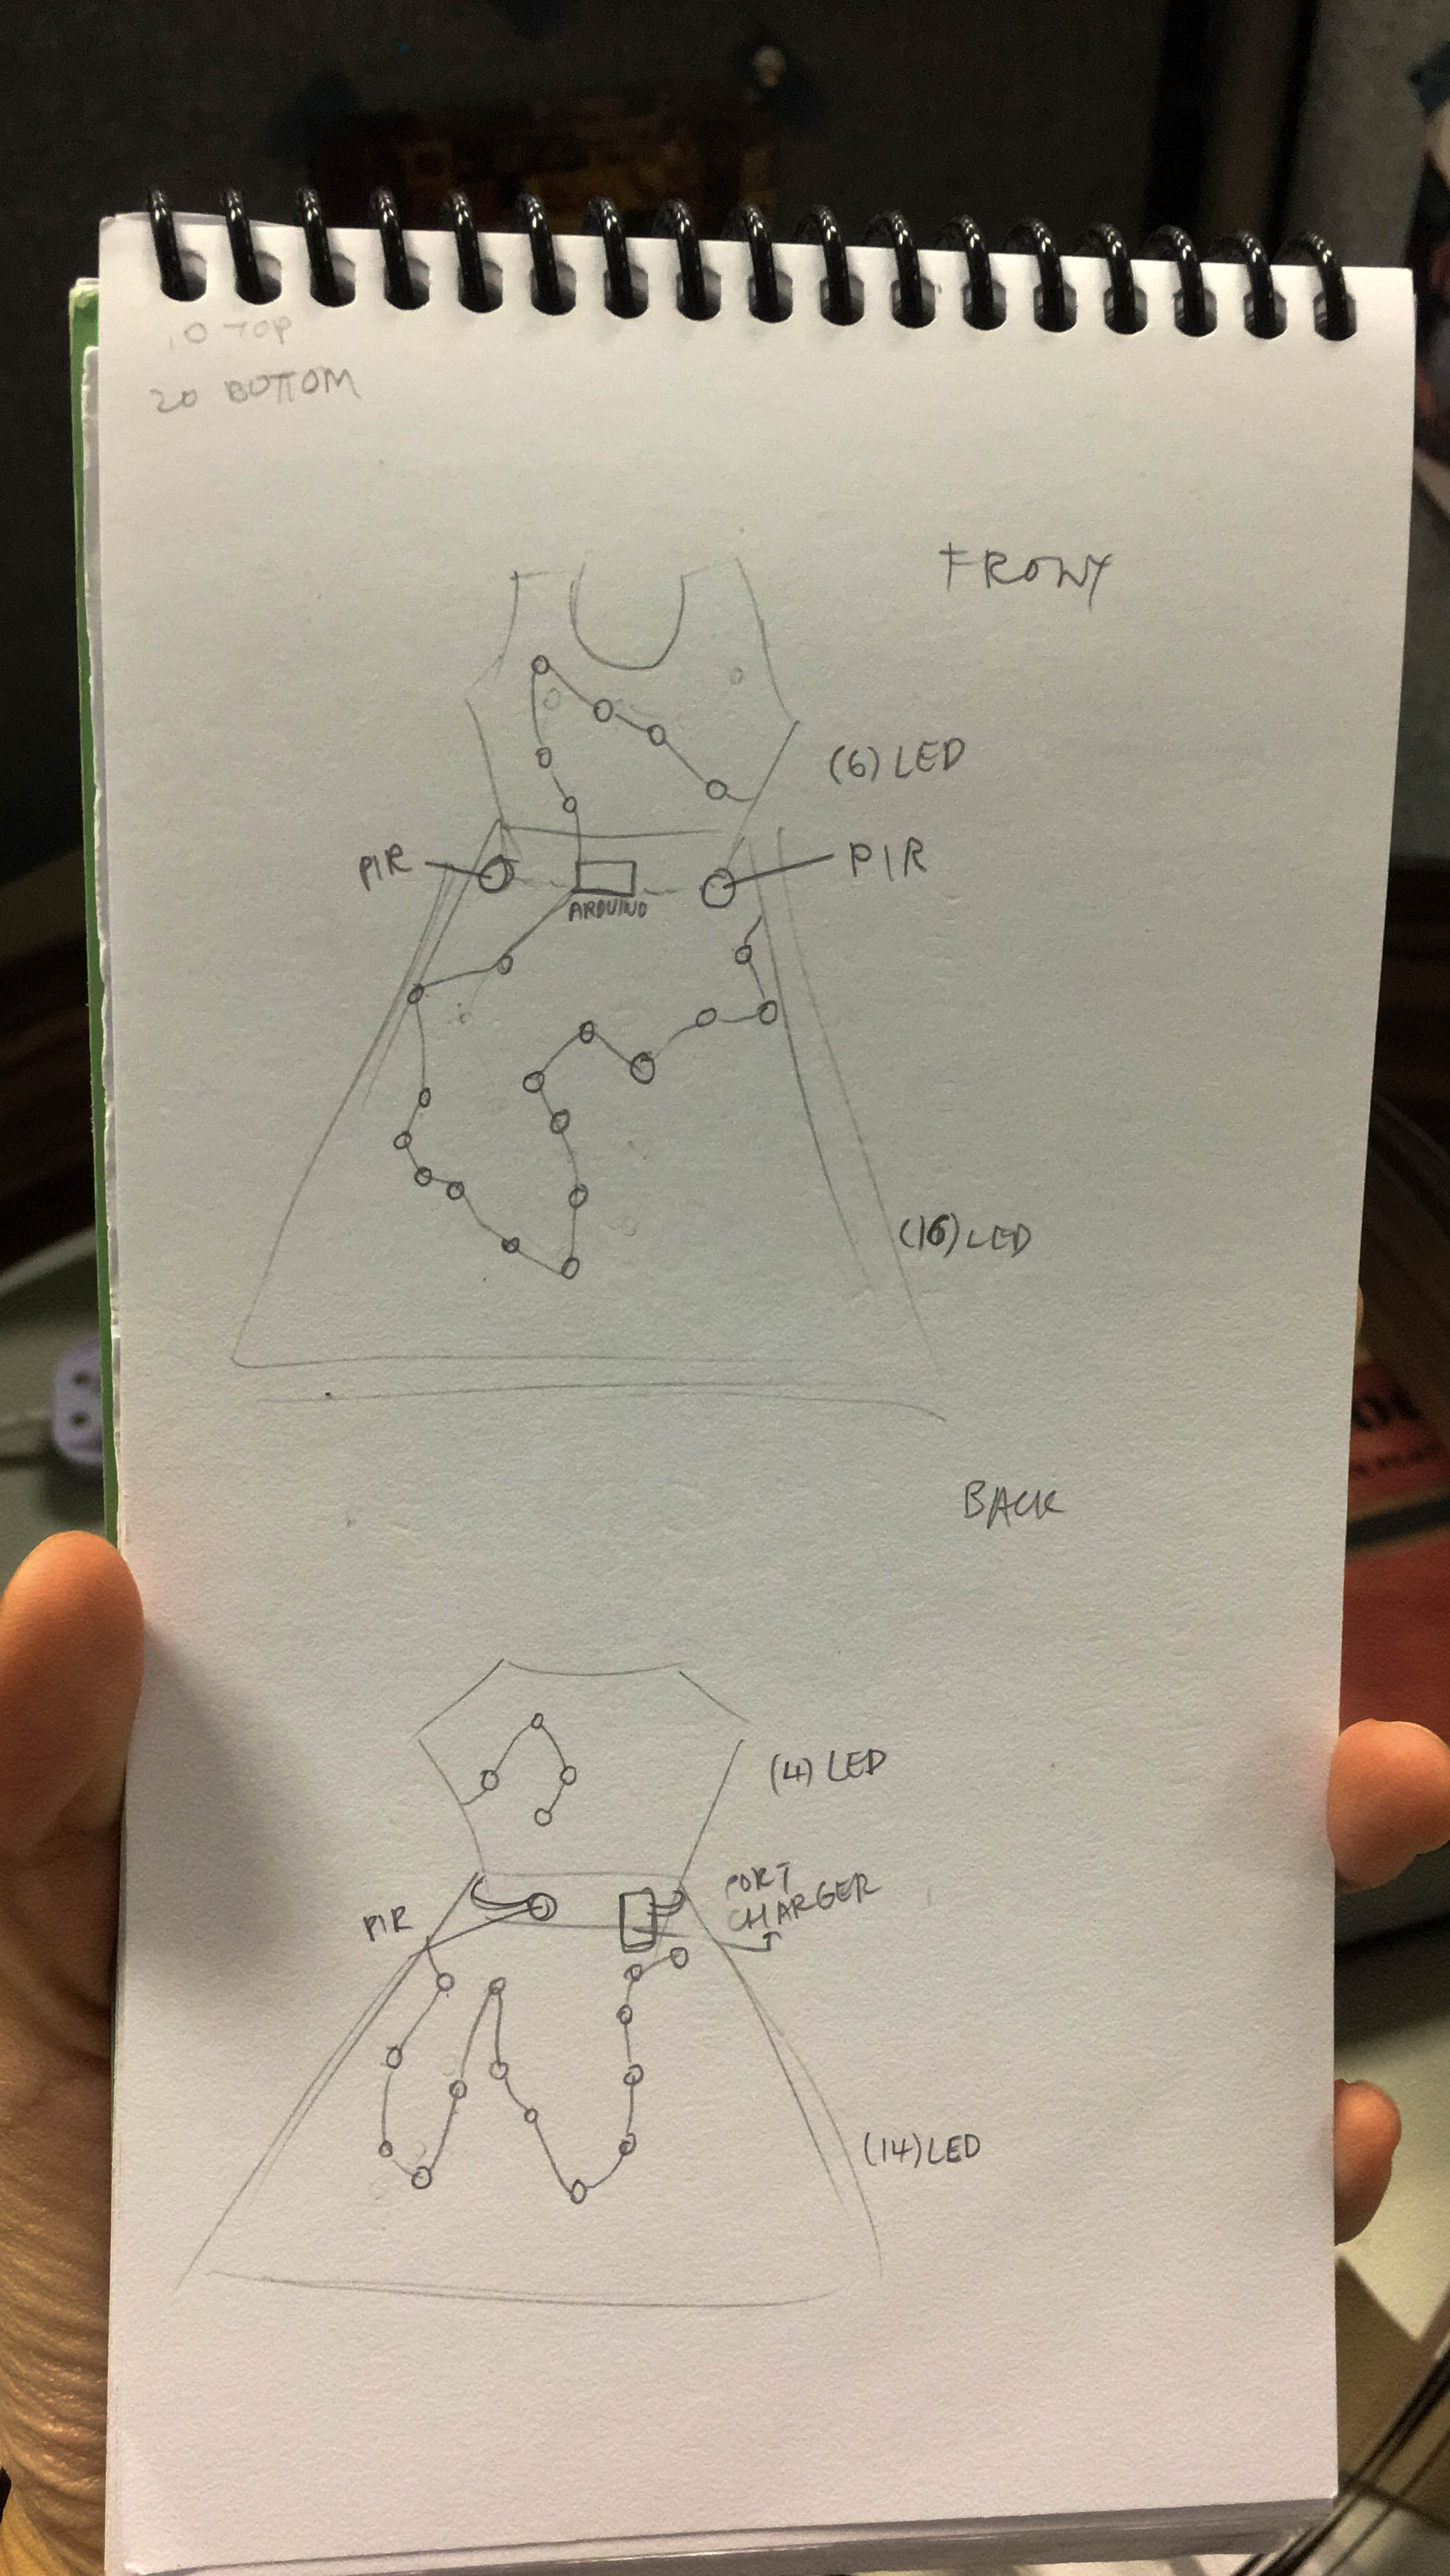
After marking out the path, I roughly knew how long I need the wires to be and so I can start gathering my electric components.
0 comments on “The making of II” Add yours →