What is the technique
Felting
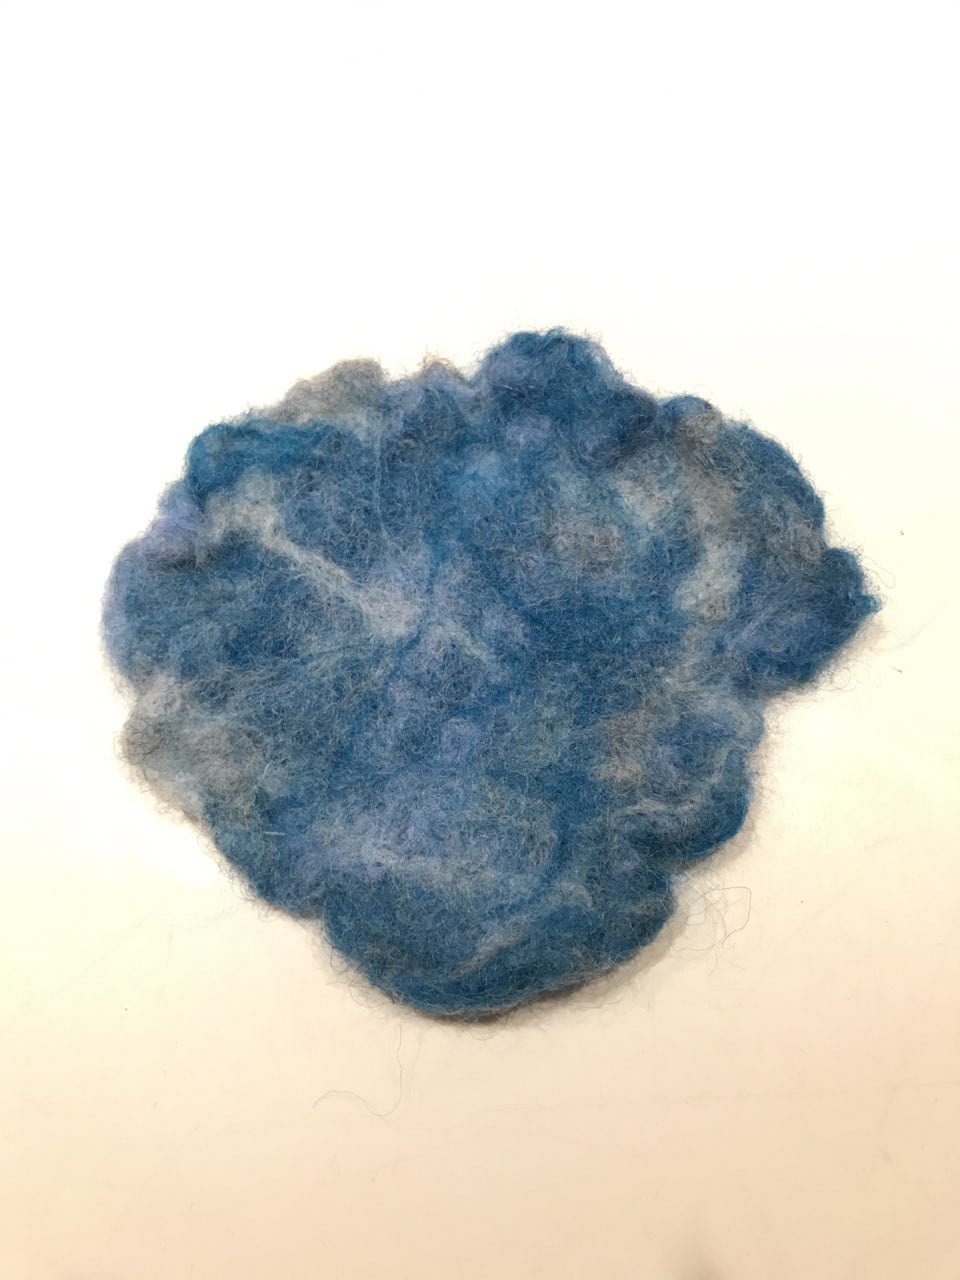
This method is an anceint on, originating from over 2,000 years ago whereby fibres are matted together to create textile. This can be done through wet felting, needle felting, nuno felting or carroting.
Wet felting requires only heat, moisture and agitation to interlock and compact wool fibres together.
Needle felting uses needle which has notches in them to stab and tangle the wool fibres together.
Nuno felting bonds loose fibres into sheer fabrics such as silk gauze, creating a lightweight felt. The fibres can completely cover the background fabric or allow some parts to show through as a decorative element.
What are the relevant materials needed for the technique
Felting needles
Natural fibres such as wool
Hot water
Soap
Styrofoam
Sheer fabric
How to achieve the technique
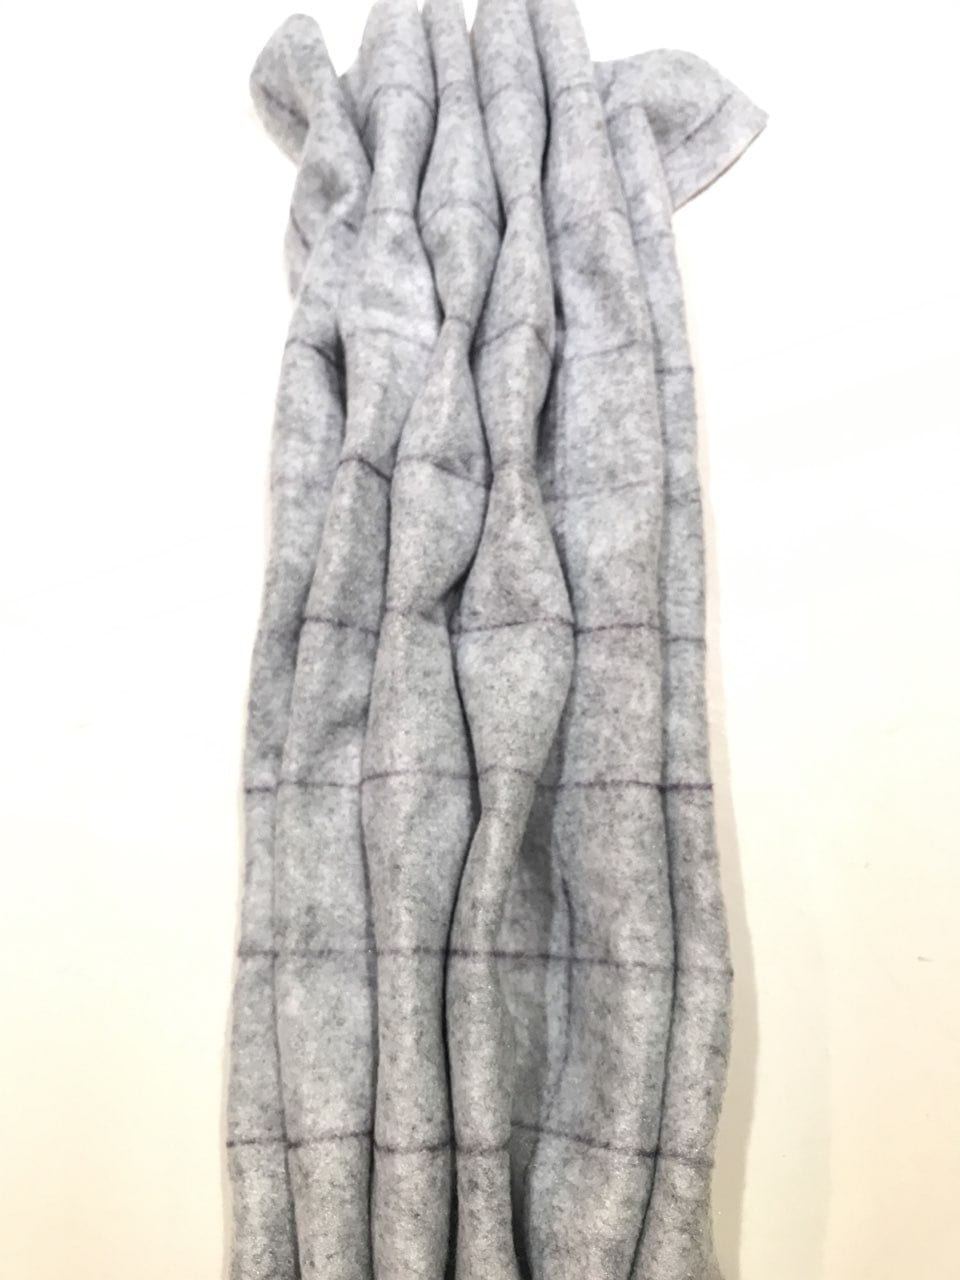
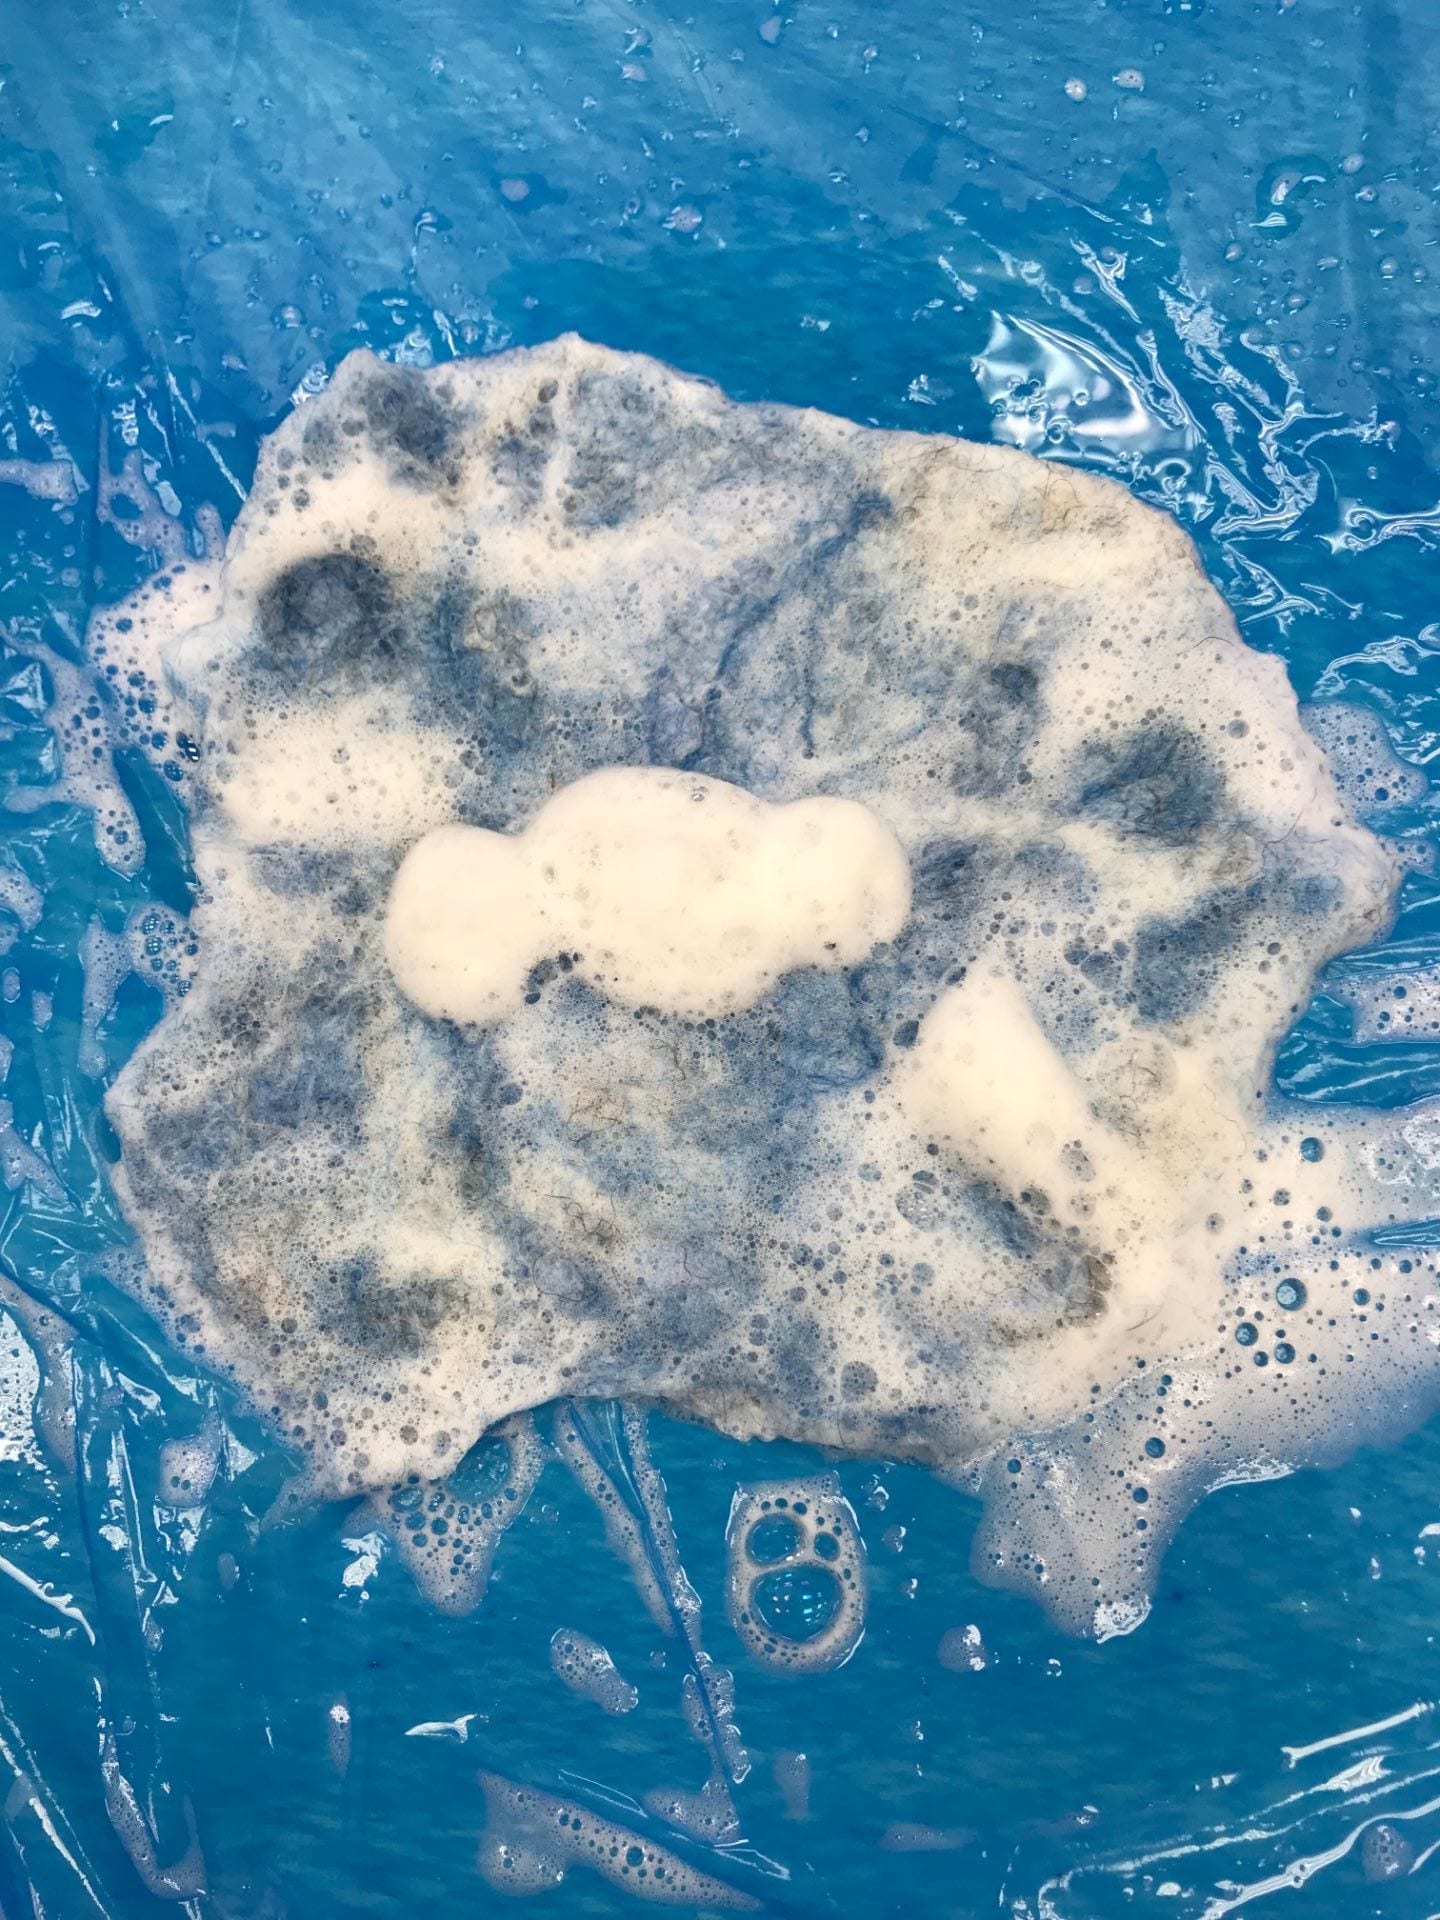
Wet Felting
First layer a plastic sheet down to protect the surface below it. Then take a tuft of the natural wool fibres and add some hot water and soap onto it. Next, I rub the fibres together in the palm of my hands. This friction causes the scales on the individual fibres to hook together, interlocking to create a fabric. Once satisfies with the matting and stiffness of the felt, gently rinse out the soap and pat dry the felt. Lastly, leave it out to dry.
Needle Felting
Similar to wet felting, this however is done with dry fibres. First rub the fibres together so that the fibres interlock together which makes it easier for the next part which is the needling. With the fibres semi-locked with each other, place them on top of a piece of styrofoam to make the needling easier. The needle is a special type of needle that has notches in it. By poking the needle through the fibres and out and repeating the process, these notches catches onto the fibres and tangles them with other fibres to produce felt.
Nuno Felting
Similar to needle felting, nuno felting requires a sheer fabric such silk gauze to be laid on top of the styrofoam then followed by tufts of loose fibres. I arrange the fibres based on a shape or pattern I like before proceeding to needle the fibres into the fabric. The fibres gets tangled and interlocks with the fabric creating a fluid felt textile.
What are the uses and applications of the technique
Wet Felting

Needle Felting
 Nuno felting

Photos
Wet Felting

Needle Felting


Nuno Felting 
�Own personal reflections
The processes are quite different in my opinion whereby wet felting is much more messy and carefree whereas needle felting and nuno felting are more meticulous and routine. Even though I enjoyed the processes very much, I really enjoyed and liked needle and nuno felting more as I could make more detailed objects with it and it gave me more control over what I was doing. I could control the direction of the needle entering, the speed of the stabbing and how stiff how I want the felt to be. Needle and nuno felting was a stress reliever to me because I could stab the fibres very hard but at the same time it helped tangles my fibres. On the other hand, wet felting was messier and I struggled a bit with it as it was difficult to control to get the shape I want.
What is the technique
Applique
This method is an ornamental needlework which involves sewing different pieces of fabric of different shapes and patterns onto a larger piece to form a picture or pattern.
What are the relevant materials needed for the technique
Fabrics
Threads
Needles
Sewing Machine (optional)
How to achieve the technique
Select the fabrics and create patterns to be traced onto the fabrics. Then leave a 0.5 cm border and cut out shapes/patterns I want. Arrange these cut out fabrics in the order I prefer and pin it down. Using either by hand or sewing machine, stitch around the perimeter of my applique pieces using a zigzag stitch on the sewing machine or blanket stitch by hand. There are different types of stitches so it is entirely up to preference and you could change the colour of the threads to create details.
What are the uses and applications of the technique

Photos

Own personal reflections
I have hand sewn applique before and I found out it was way easier than using a sewing machine which I tried during class. Especially because I chose a heart which I thought was easy – turns out it was not because of the curves and edges which I ended up spending half the time unpicking and sewing and repeating the process till I was satisfied/gave up. I prefer sewing by hand as there are many other stitches I could use to create different looks such as a blanket stitch which cannot be done by machine. Also sewing by hand to me has a very personal touch and allows me to experiment along the way.