The Final piece and booth (papillon lantern)

The technique is lasercutting, and the final outcome is a beautiful butterfly inspired lamp. The entire design was done using CAD, such that it could be lasercut. It was very tough to design the pieces and make sure everything fits together.

There is NO GLUE in the entire construction of the lantern.

The Elements at the sides and the top and bottom are inspired by the butterfly wings and shape. The diagonal panels on the side are a simplified motif of the form of the butterfly, and the mesh is the same motif but scaled down and repeated.

Next the wings at the top and bottom of the lantern can be moved and turned, mimicking the flapping of the butterfly wings in flight. Furthermore it allows for different configurations in the arrangement as can be seen below where the top and bottom wings are arranged differently, with the top wings apart and the bottom wings together.

The overall form and design of the lantern is intended to be beautiful and elegant, characteristics derived from the butterfly. Wood was chosen as it is a natural material, and the butterfly is a being from nature. Furthermore, wood has a warm characteristic on its own, matching with the warm light and creating a somewhat hygge feeling. My overall aesthetic is clean and natural as well as such my choice of material.

The butterfly wing motif is designed into a concentric pattern at the top and cut out, allowing the light to shine through upwards. An acrylic cylinder was sandblasted to make it frosted and placed within over the bulb to diffuse the light from it, such that it would not hurt the eyes, and instead give a soft diffused warm glow that feels comforting.


Inspired by Ikebana

It looks like a colourful dish.

Plastic fusing fan

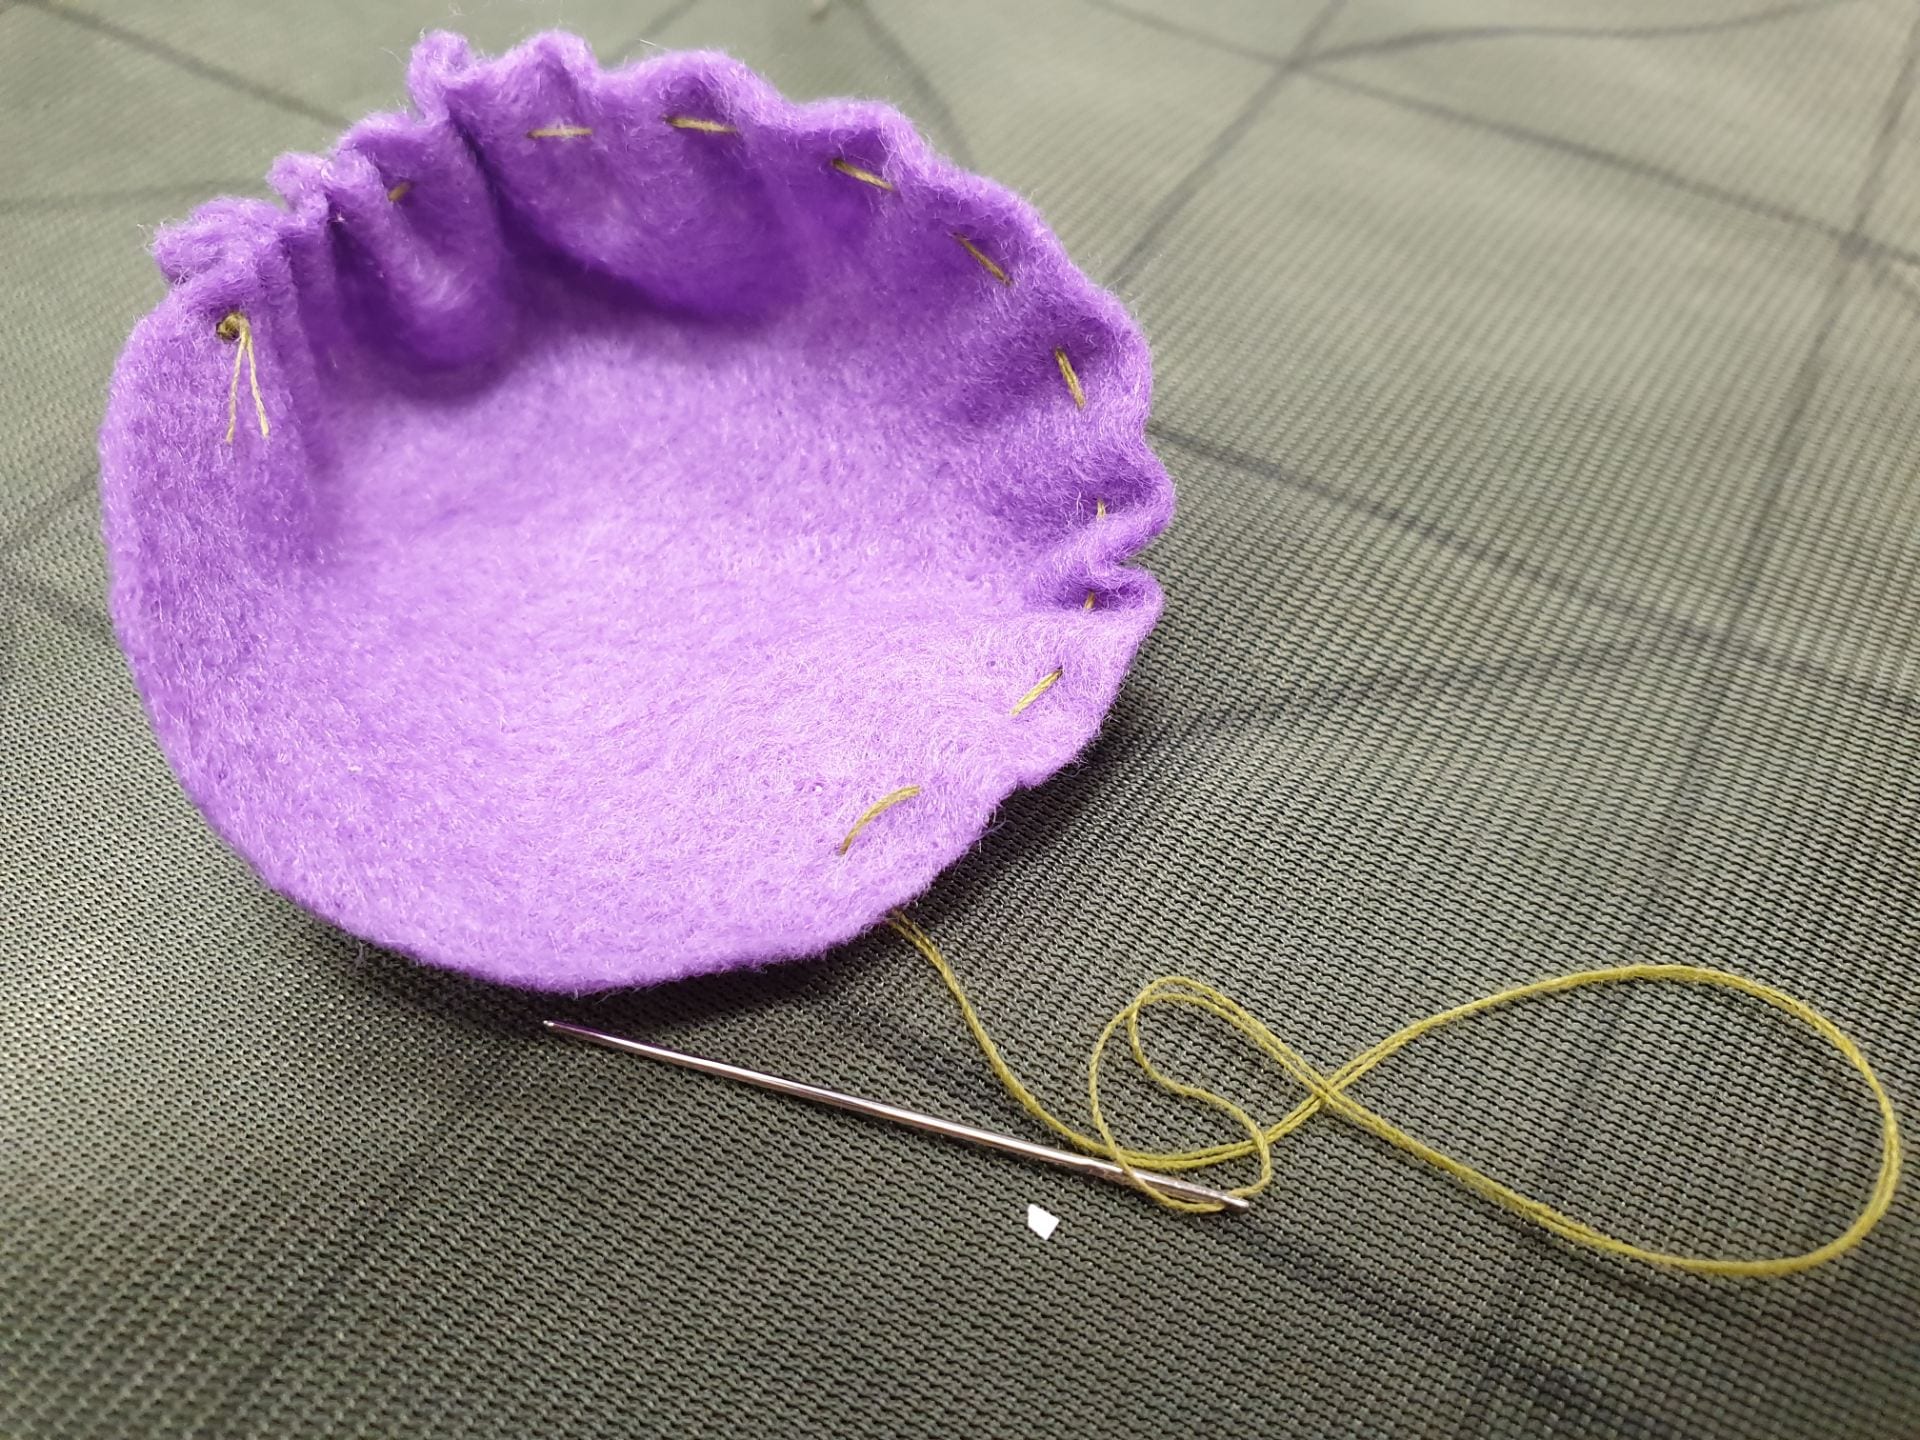
Bleaching Drawstring pouch and cloth.


Moodboard

Application board


Week 12 – Latex & Resin

Latex and hardener are mixed together in a 100:4 ratio on a weighing scale,and then stirred thoroughly. Next the mixture is poured into the vacuum formed mould shown in a previous post.

The latex is purple because dye was mixed into it. One problem with latex is that it traps a lot of air bubbles , resulting in  them hardening into air pockets.


Resin

The resin and hardener mixture is similarly to the latex mixed into a 100:4 ratio and stirred thoroughy.

2 different containers were sprayed with the release agent and cut twigs and branches were placed inside. Next, the resin was poured in.

These are the resulting pieces. One of the learning points is that the resin takes some time to cure, then suddenly gels and hardens in a short time, so timing is very important when adding items to be encapsulated within the resin. Furthermore, because I used wood which is pourous, it kept floating to the surface and it was difficult to keep it within the resin while setting.

Next I decided to experiment more, and in keeping with the theme of butterflies I made butterfly shaped moulds with laser cut plywood. Next I poured the resin into the moulds and added glass paint ink to colour the resin. They produce cool effects. However a learning point is that the ink tends to float to the top so it has to be constantly stirred with the resin. Also I tried to do ink marbling but the ink would keep diffusing, making marbling with this ink near impossible. Timing is very important. I also poured glitter into the resin and over the resin as an experiment. (Last black butterfly)

The application, these can become ornamental objects, or can be worn as necklaces.

Week 11 – STPI Gallery

Singapore Tyler print Institute is the biggest lithography studio in SE Asia, and cost 13 million dollars to set up. They do relief print, intaglio, screen print, lithography and papermaking. It is also a place for artist residencies.

Aaron Curry


Aaron Curry was born in Texas. His artistic influences were of everyday objects. His fuel for his work was also from his personal struggles and emotional pain. He was deeply affected by the sickness of his wife. His work includes certain dark themes and body parts that are masked with bright colours and pop art style. His techniques involve sketching, laser cutting and spraypainting, and each piece of art costs tens of thousands of dollars.

Week 10 – Knitting

My piece and Casey’s piece look similar cus we used the same yarn to knit.

Knitting is a tedious technique, it is a manipulation and weaving of fabric using 2 sticks with pointed ends.

Some people say they enjoy it but personally it is not for me, I felt a bit frustrated doing it.

Week 9 – Lasercutting

Lasercutting is simply the input of vectors into the lasercutting machine to cut material like acrylic and plywood into shapes that are sometimes not achievable by hand.

Above is my series of lasercut earrings inspired by butterflies and abstract motifs. I enjoy lasercutting as it can be so delicate and fine, creating amazing shapes and detail. I used different colours of acrylic to make things colourful, like how butterflies are so colourful.

above are the butterfly and butterfly wing motif earrings worn by me

Week 9 – Bleaching Cloth

Cloth is tied into different patterns and arrangements using string and rubber bands, then having bleach applied to do a reverse dyeing of the cloth, revealing a beautiful pattern.

As seen above the cloth is tied into different configurations, as this will affect the final pattern that is created by the bleach as the folding determines which part of the cloth is exposed to the bleach.

Above are some of the results of the patterns i tried.

Application

Sewed the cloth into drawstring bags

Bleached an entire haori, the pattern turned out beautiful

reflections: I really enjoy this technique as the patterns created every time are different even if you try the same folding method. This unpredictability is what makes it fun. Each time you open the cloth it is like a magic reveal of colour and pattern and the abstract nature of the pattern makes it all the more beautiful. One drawback is that the bleach hurts skin and i had my fingertips burnt by the bleach so it is important to wear gloves when doing bleaching. However i feel the results are worth it and this is the technique i enjoyed the most.


Week 8 – Thermochromic ink & Fibre Etch

Thermochromic ink is ink that changes colour or disappears when heat is applied. Base and thermochromic powder are mixed 5 parts to 1 respectively.

As seen in the video below, the ink is poured onto one side of the silkscreen frame, and then spread across with the spreader. several passes of the spreader are required to get enough ink transferred onto the cloth below.

For Fibre Etching, the process is similar to ink printing, the same silkscreen frame is used, but the liquid applied this time is fibre etch liquid. The cloth used this time is velvet, which is organic based, and therefore the fibre etch liquid will eat away at the cloth surface where it was applied.


First the Velvet is placed face down and steam ironed. Next it s turned face up and then the silkscreen frame is placed over it. The etching liquid is applied and spread with the spreader. Remove the frame and let the process work for 24 hours. Next the velvet is ironed again, and washed to stop the etching process.


Week 7 – Trip to touch and print

Touch and Print is a shop located in Sunshine Plaza and Waterloo center.

It specialises in heat press and image transfer services, they do image transfer onto wood, cloth, metal, plastic and many other materials. They are also the source for the special papers we use for image transfer.

Mr Leon taught us the basic principles of printing, about the difference between RGB and CYMK.

Red Green Blue (RGB) is additive and Cyan Yellow Magenta Key-black (CYMK) is subtractive.

The most basic colour printer must have at least 4 colours, therefore it prints in CYMK.

electronic thread that conducts electricity and makes a circuit (left) and Leon giving a heat press demo (right)

week 6 – fabric manipulation (smocking and dumpling)

The technique is the manipulation of cloth into forms through sewing and gathering.

Smocking is to sew cloth together at regular intervals on a grid to create repeated patterns.

as seen in the examples above, first a square grid is drawn onto the back of the cloth, followed by the diagonal patterns that guide me to connect the 2 points connected by the diagonal lines, to create the pattern. The points are connected by sewing them together.

Above is the first pattern i tried successfully, it is a sort of zigzagging triangular pattern.

Above is the second pattern i tried, it looks like a set of interlocking bowties.

My opinion is that smocking is a very tedious technique, because there are so many points to connect, just to create a small section of pattern. Also certain cloths that are too thick or stiff are not suitable for smocking, as i learnt from my own experience using a thicker cloth which didnt make a pattern.

Next technique is shirring or ‘dumpling making’

first, cloth is cut into circular pieces. Then using a needle and thread, the needle is threaded in an alternating fashion along the edge of the circular piece. Then the string is tightened which creates the folds in the cloth and it looks like a chinese dumpling.

I joined 2 dumplings together by hiding the sewing within the back surfaces that are touching each other, to create each earring.

After that I took it a step further and decided to make earrings and a necklace from the dumplings that were made. This technique is fun and the dumpling shape is very cute.


Week 5 – Felting and applique


Materials include felt cloth and wool string. The first technique is wet felting, where a bunch of different coloured felt are arranged into a pattern piece before hot water and soap are applied to the felt. Then the entire piece is rubbed between my hands to consolidate and intertwine the fibres of the felt closer together, and the soap softens the fibres which makes this easier to do so.

Resulting outcome

Needle and nuno felting. Needle felting involves scrunching up a lump of felt into a ball and poking it continuously with the felting needle, which helps consolidate and intertwine the fibres together so they hold the shape of the ball and dont come apart.

Nuno felting involves a similar poking or stabbing technique, the only difference is that the felt is arranged over another flat piece of cloth and repeatedly poked into the cloth to intertwine the mesh and underlying cloth fibres together.

Next technique is applique, which is the sewing of smaller pieces of fabric onto a larger piece of fabric to create a patterned piece.

This is a relatively simple technique, and i enjoy that even in randomness beauty can be created. The only difficulty was that the sewing machine can be difficult to use at times, which was a bit frustrating. Alas i am satisfied with the outcome.