Icelandic Glacial
Product Application


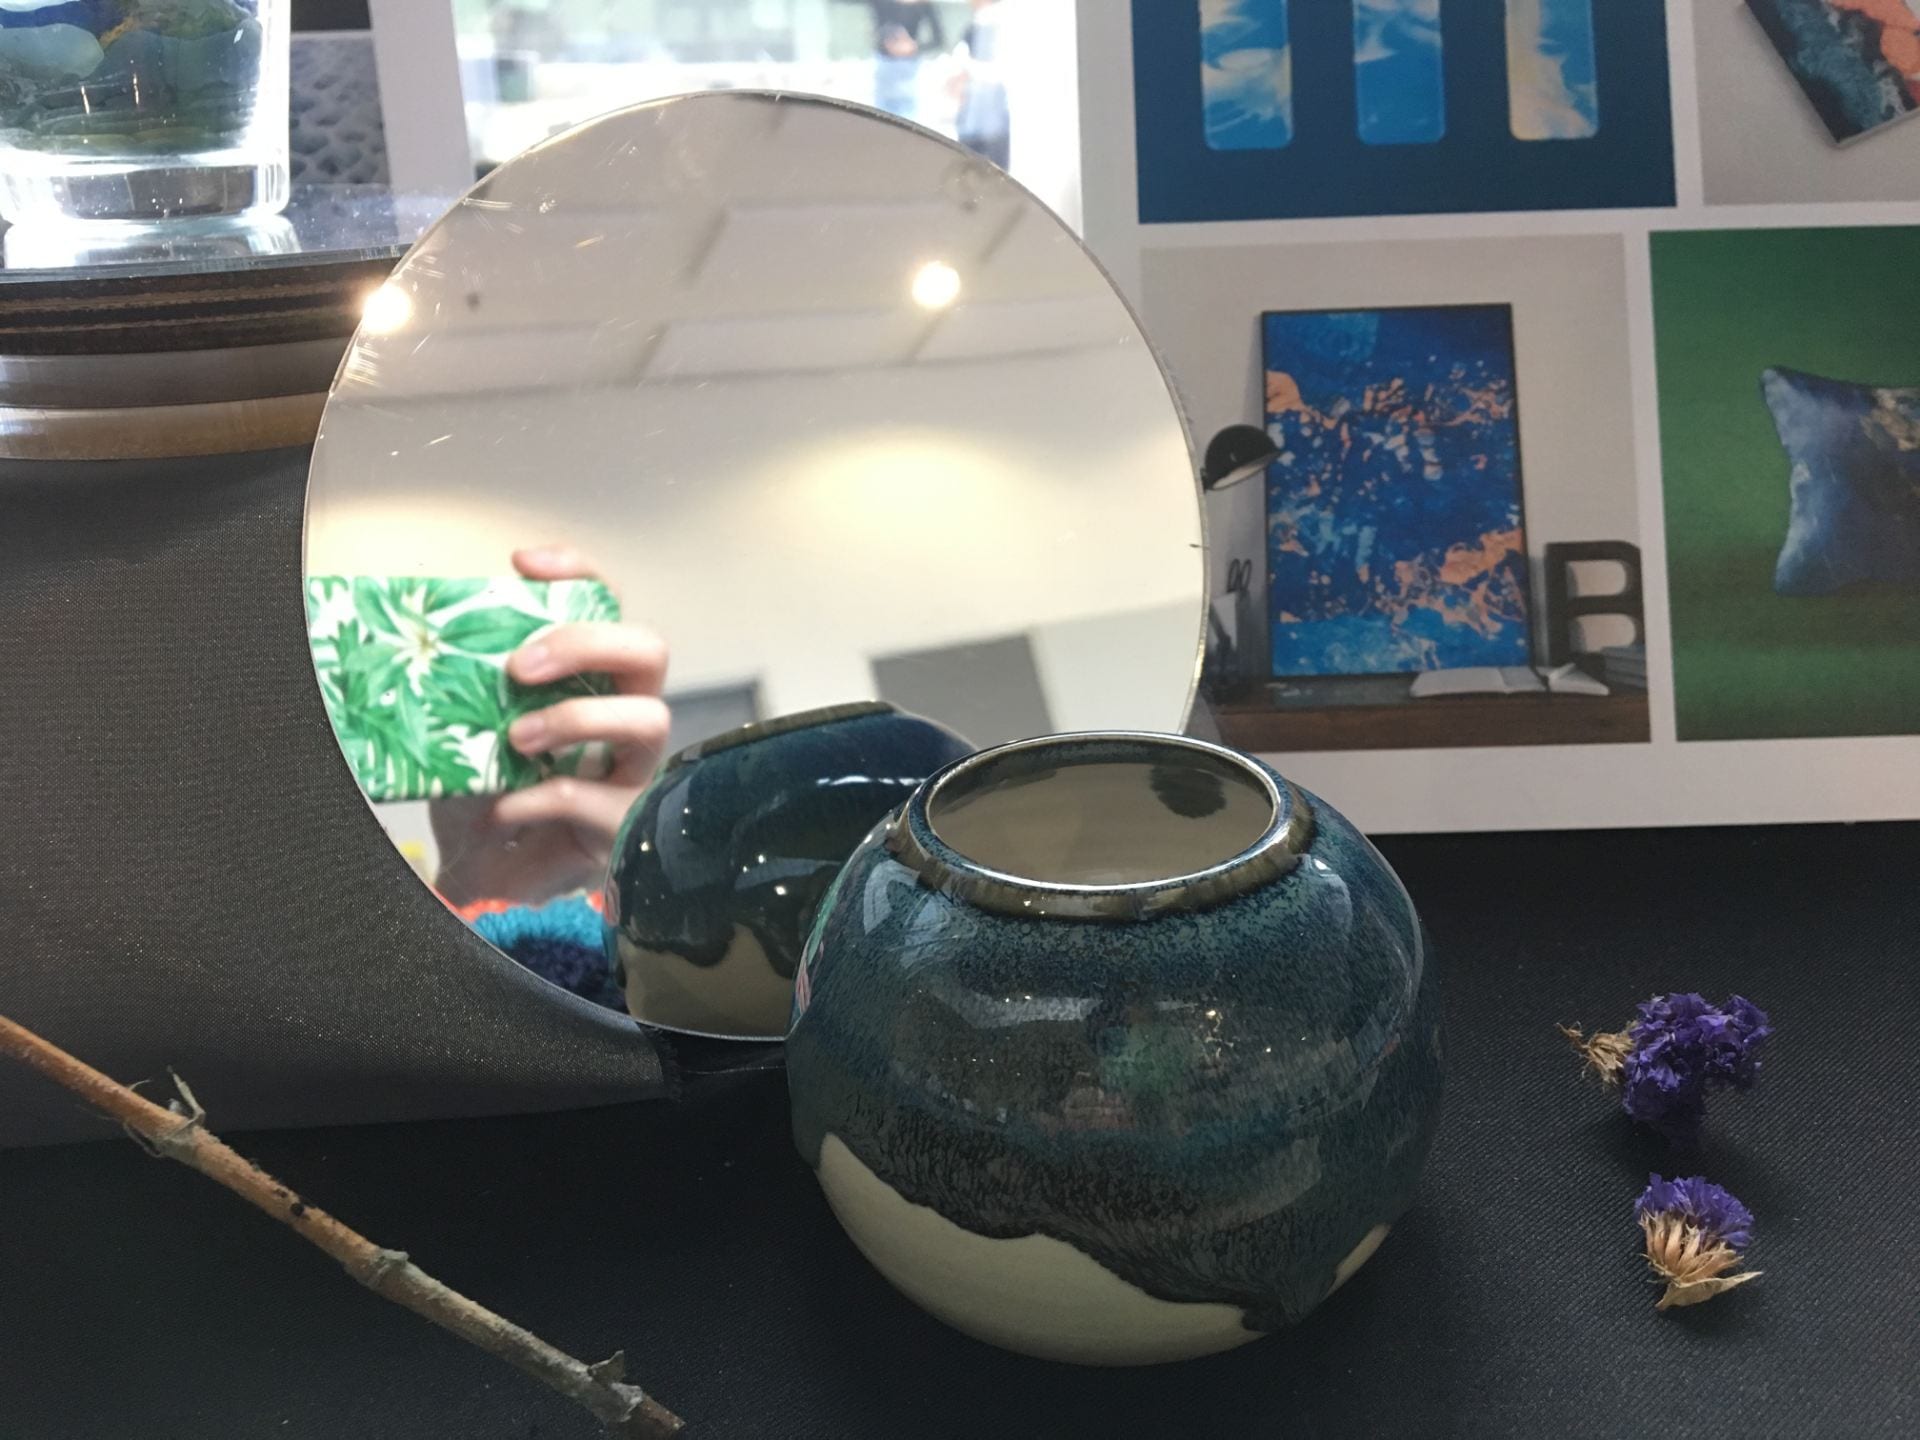
Exhibition Display


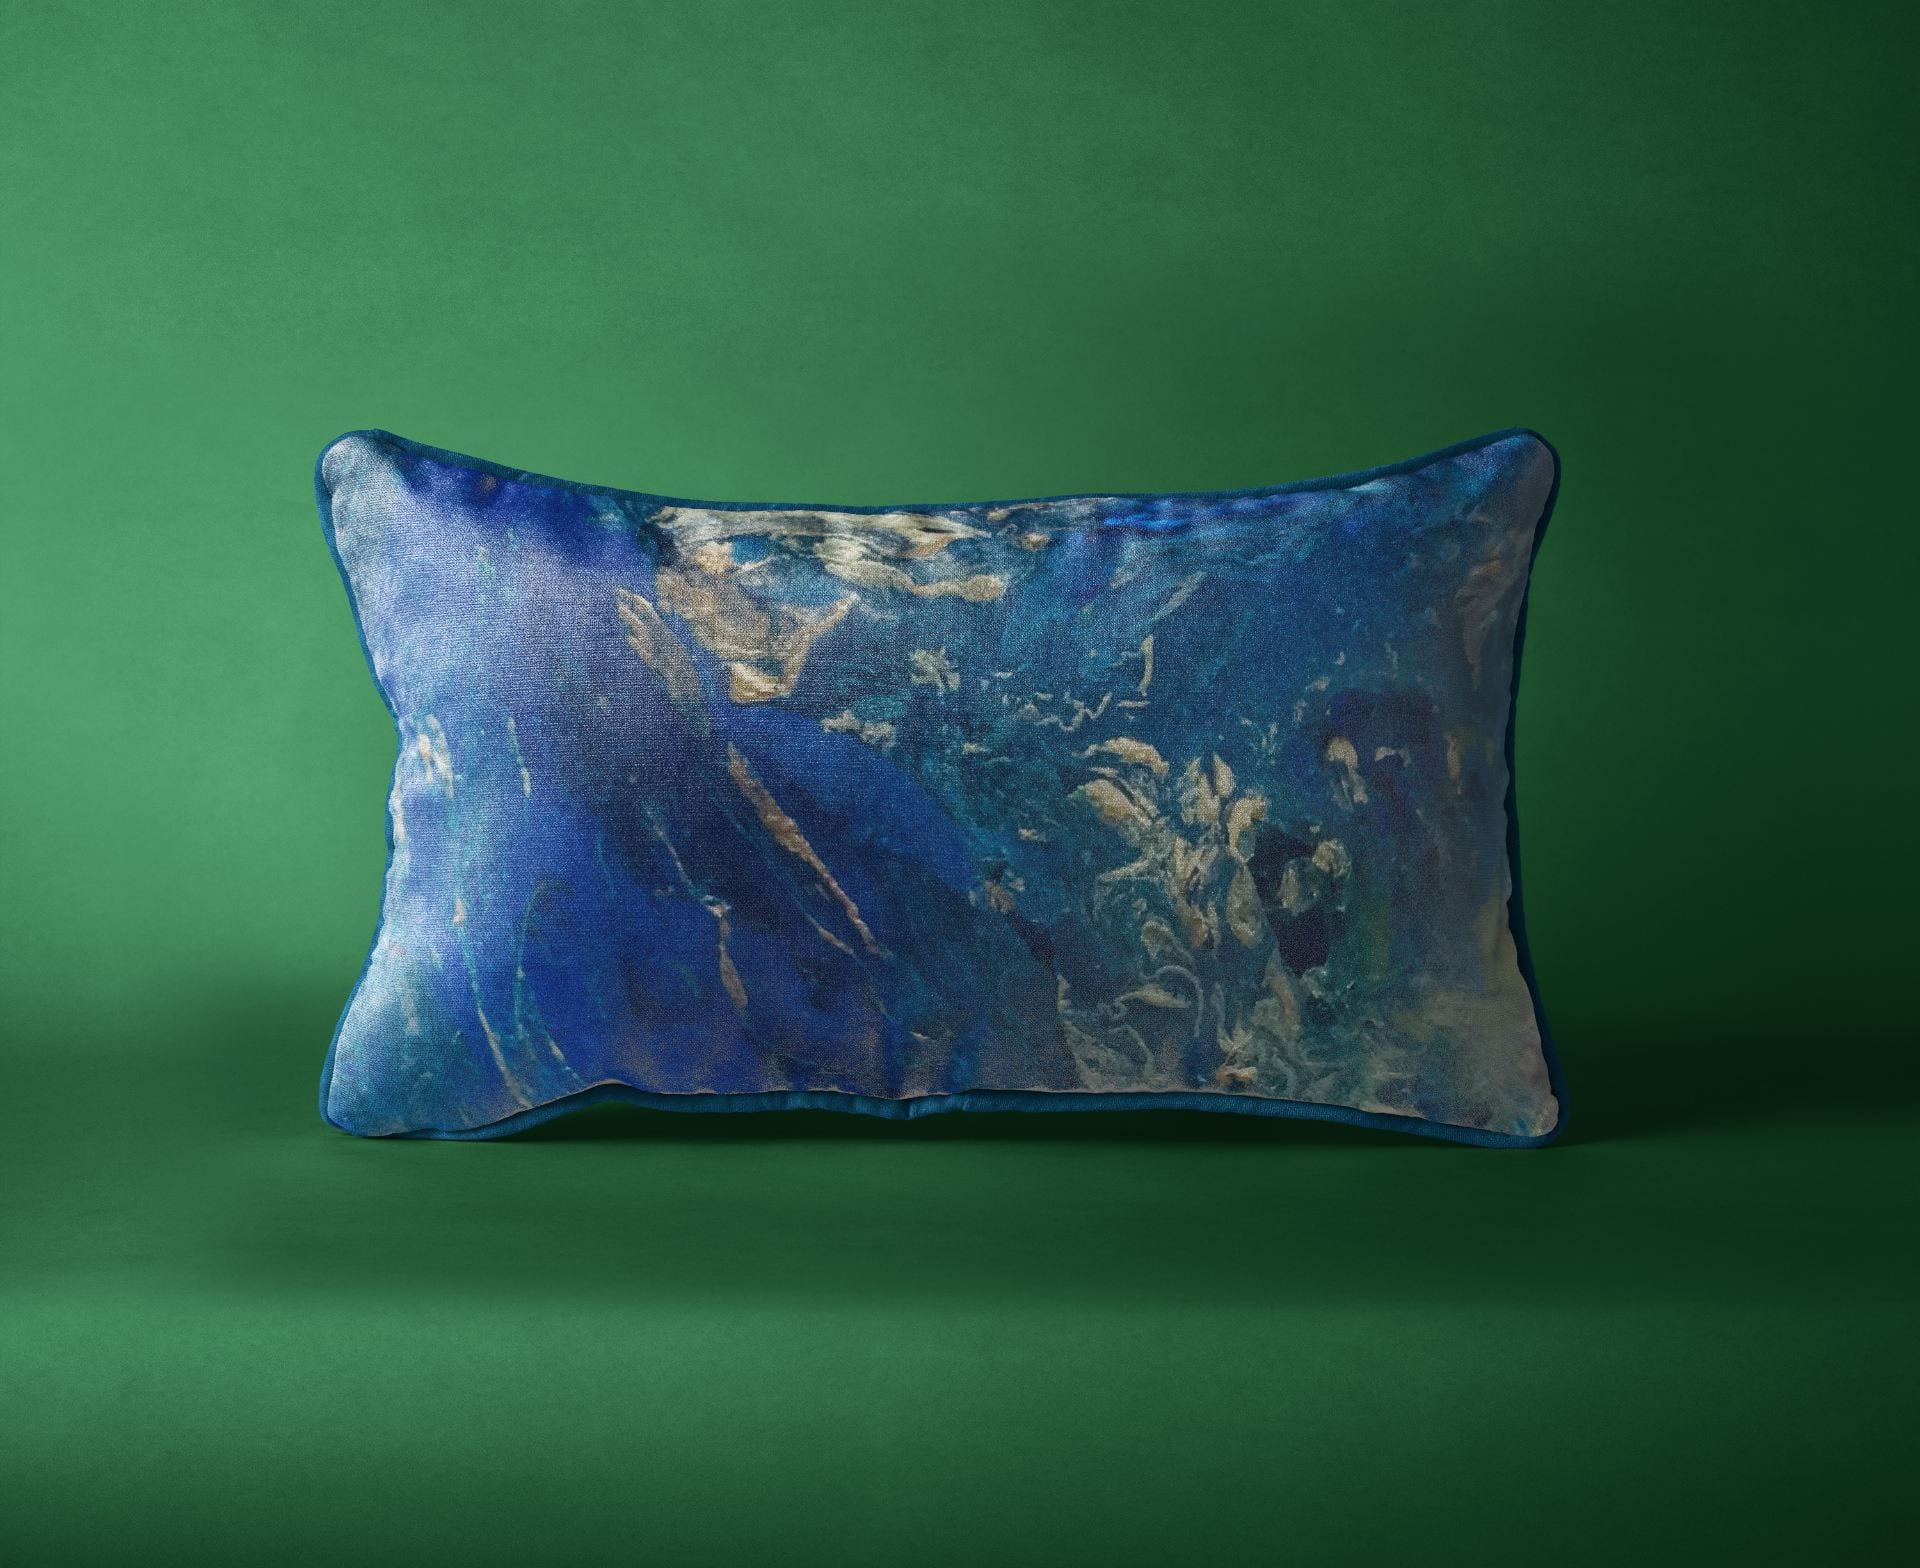
Final Product: Candle Holder
While using, melted candle wax adds layers onto the glacier pattern. The gradual formation of glacial landscape is seen on the reflective base.


Lau Yi Wen
While using, melted candle wax adds layers onto the glacier pattern. The gradual formation of glacial landscape is seen on the reflective base.
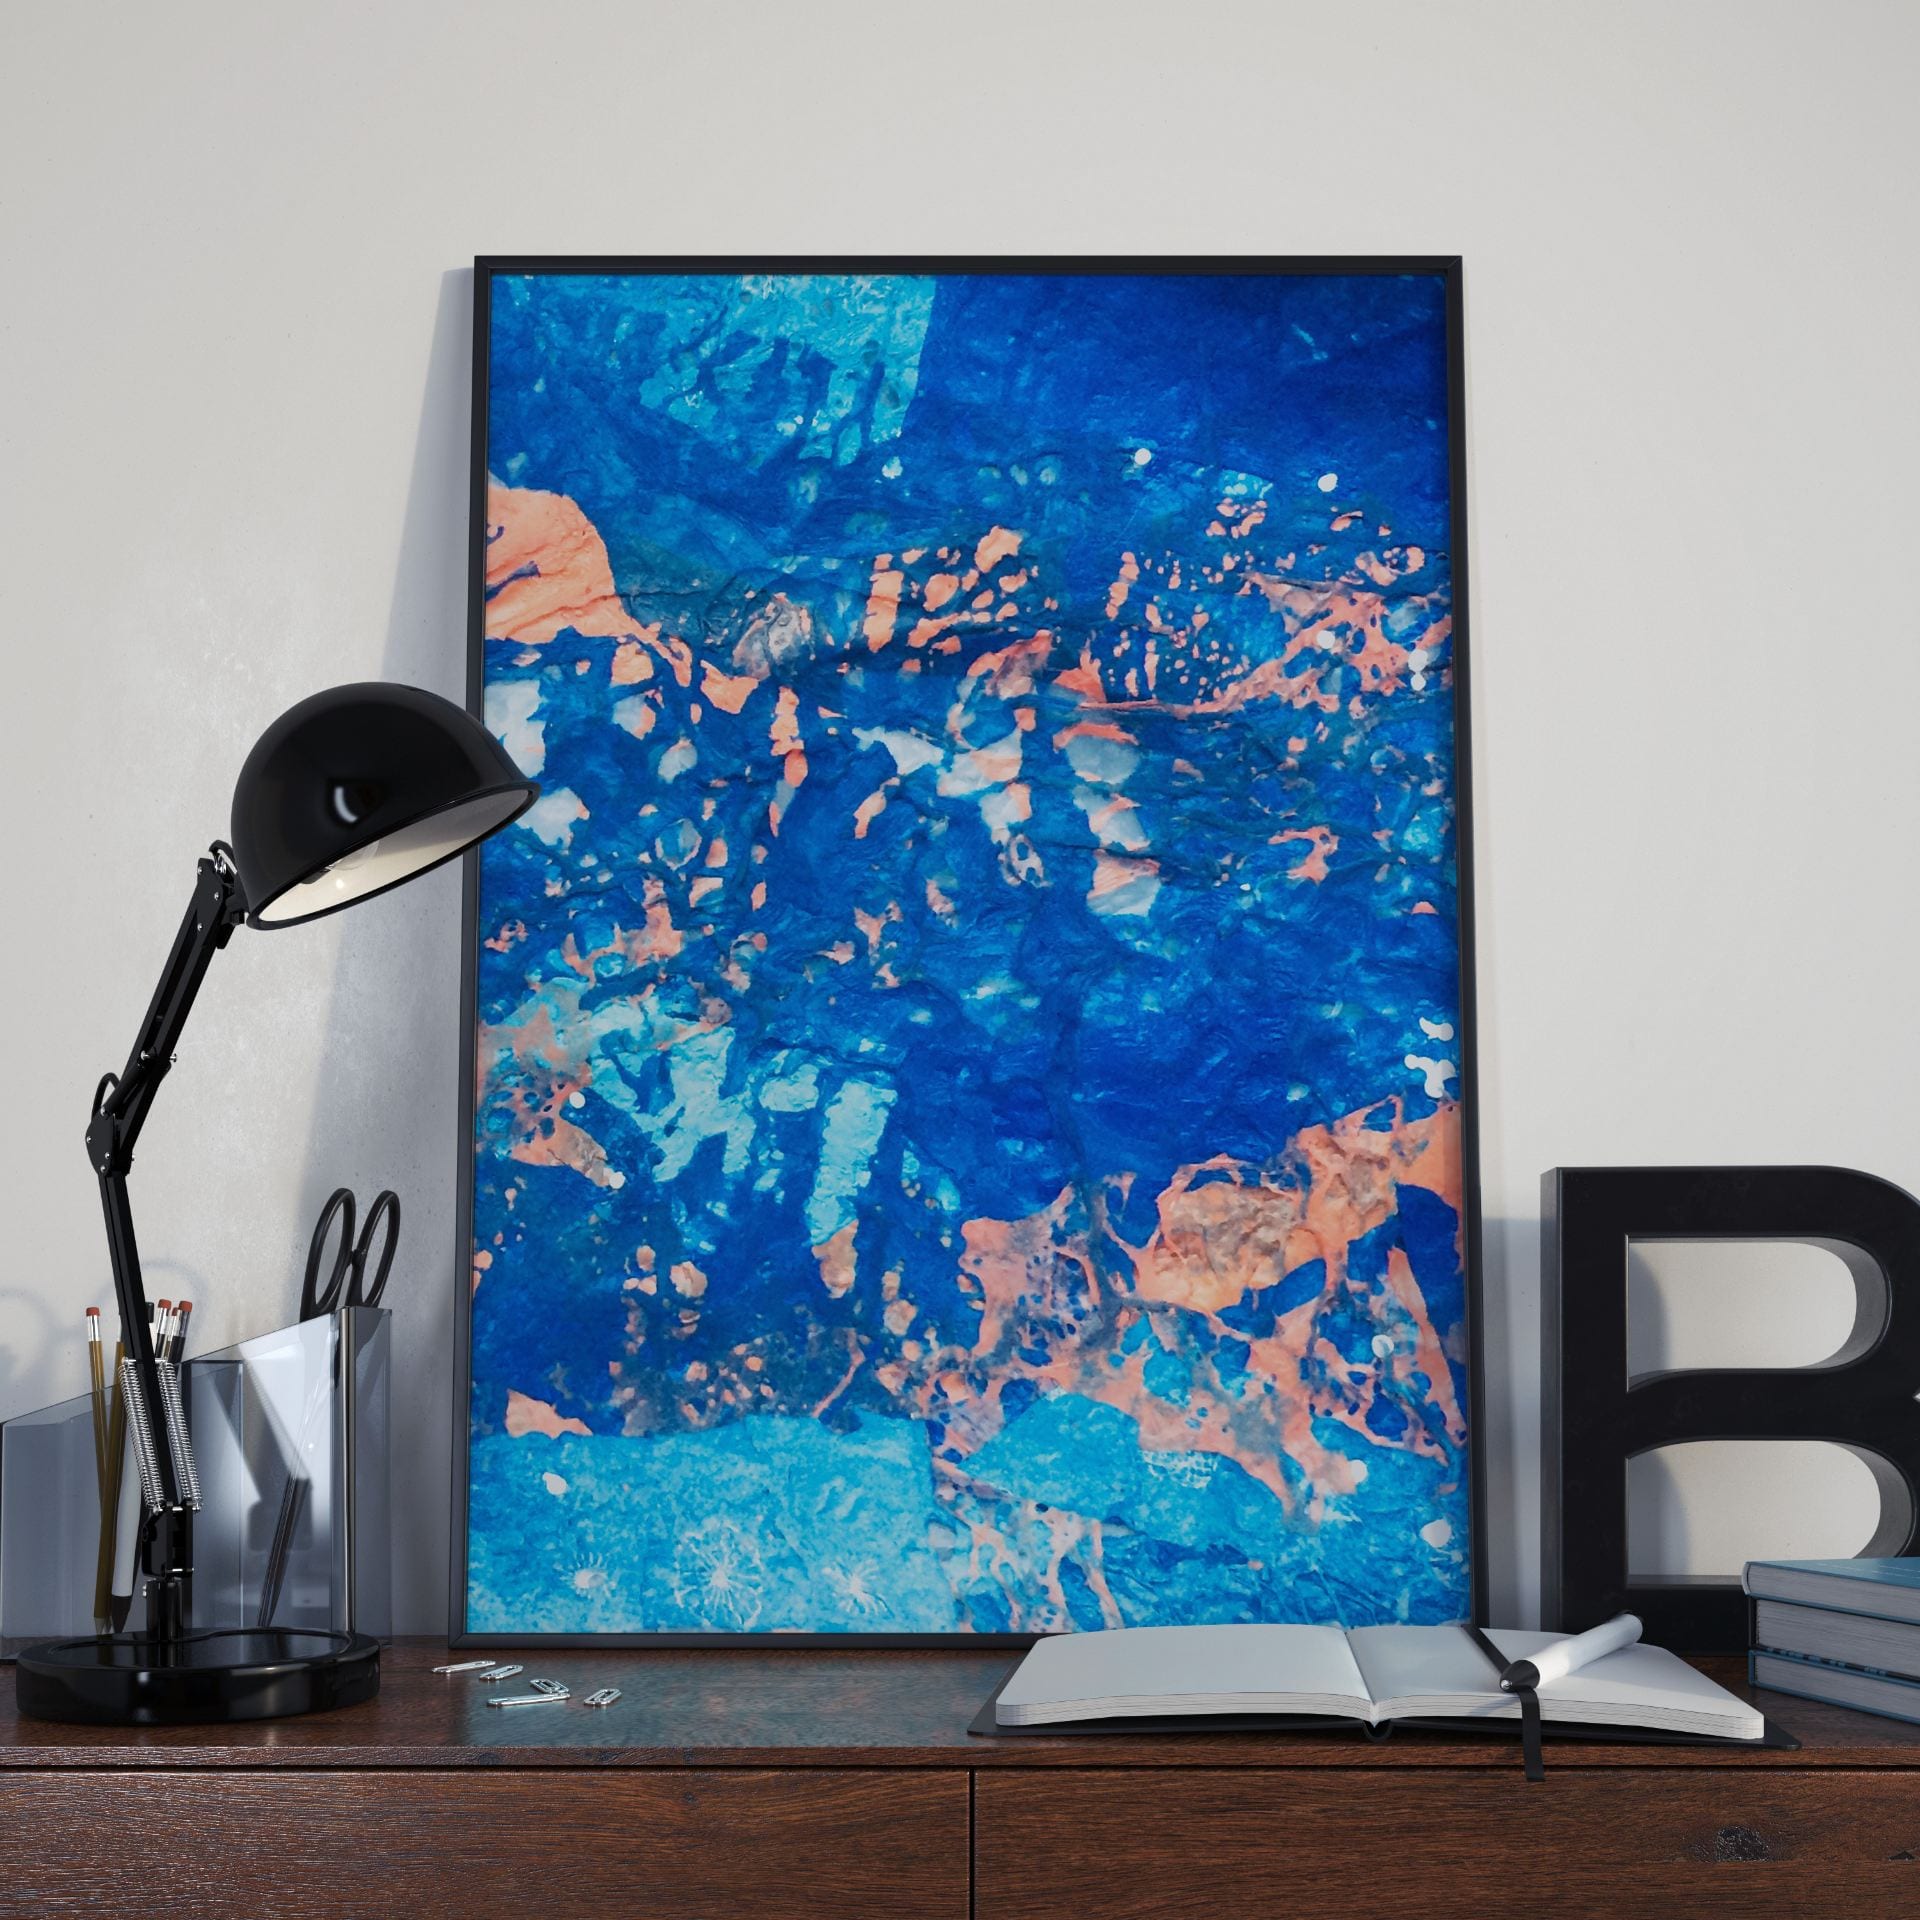
Looking through the aerial views around the world via Google Earth map, I find the glacier by the river in Iceland with the most interesting surface texture. It lays strong foundation base structure of ice. While in the midst of melting, it possesses the fluidity of river. This phenomenon channels glacier gracefully along the river, forming pockets of dry and wet lands.
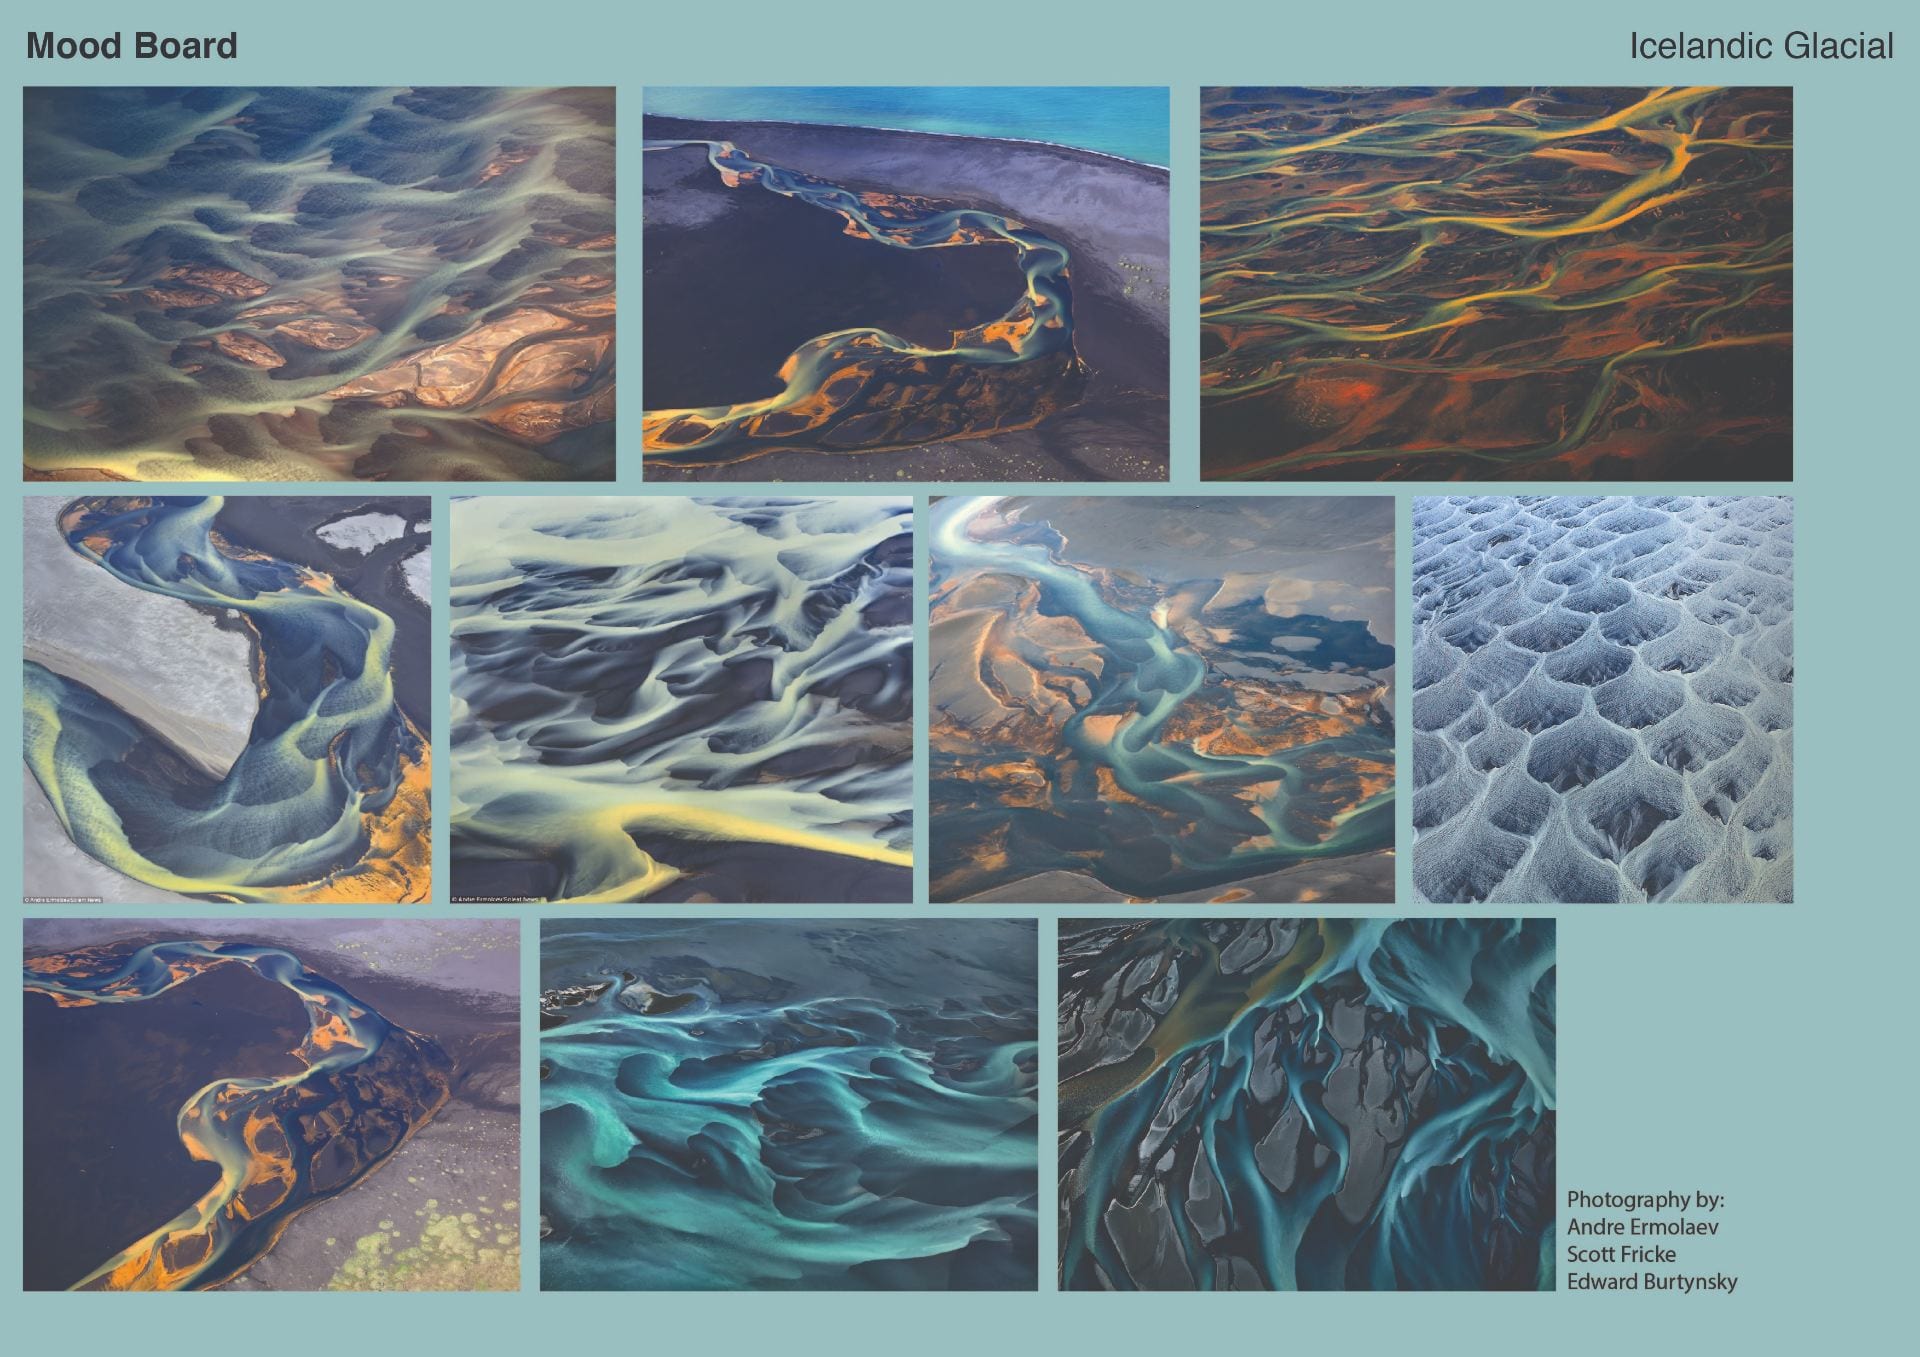
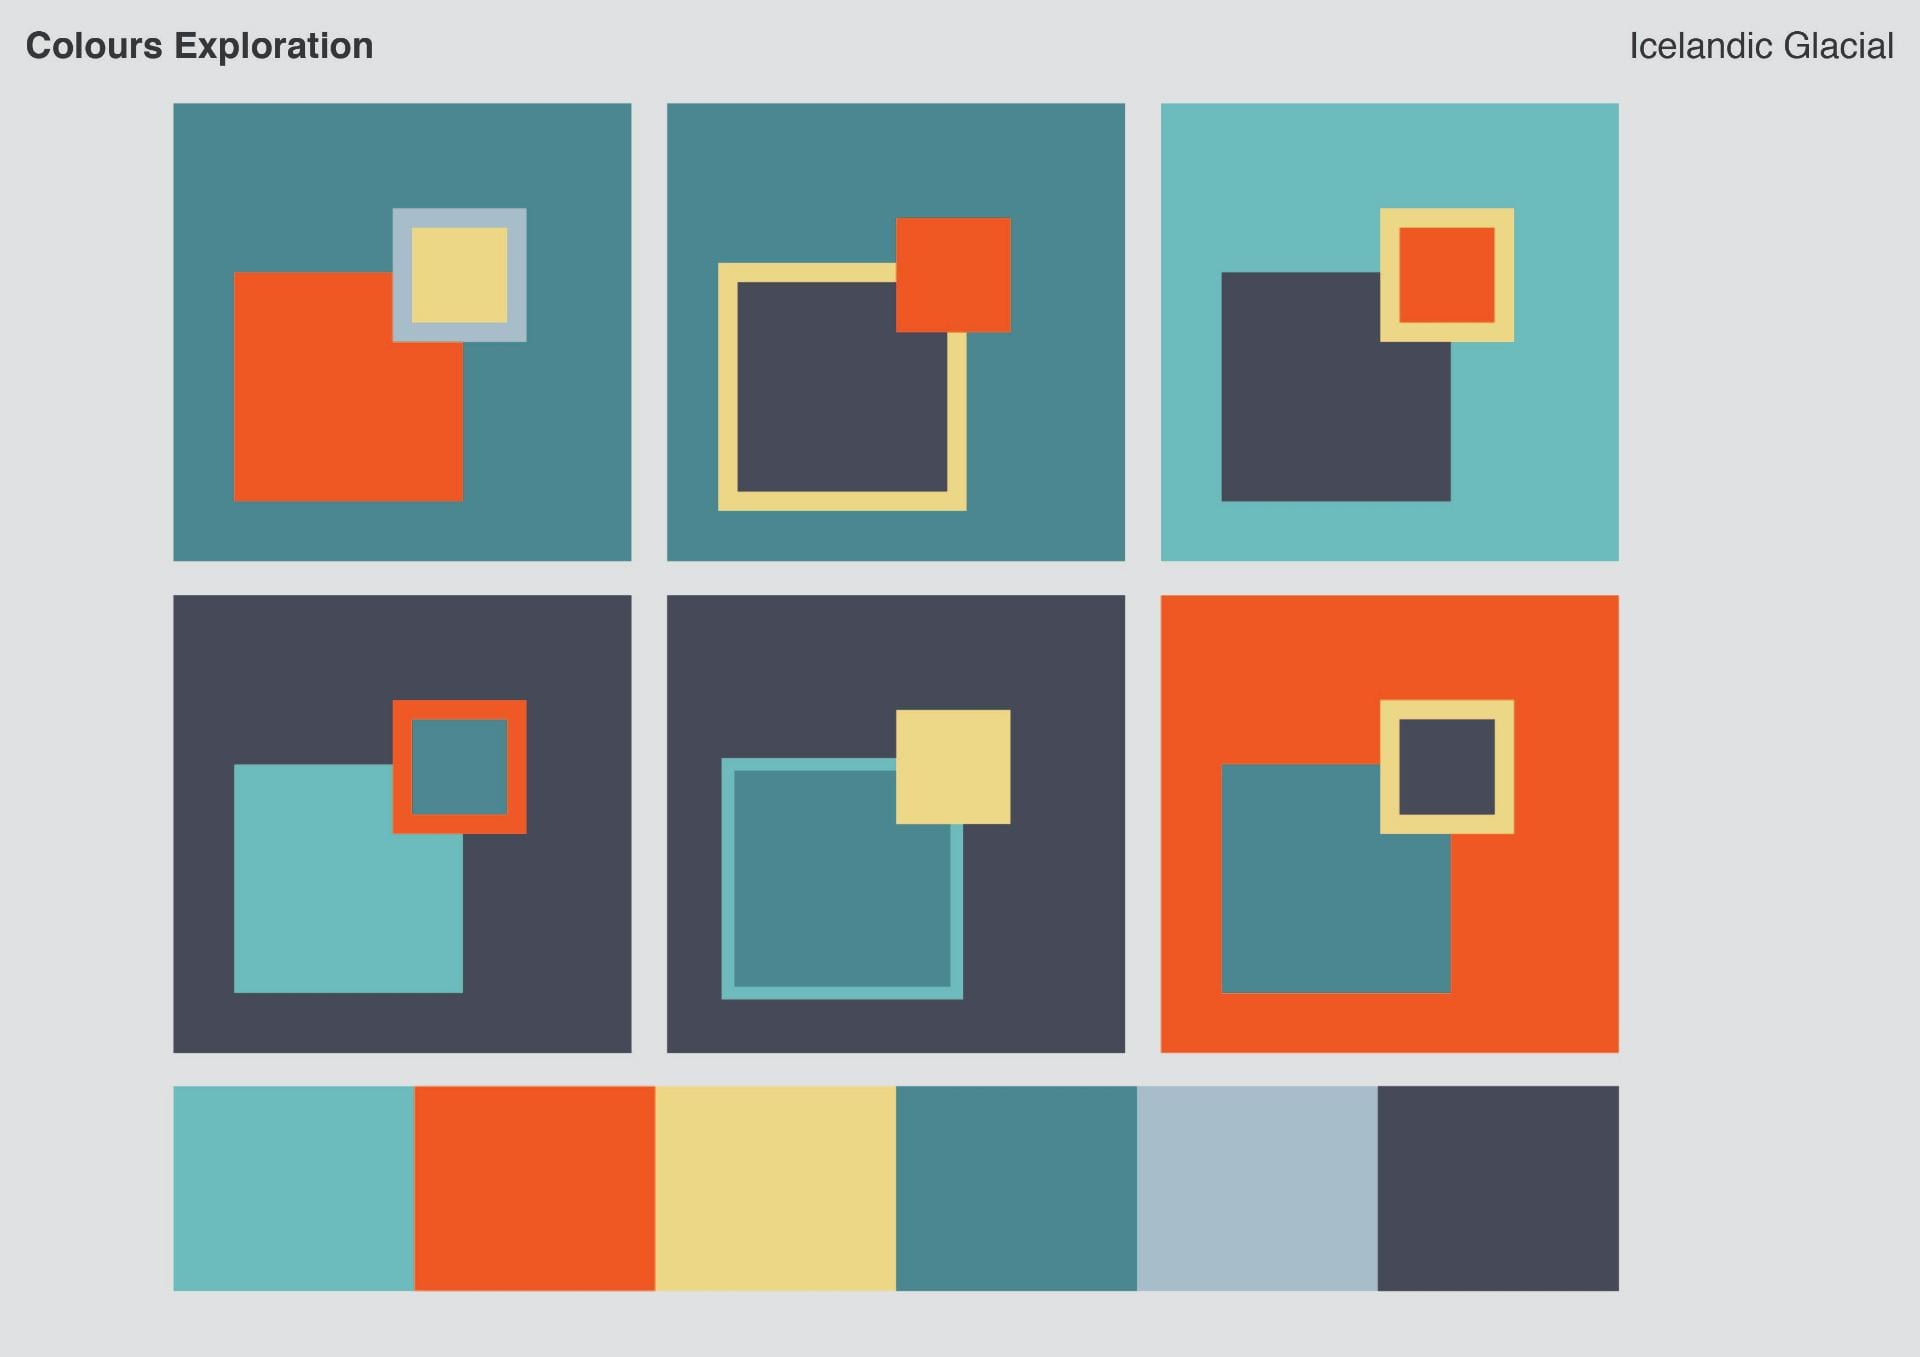
The landscape photographs captured how clear ices reflects the intense blue sky and shades of earth orange from the drier lands. Hence, I picked the dominant colours of blue and subsidiary colours of orange, yellow and grey.
#01 Marbling on paper


Materials: Paper, acrylic paint, cornstarch, water
Pour cornstarch into boiling water (in proportion of 3:8) and let it cool down. Starch allows acrylic paint to sit on the water surface for a longer time. Final outcome wasn’t desirable as they appear too pastel.


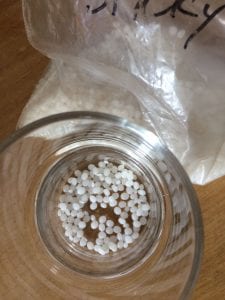
#02 Plastic Fusing


Materials: Lots of plastic bags, styrofoam beads
The translucent quality of plastic bag was helpful to build depth and perforated holes resemble the structure of glacier by the river. I added white styrofoam beads as it looked too dull.
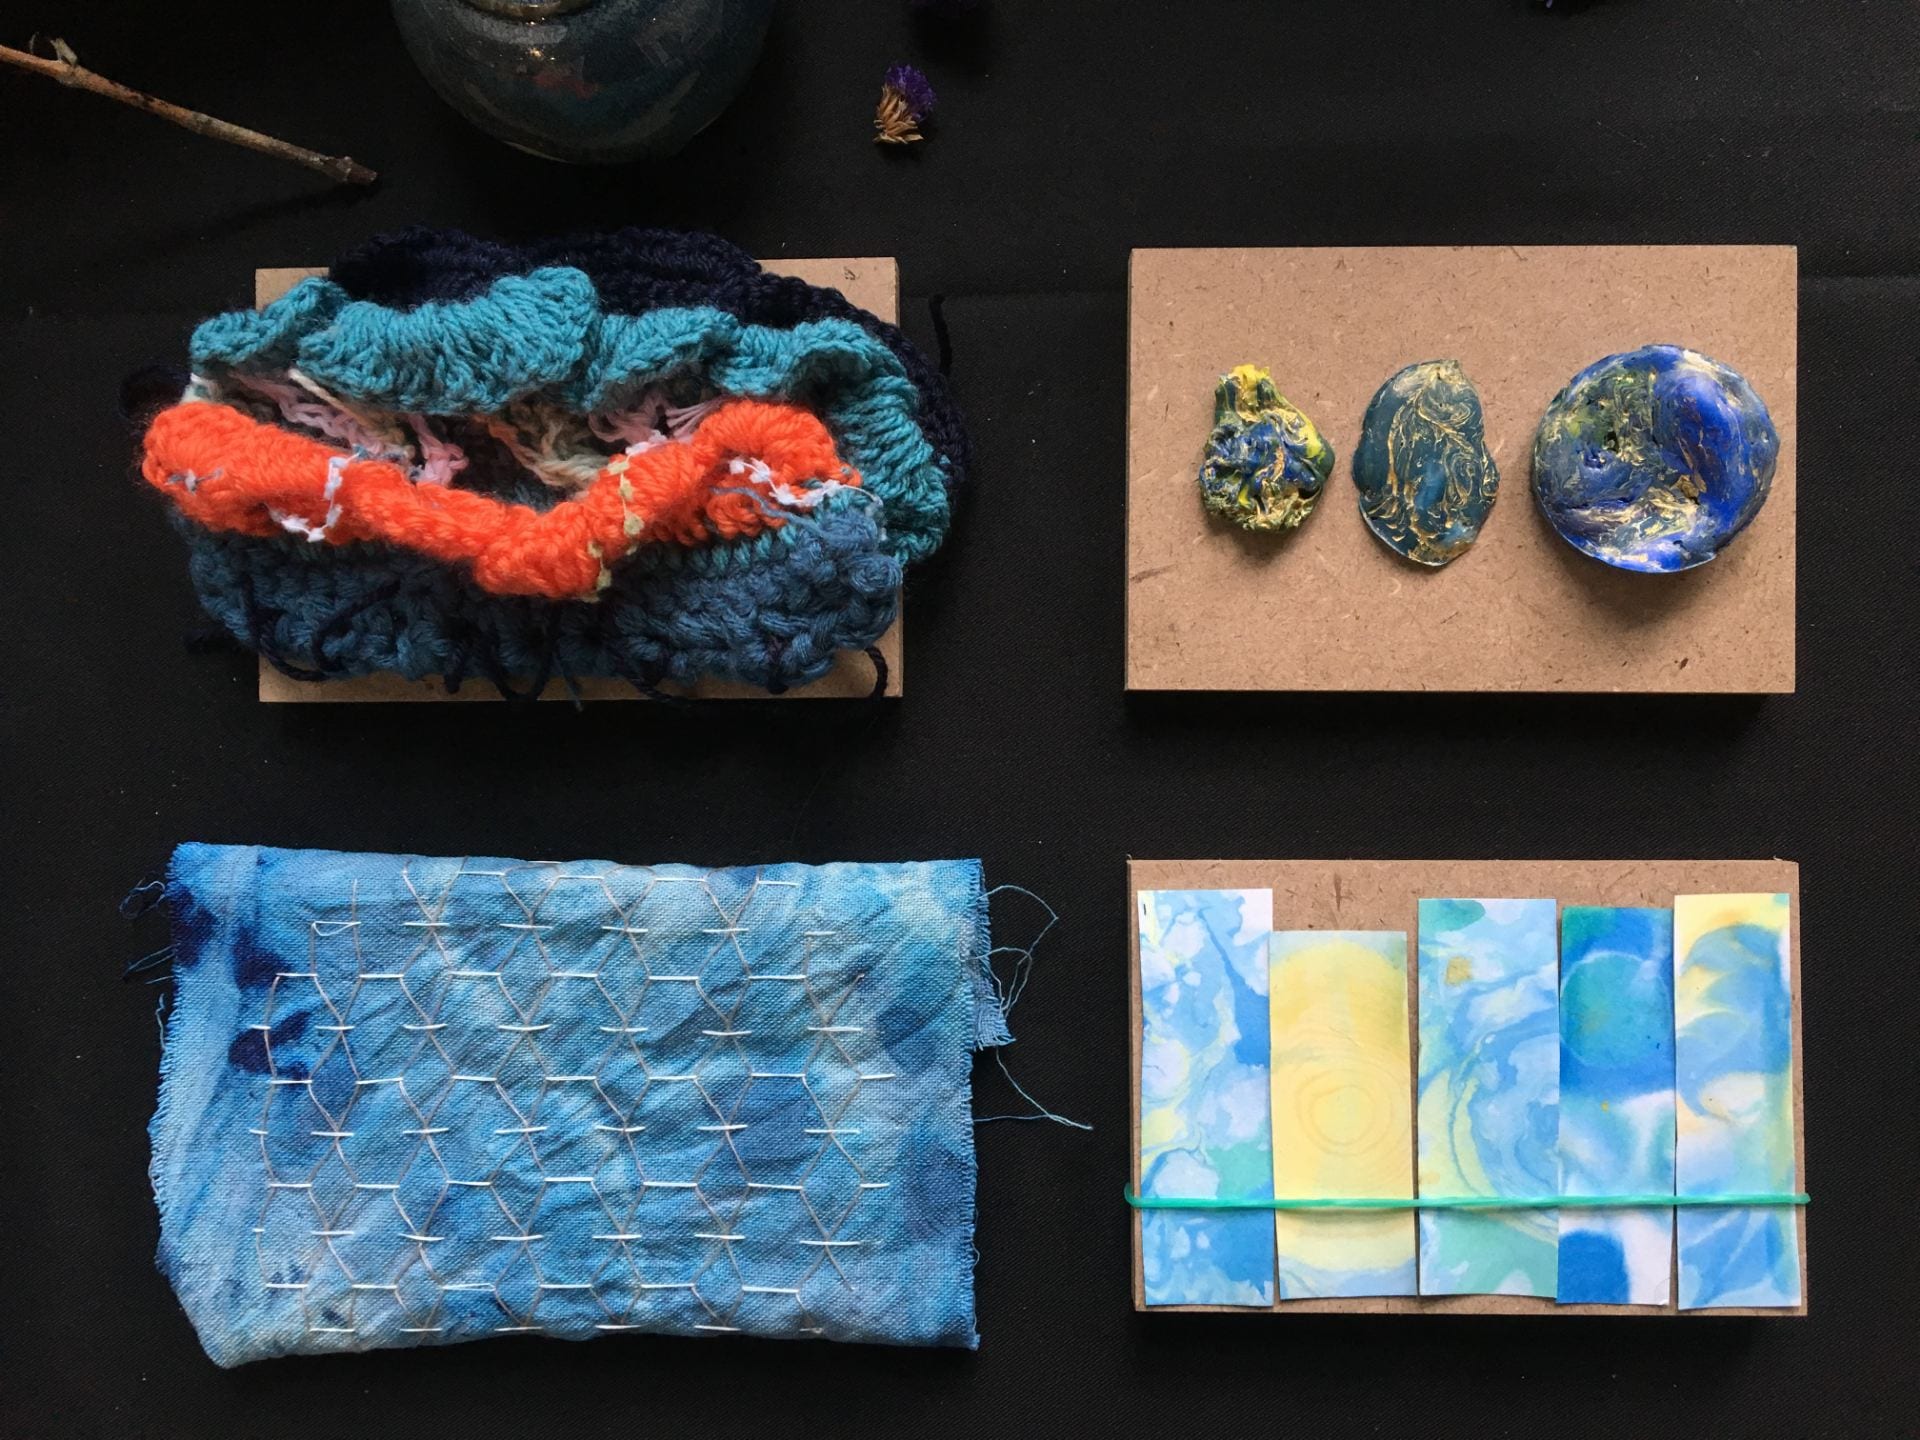
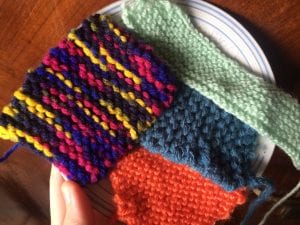
#03 Crochet


Materials: Yarns, crochet hook
I decided to experiment with softer material. I chose crochet over knitting as it gives more texture. Wave crochet adds more substantial layers to the base.
Here’s the tutorial I followed:
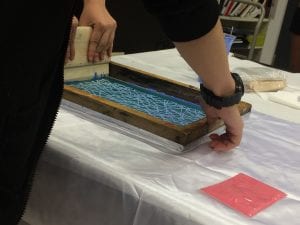
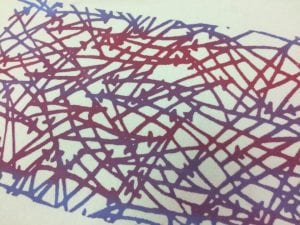
#04 Batik Dye + Stitching


Materials: 100% cotton fabric, batik dyes, rubber bands, threads, needles
This is another experiment with soft material using cotton fabric. I tied fabric with knots before dipping into the dye. I did not submerge the entire piece of fabric as I wanted an ombre effect. I also dripped dye directly onto the cloth for darker patches of blue.
To finish off, I stitched up patterns that resembles the pockets of ice and dry land.

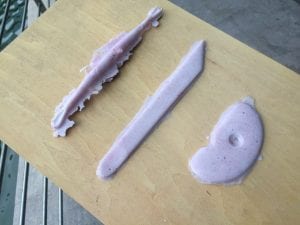
#05 Moldable Plastic


Materials: Moldable plastic, oil paints, hot water, stirrer, glass cups
Moldable plastic was an alternative material to resin for me, as I wasn’t able to get hold of resin. My first attempt to work with this material was tough :’) It requires constant high temperature to mold but there’s no pots to sacrifice. Hence, I ran through multiple rounds of hot water to keep it in its moldable state.


How it works:


Oil paint was mixed into the mold. Swirling patterns are done while it is hardening.
I decided to use moldable plastic to create my final prototype since the outcome matched closest to the glacier water.
Sources:
Video: CROCHET: Wave border tutorial by Bella Coco – https://www.youtube.com/watch?v=mim4dNbgxnY
Video: Polly Plastics Moldable Plastics Instructional Demo – https://www.youtube.com/watch?v=cN4KFkIb7Lc
Photo references:
Andre Ermolaev – http://andre.ru/welcome-to-andre-ermolaev-creative-photography/fine-art-photo-portfolio-andre-ermolaev/aerial-iceland-rivers/
Scott Fricke – http://www.frickephotography.com/gallery/iceland/
Edward Burtynsky – https://www.edwardburtynsky.com/projects/photographs/water
.
Lesson 12, 8 November 2018
Latex is a casting method that uses gum extracted from rubber trees to create flexible molds. It is often used for special effect models or masks.
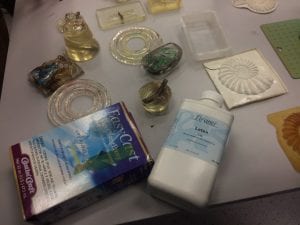
Materials: Latex, hardener, molding cast, plastic cups, stirrers, food colourings
Mix latex and hardener (in proportion of 100g to 4g respectively). Stir well before pouring into mold cast. Leave it to stiffen, about 15 minutes.


Resin casting uses acrylics, polyesters, urethanes or epoxies to create molds. It is a cheap production method as molding cast can be reused to create multiple copies. It is commonly used for industrial prototypes and dentistry models.
Materials: Latex, hardener, molding cast, plastic cups, stirrers, acrylic paints
Mix latex and hardener (in proportion of 100g to 4g respectively). Stir well before pouring into mold cast. Leave it to stiffen, about 15-30 minutes. Keep in mind to not touch resin during curing as it heats up. Smoke may appear too.


Material application:


Sources:
http://www.castingabout.co.uk/Latex.html
http://www.industrialmetalcastings.com/casting_resin_casting.html
Lion latex prosthetic mask – https://www.mostlydead.com/products/lion-foam-latex-prosthetic
Resin abyss pendant – https://www.etsy.com/es/listing/628069002/abyss-pendant?ref=shop_home_active_11
.
Lesson 11, 1 November 2018
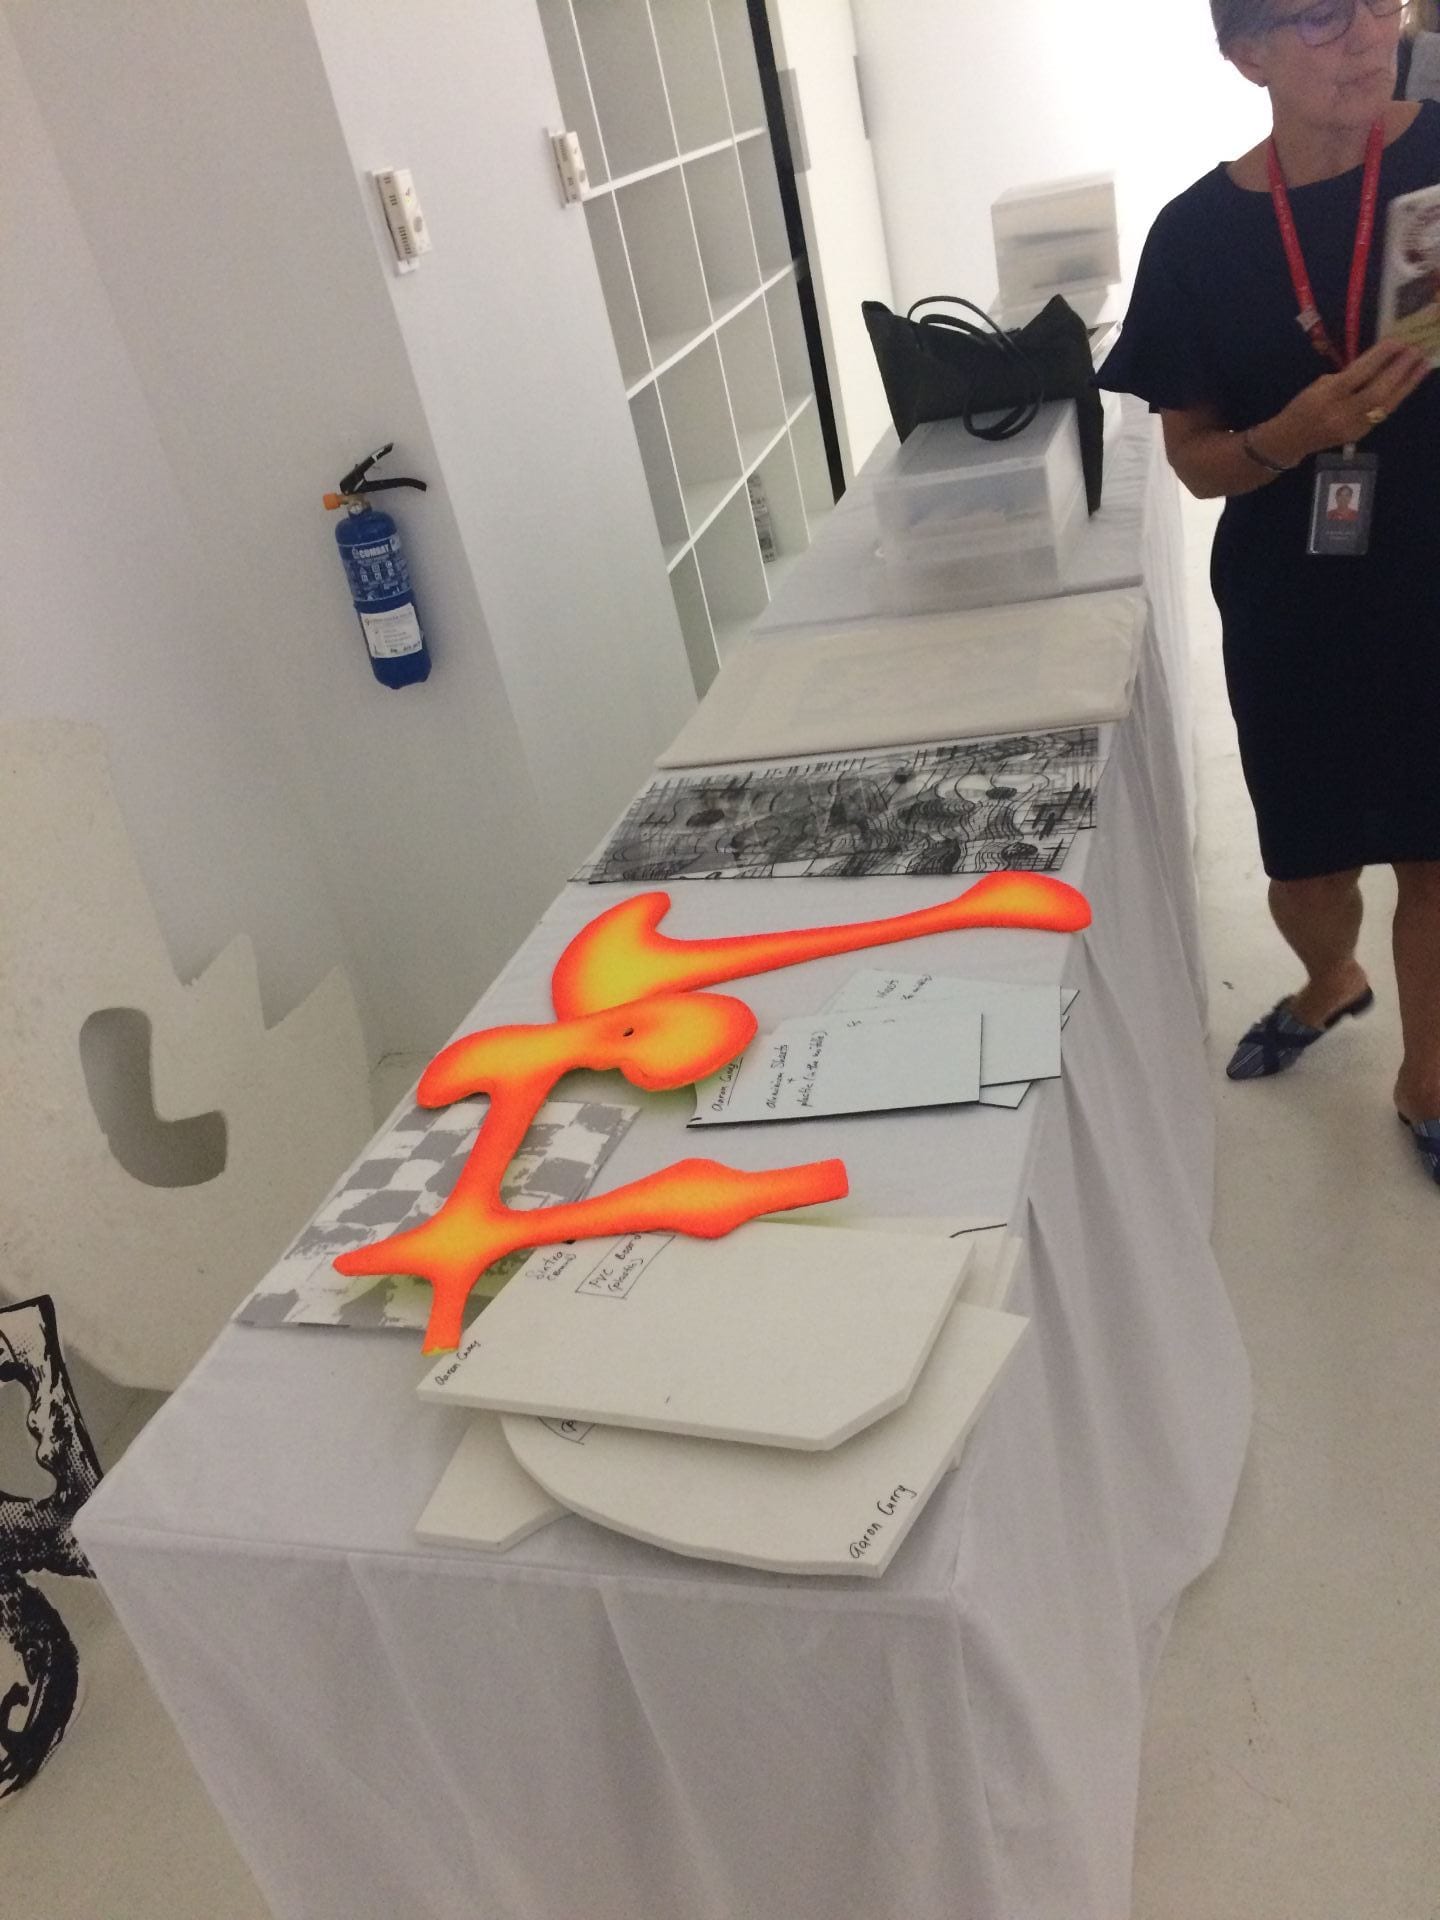
The Singapore Tyler Print Institute (STPI) is a creative workshop and gallery that curates contemporary art from all around the world. International artists are invited to collaborate with the in-house printing workshop to create their work from print and paper. Every year, 5-6 artists conduct research, create and sell artworks with the help of SPTI printmakers. This summer, Aaron Curry is invited to work with the team.
Born in Austin, Texas, Aaron Curry (b. 1972) grew up in a poor family with no books to read. He spent most of his childhood skating outdoors. This part of his early life heavily influenced his current artworks: BMX bikes, skateboards, graffiti, neon colours.


Also a musician, Curry incorporated forms inspired by guitar to his illustration. You can also see his references to his favourite music (Canadian rock band The Kings) and movie (2001: A Space Odyssey). His work is both 2-dimensional and 3-dimensional at the same time, resembling Cubism works where illusional depth is created on 2D surface.

The last important motif in Curry’s work is biomorphic shapes of body parts. He translated personal fear and sadness into his work when his sickly wife had a liver and kidney transplant. You can interpret such references from the sharp objects cutting through bones and body parts.

Process of Curry’s production in STPI:
Watch Aaron Curry’s interview here:
Aaron Curry is able to create bold art not just from the provocative motifs and colours represented. It was bold because he embraces his personal experiences and cultural perspective of the world to his work. The meaning behind his work speaks dynamically raw to audiences.
From the interview above, Curry found himself using new approach to create his works while working with STPI. This resonates with our learning process in this class, where we push our aesthetic boundaries by challenging ourselves to use different materials every week.
Visit STPI:
Sources:
https://www.stpi.com.sg/about/
https://www.stpi.com.sg/artists/aaron-curry/
Video: Aaron Curry: Fragments from a Collective Unity by STPI – https://www.youtube.com/watch?v=TxlylSVnifQ
.
Lesson 10, 25 October 2018
Materials: Yarns, knitting needles
Here’s one of the easier tutorial video to follow through:

Materials: Yarns, rafia strings, twines, crochet hook.
I-cord crocheting with yarn and alternative materials:


Video tutorial I referred to:
Material application:


Sources:
Video: Knitting Basics: Getting Started by Hobby Lobby – https://www.youtube.com/watch?v=hM5M2Fu0RtY&t=443s
Video: CROCHET: I-CORD by Bella Coco – https://www.youtube.com/watch?v=o97aBEJ4Mto&t=77s
Men’s Hand Knit Sweater – https://www.knitwearmasters.com/products/mens-hand-knit-sweater-149b
Crochet plant hanger – https://www.etsy.com/sg-en/listing/398875897/macrame-hanging-table-or-plant-hanger-in?ga_order=most_relevant&ga_search_type=all&ga_view_type=gallery&ga_search_query=&ref=sr_gallery_19
.
Lesson 09, 18 October 2018
Bleaching on dark fabric works similarly to tie dyeing, but with a quicker outcome (~1 minute).
Materials: Bleach cleaner, dark cotton fabric, rubber bands, spray bottle
Tie knots on fabric with rubber bands. Spray evenly onto fabric surface. Add water to dilute bleach if necessary.


.
Lesson 09, 18 October 2018
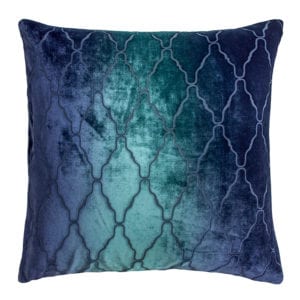
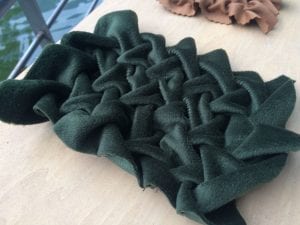
Fiber etching is a technique that removes plant fibers such as silk, cotton, linen, and rayon yarns. The subtractive method create etched patterns that can be often seen on gown dress. It is an expensive technique for its laborious and repetitive process of ironing to slowly strip off the fibers.
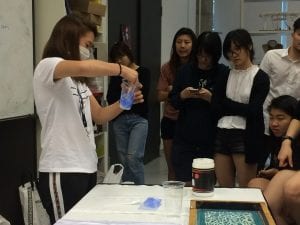
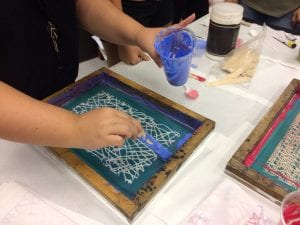
Materials: Fiber etching gel, 100% natural velvet fabric, silk screen frame, squeegee, plastic cups, stirrers
Place velvet fabric under screen frame and pour etching gel across. Run gel across frame with squeegee. Slowly remove frame and leave it to dry.

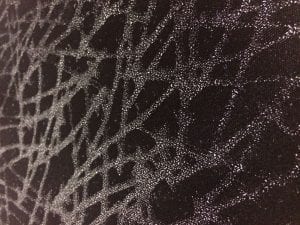

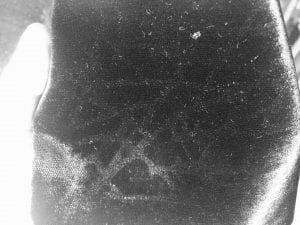
It can be hardly seen on camera so I had to overexpose these photos (so sorry :’)). Unfortunately the etching gel wasn’t enough to remove the fibers. The velvet fabric was not entirely 100% natural to give the best result too.
Material application:

Sources:
http://www.wwwearables.com/fiber-etch/index.htm
Etched pillows by Kevin Obrein Studio – https://www.kevinobrienstudio.com/product-category/pillows/
.
Lesson 08, 11 October 2018
Thermochromic ink changes colour temporarily when reacted with heat. It is categorized into two types, reversible and irreversible.
Such inks have pragmatic commercial use as an indicator to authenticate the genuine goods when the color appears correctly, for food safety measures and forensic crime experiments.
Materials: Thermochromic pigment + binder, cotton fabric, silk screen frame, squeegee, plastic cups, stirrers
Mix pigment and binder (50-50) and stir well. Place fabric under screen frame and pour mixture across. Run mixture across frame with squeegee. Slowly remove frame and leave it to dry.


Material application:


Source:
.
Lesson 07, 27 September 2018
A field trip to Touch & Print store! Specialising heat press service, it is main distributor for TheMagicTouch and Poli-Tape transfer media paper in Southeast Asia.
Leon gave us a presentation on basic knowledge to printing and inks.

RGB (
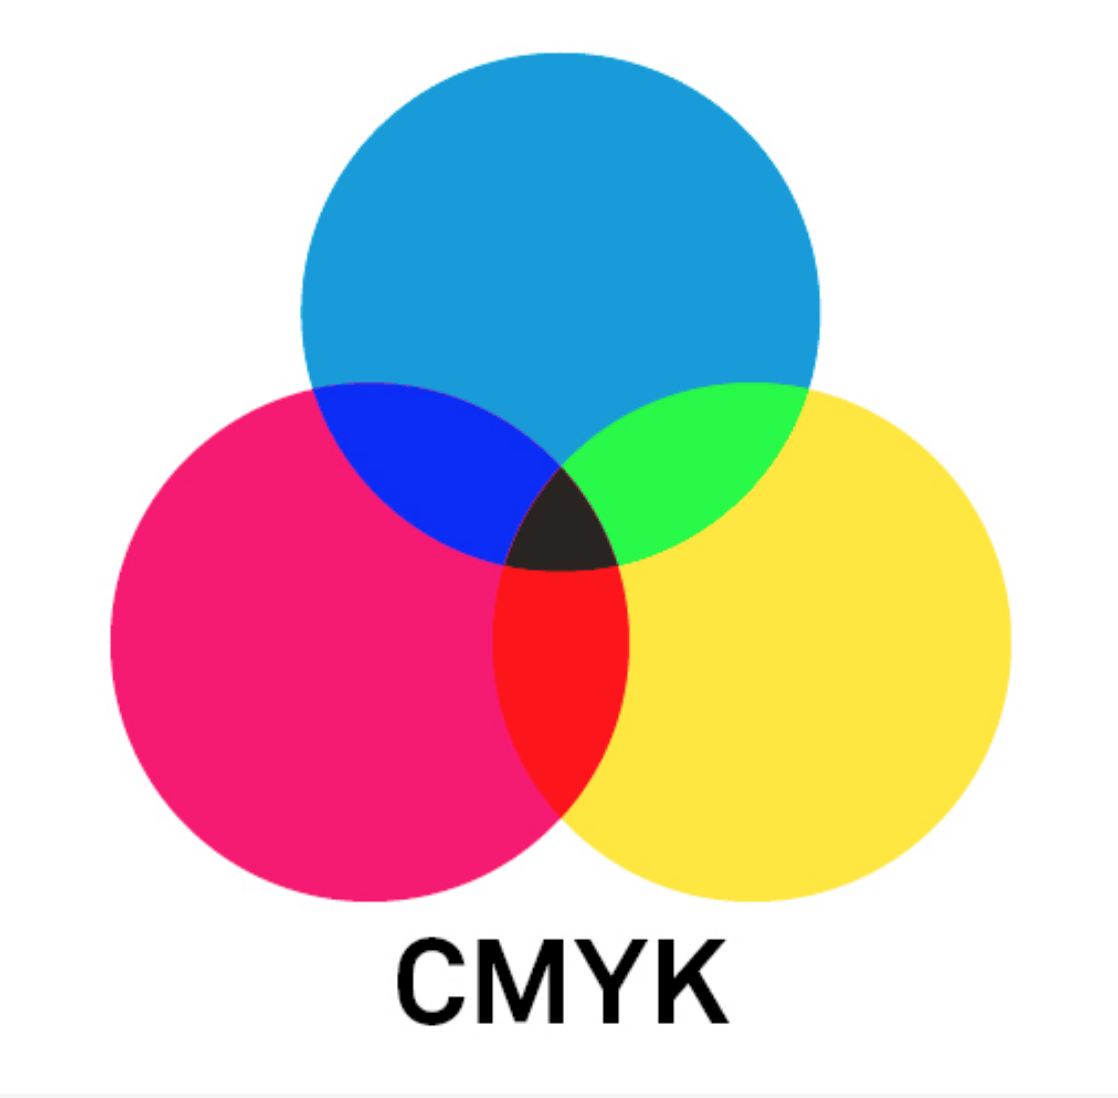
CMYK (Cyan, Magenta, Yellow, Key [or Black]) is a subtractive colour model that works primarily with cyan, magenta and yellow. The more colours are mixed, the darker colour it produce. Since the darkest colour mixed is dark brown, key is required to print in black. CMYK has about 4 billions of colour shades although only a small fraction of colours can be identified via monitor and printer. Always use CMYK format when working with printed files.
Here’s a quick overview:
Range of mediums that can be printed with heat press.


Towards the end of the workshop, Leon demonstrated the use of heat press machine. An additional step he took was to spray some water onto the fabric before heat pressing. Increasing the moisture helps print to get transferred smoothly.
Visit Touch & Print Pte Ltd:
Add: 91 Bencoolen Street #01-04 Sunshine Plaza S189652
Tel: 6238 7553
Email: sales@touch-print.com.sg
Source:
RGB vs CMYK – https://www.gogoprint.sg/blog/cmyk-vs-rgb-sg/
Video: What is the difference between RGB and CMYK? by Express Cards – https://www.youtube.com/watch?v=9hirYMZ7PQc
.
Lesson 06, 20 September 2018
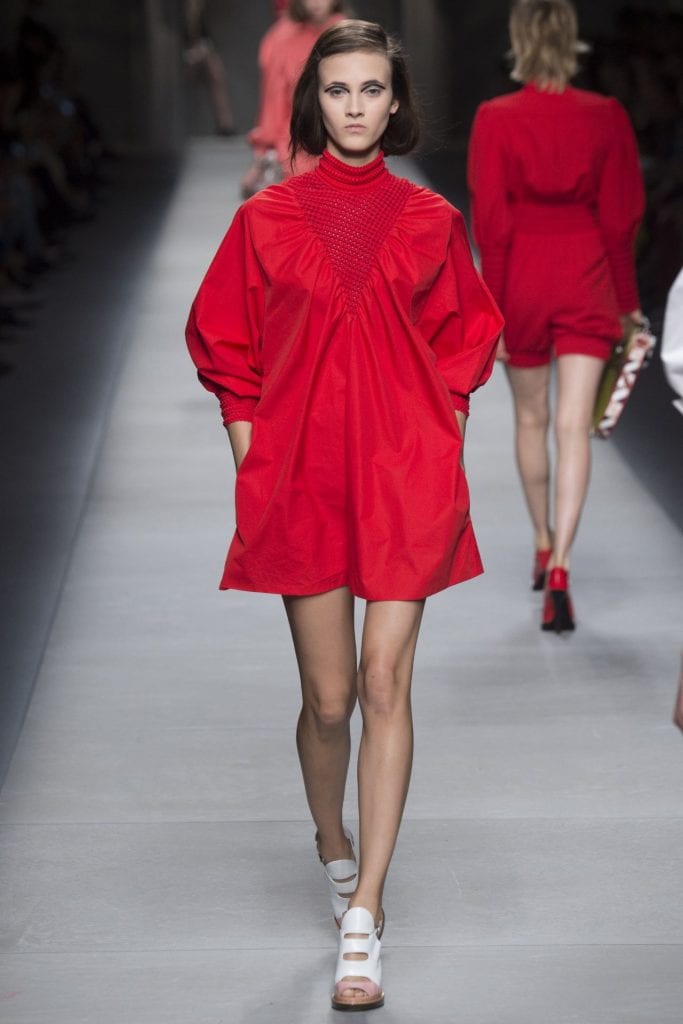
Manipulating fabric and paper use different stitching/folding techniques to create crease and folds on fabric. This creates a swatch of smocking pattern that typically embroiders on women’s clothes in the cuffs, bodices, and necklines.
Materials: Fabric, threads, pen, ruler
Start off by drawing grid lines at the back of the fabrics and make stitching marks across. Stitch up the patterns by hand.
Here’s a series of template created by Ligia Fiedler:

T e d i o u s work but the results were remarkable!! (I wish there is a faster way though)


Materials: 100% polyester organza, yupo paper, rubber bands
Using yupo paper (waterproof quality), fold desirable pattern. Repeat on another paper. Place fabric in between papers and refold patterns again. To mold, secure them tightly with rubber bands and boil at 180°C for 1.5 to 2 hours. Leave to dry.
I wasn’t able to try this technique out, but here are examples of how it’s done on large fabrics using clamps. Baking is used instead to cure the mold.


Material Application:

Sources:
Smocking patterns by Ligia Fiedler – http://1001fashiontrends.blogspot.com/2010/05/canadian-smocking-tutorial-tutorials.html
Synthesizing pleats on fabric by Lauren Pressler – http://laurenpressler.blogspot.com/2011/10/synthesizing.html
Video: Inside Chanel’s Subsidiary, Lognon, Pleater by The Business of Fashion (2015) – https://www.youtube.com/watch?v=h_GU0uOgNrc
Fendi Spring 2016 Ready-to-Wear
– https://www.vogue.com/fashion-shows/spring-2016-ready-to-wear/fendi/slideshow/collection#3
– https://www.vogue.com/fashion-shows/spring-2016-ready-to-wear/fendi/slideshow/collection#5
.