Icelandic Glacial
Product Application


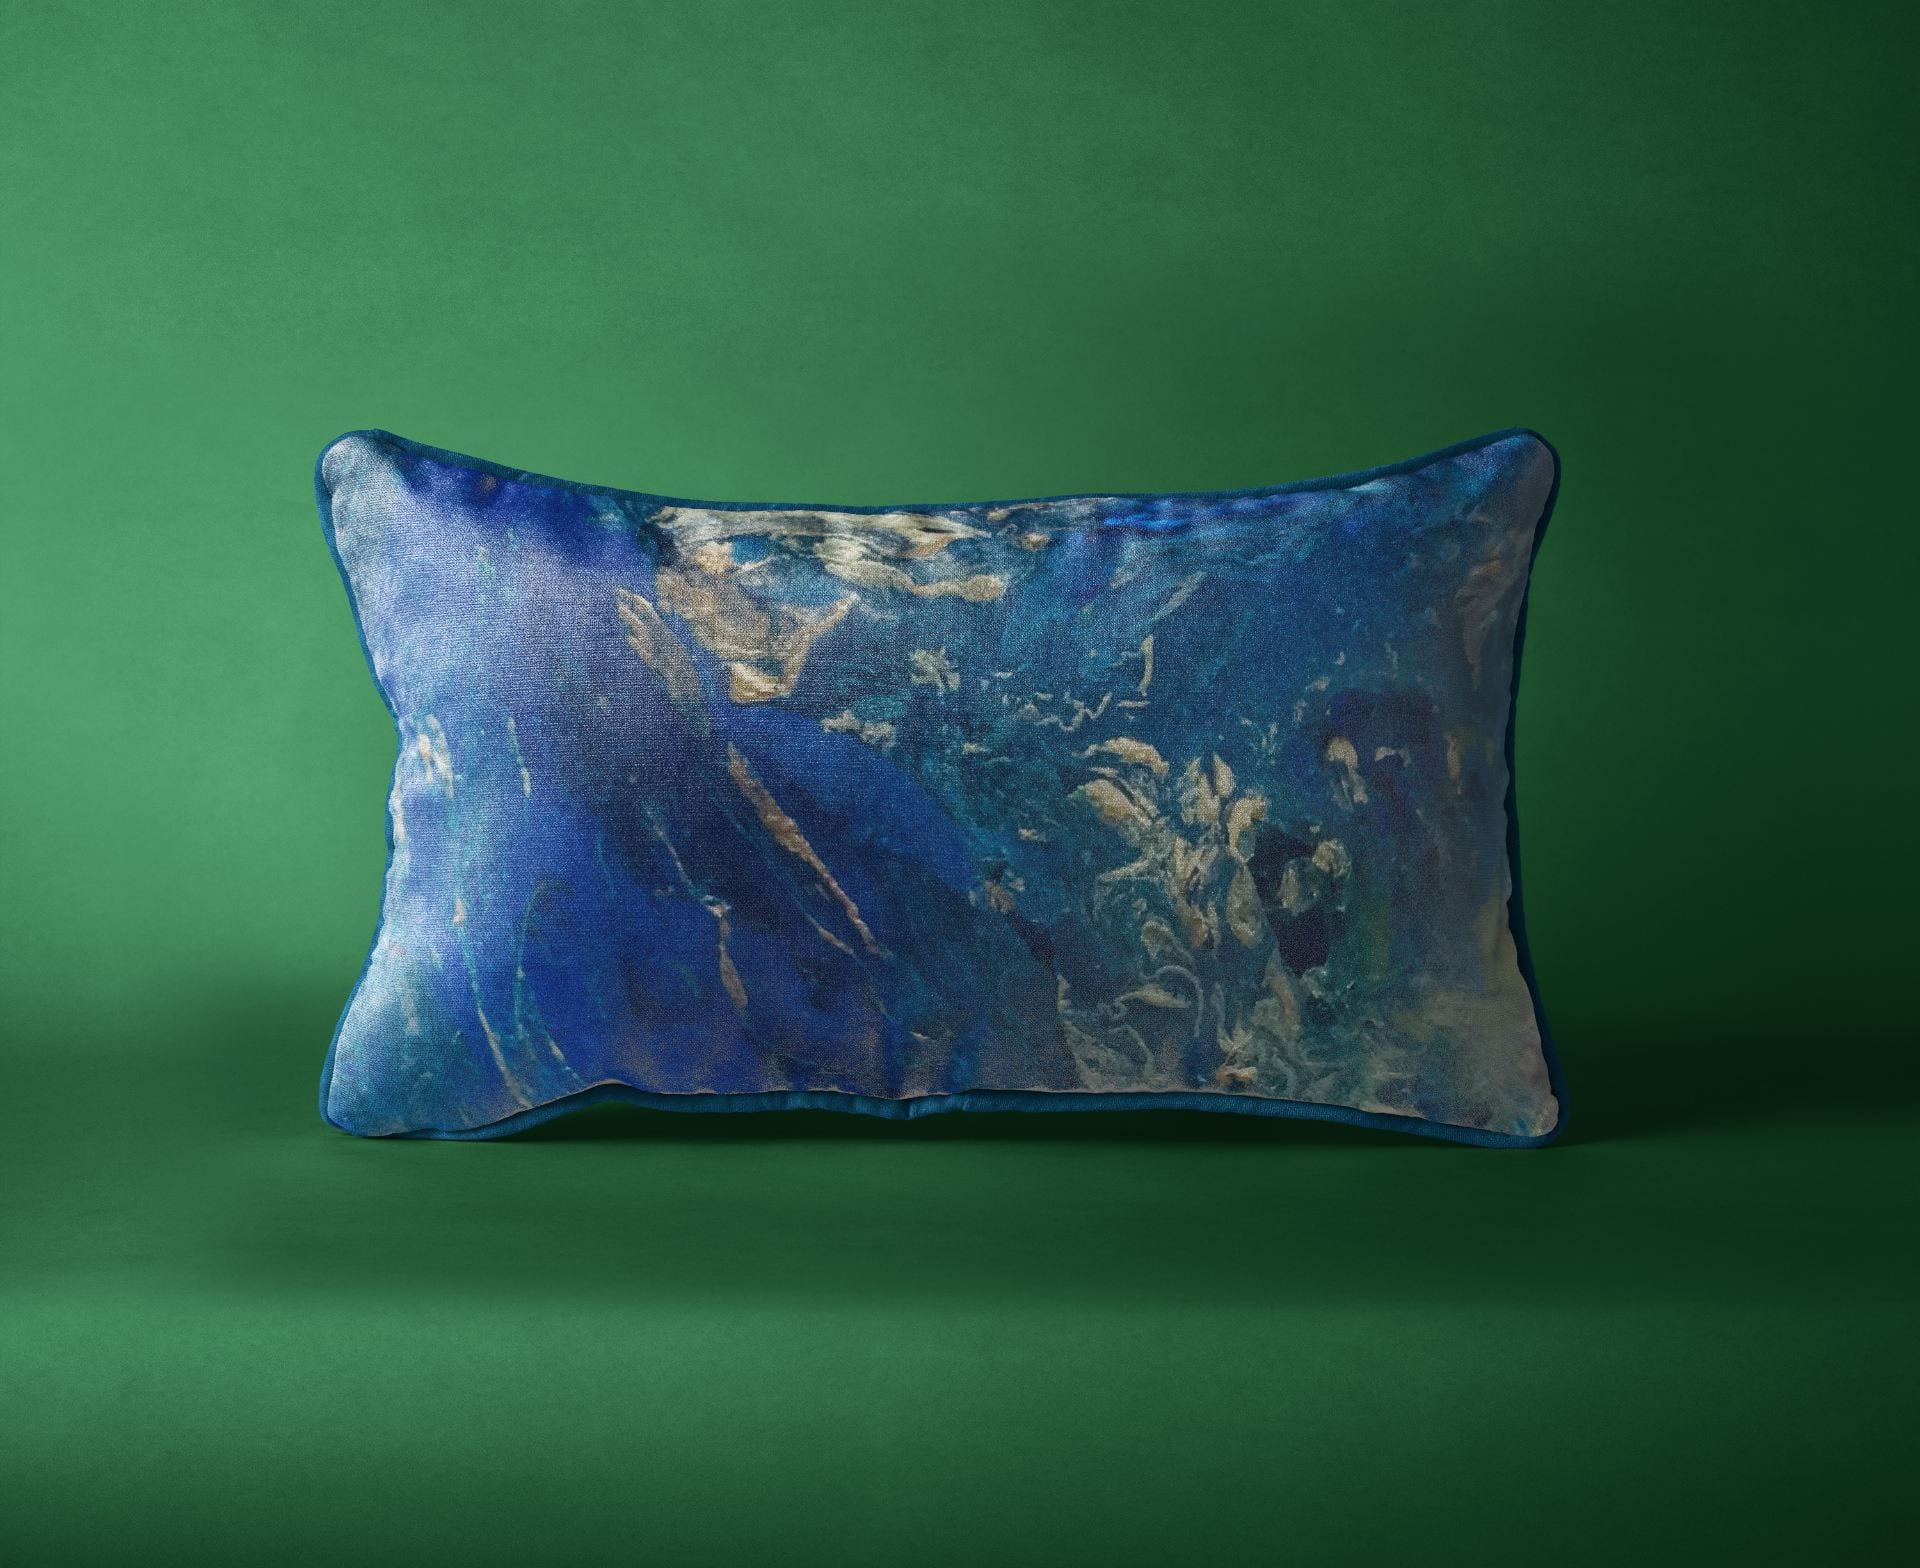
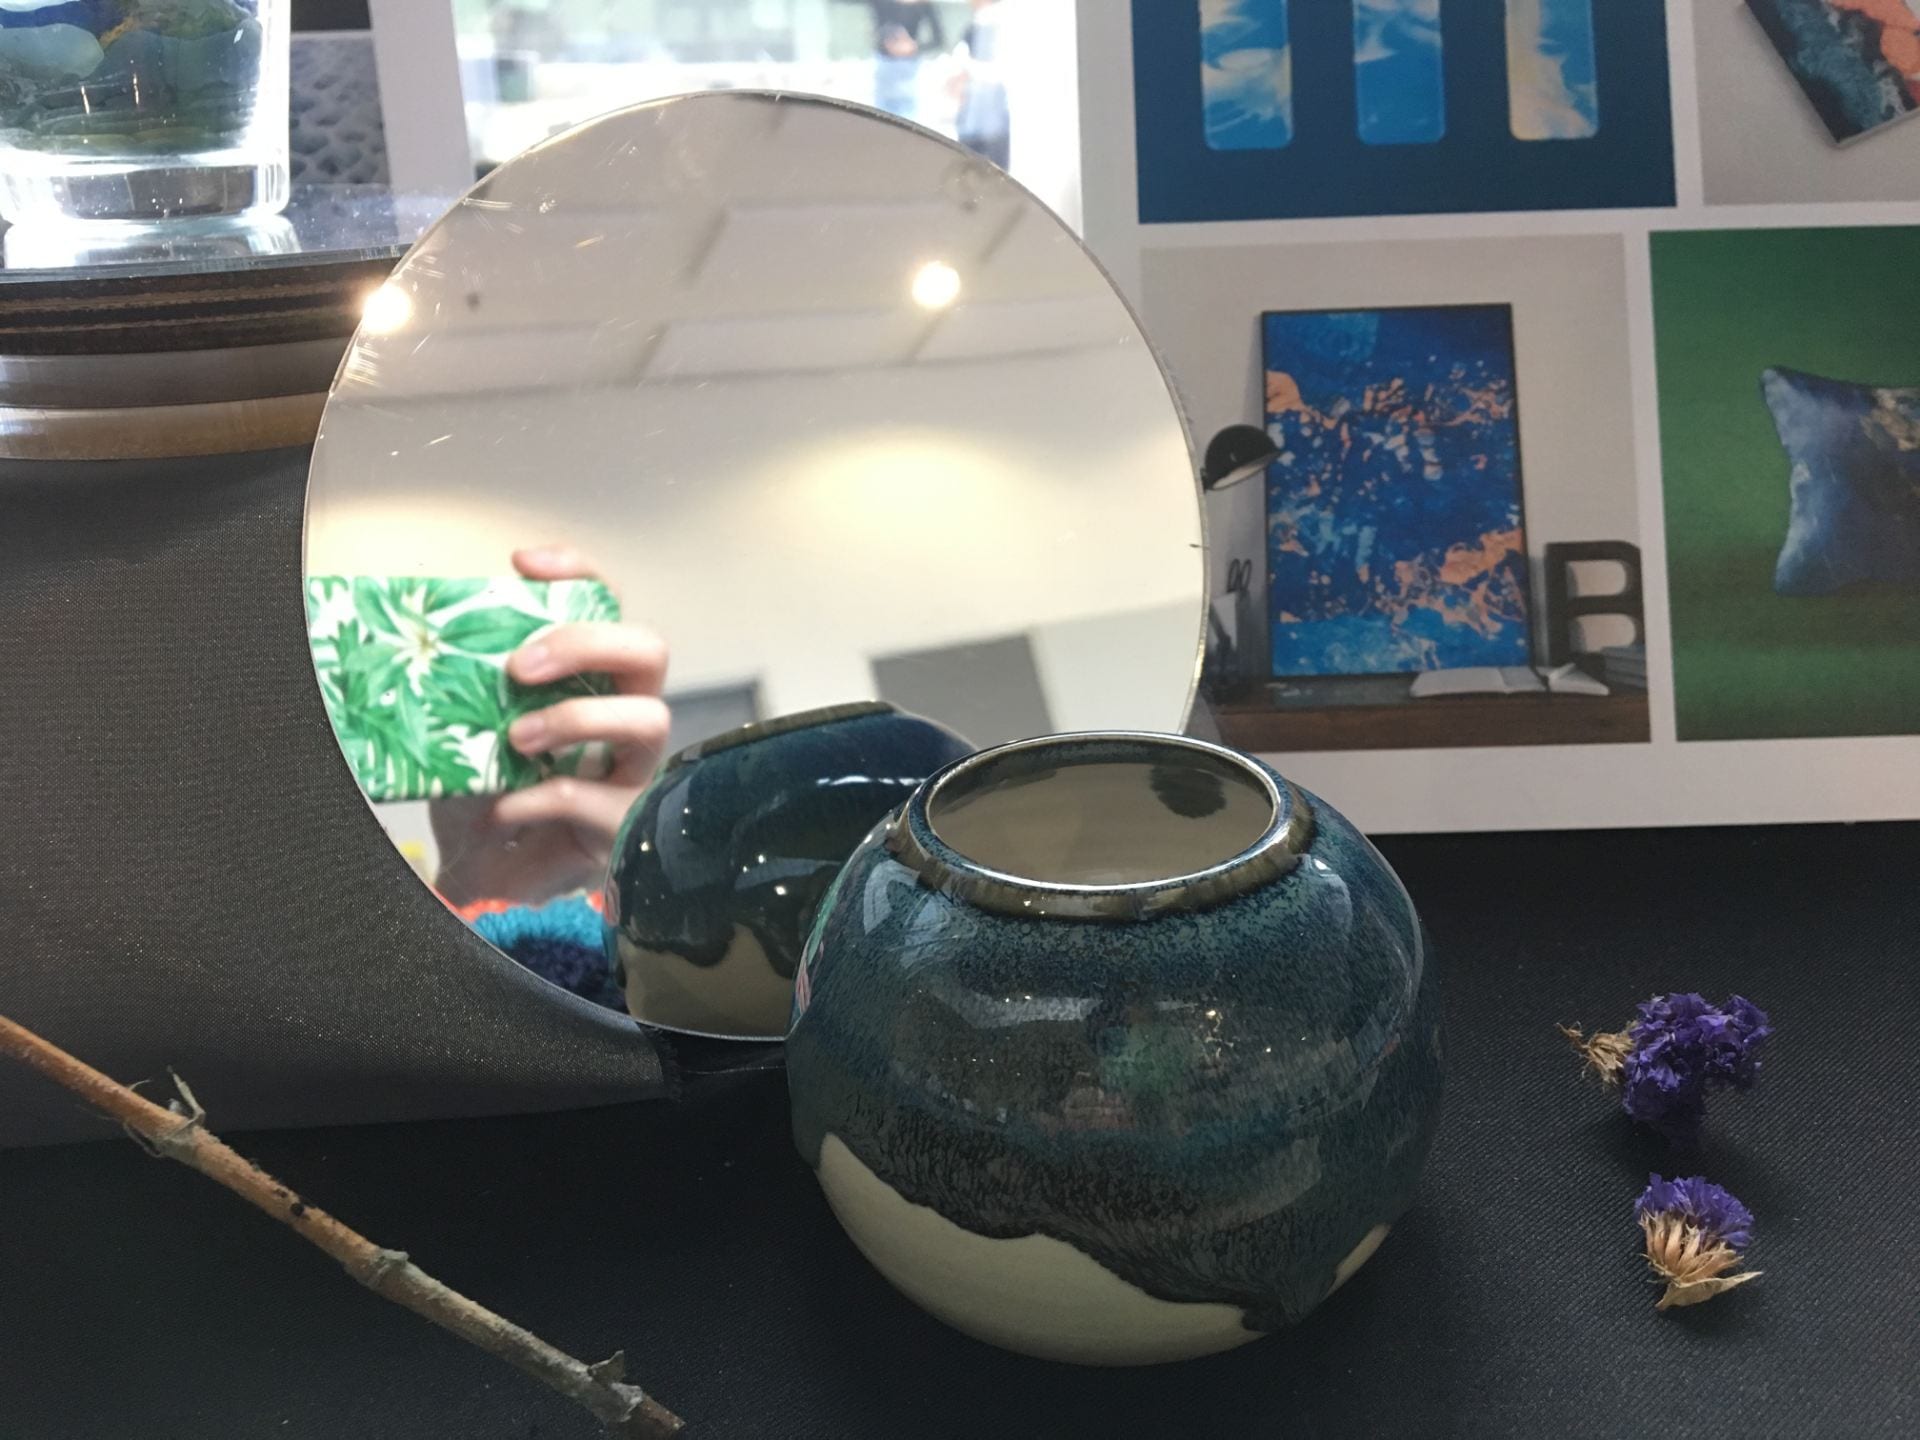
Exhibition Display


Final Product: Candle Holder
While using, melted candle wax adds layers onto the glacier pattern. The gradual formation of glacial landscape is seen on the reflective base.


Lau Yi Wen
While using, melted candle wax adds layers onto the glacier pattern. The gradual formation of glacial landscape is seen on the reflective base.
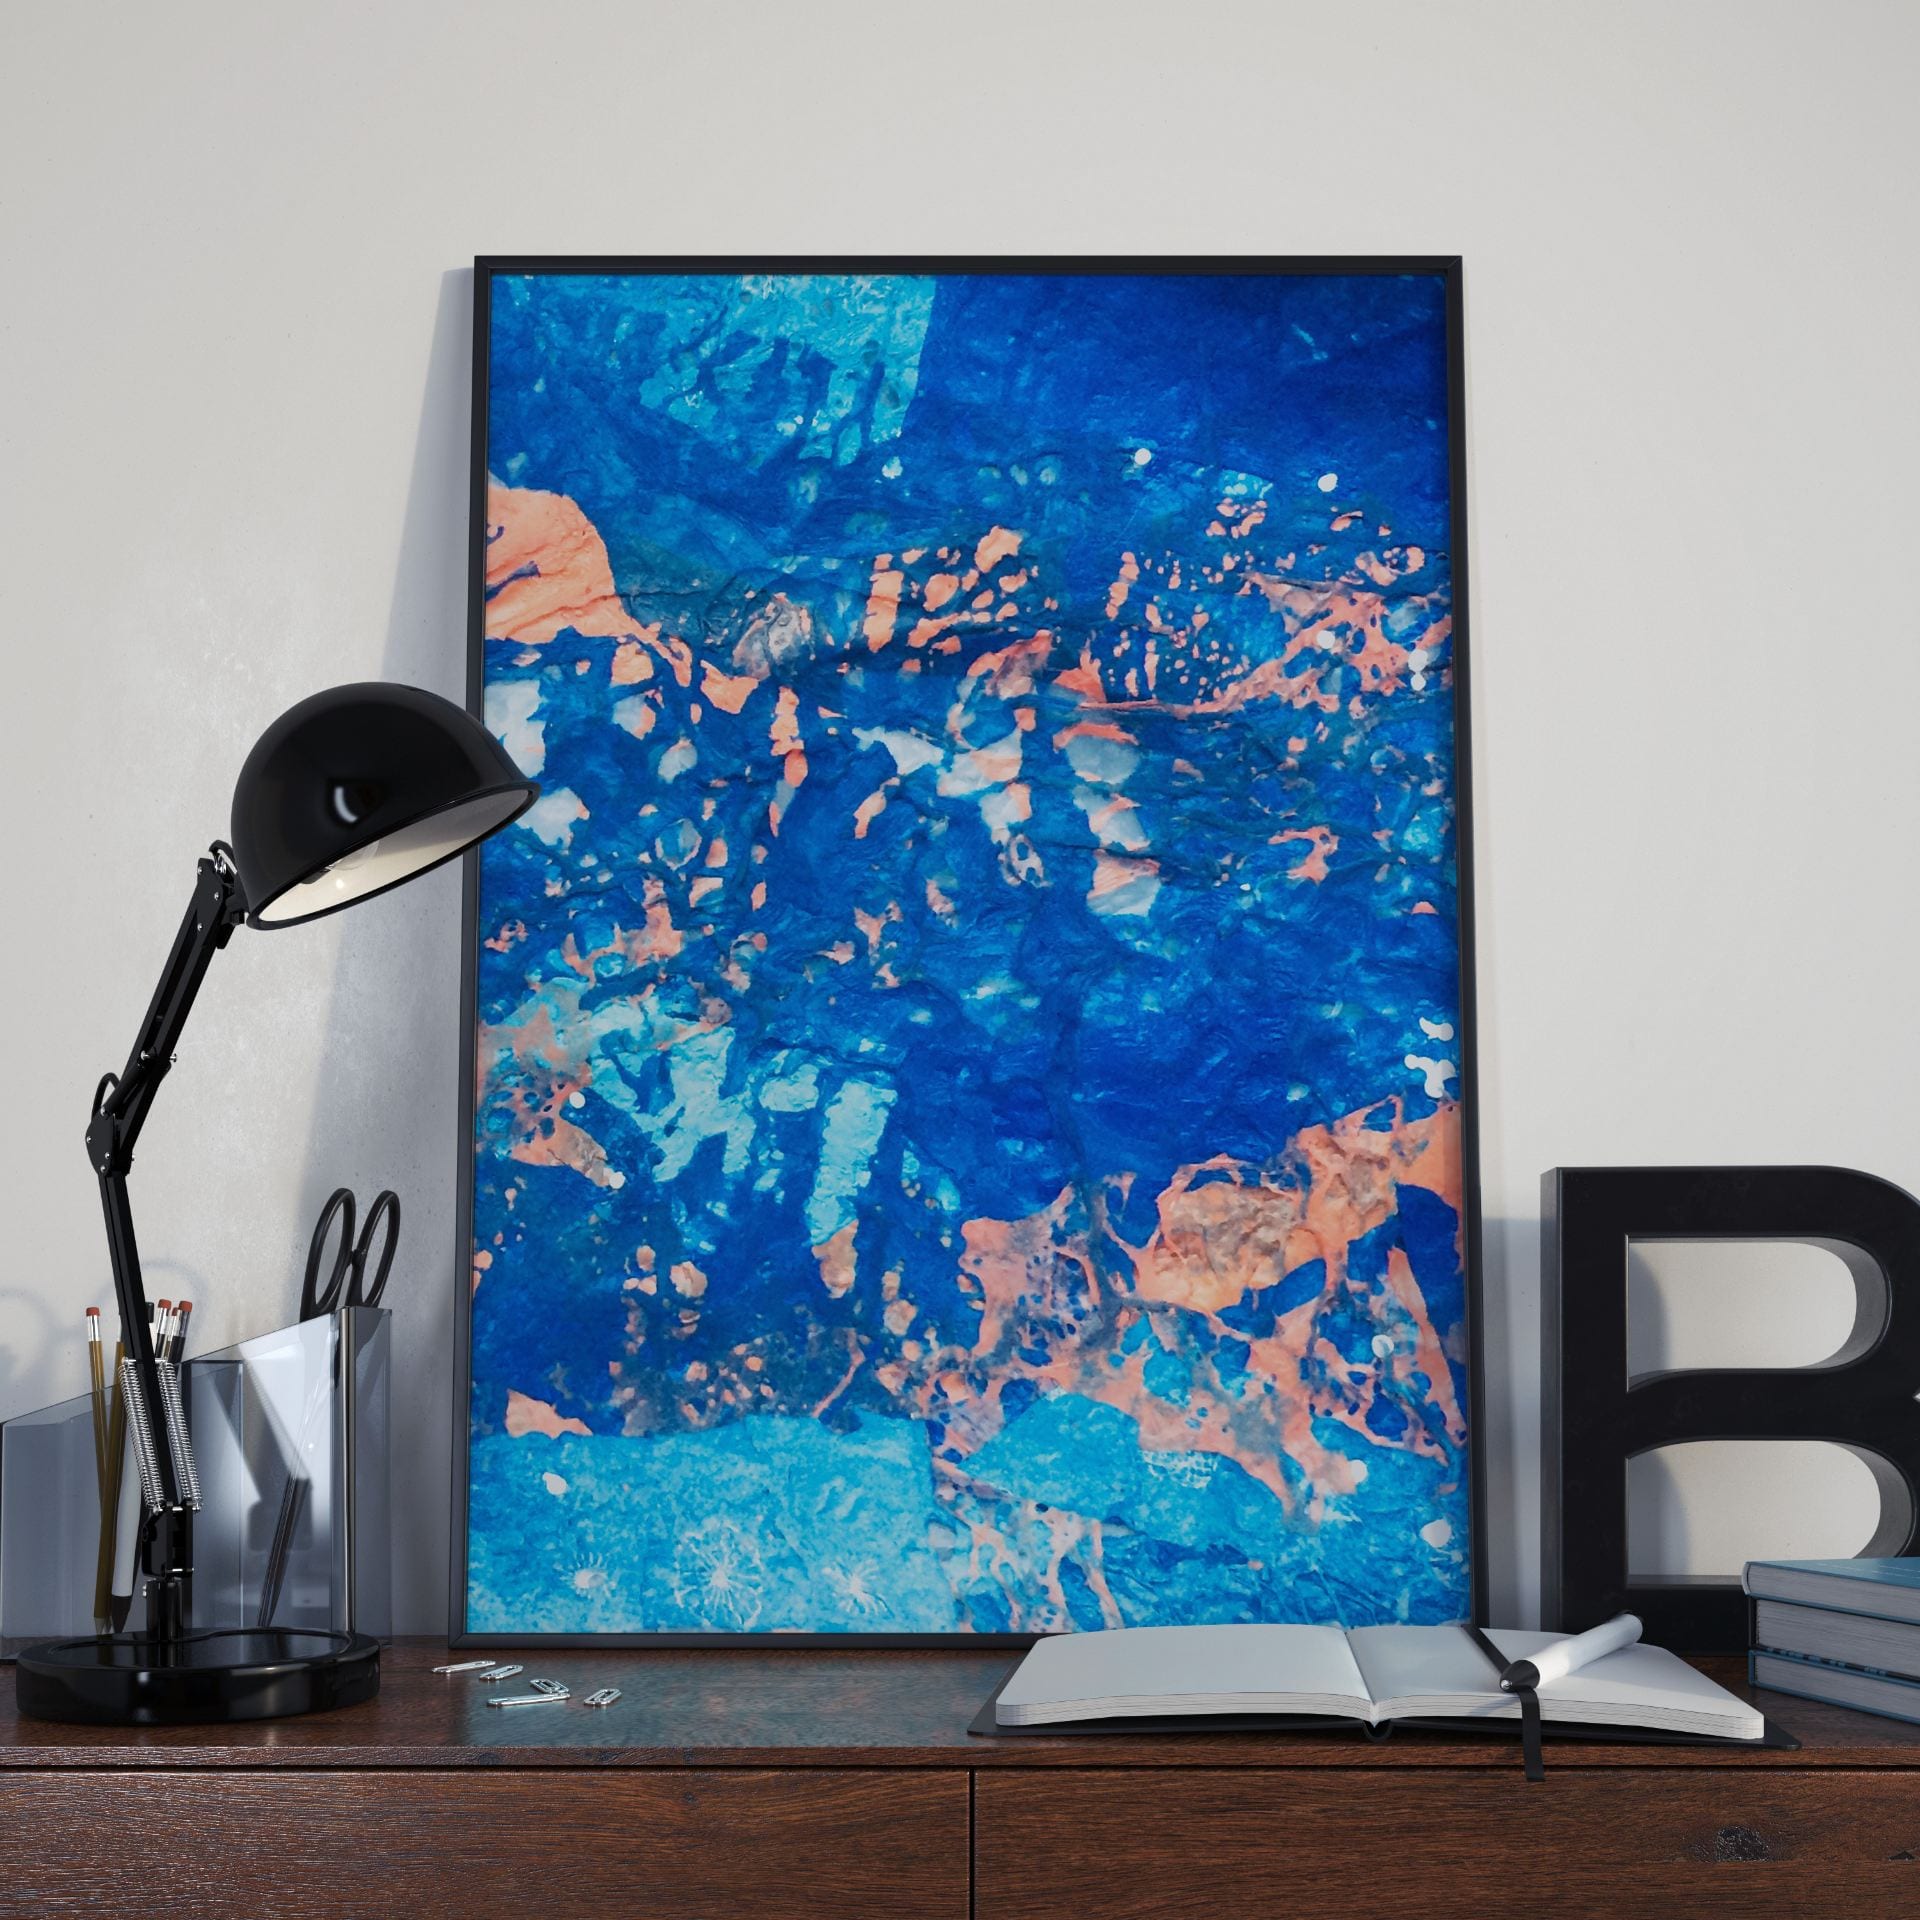
Looking through the aerial views around the world via Google Earth map, I find the glacier by the river in Iceland with the most interesting surface texture. It lays strong foundation base structure of ice. While in the midst of melting, it possesses the fluidity of river. This phenomenon channels glacier gracefully along the river, forming pockets of dry and wet lands.
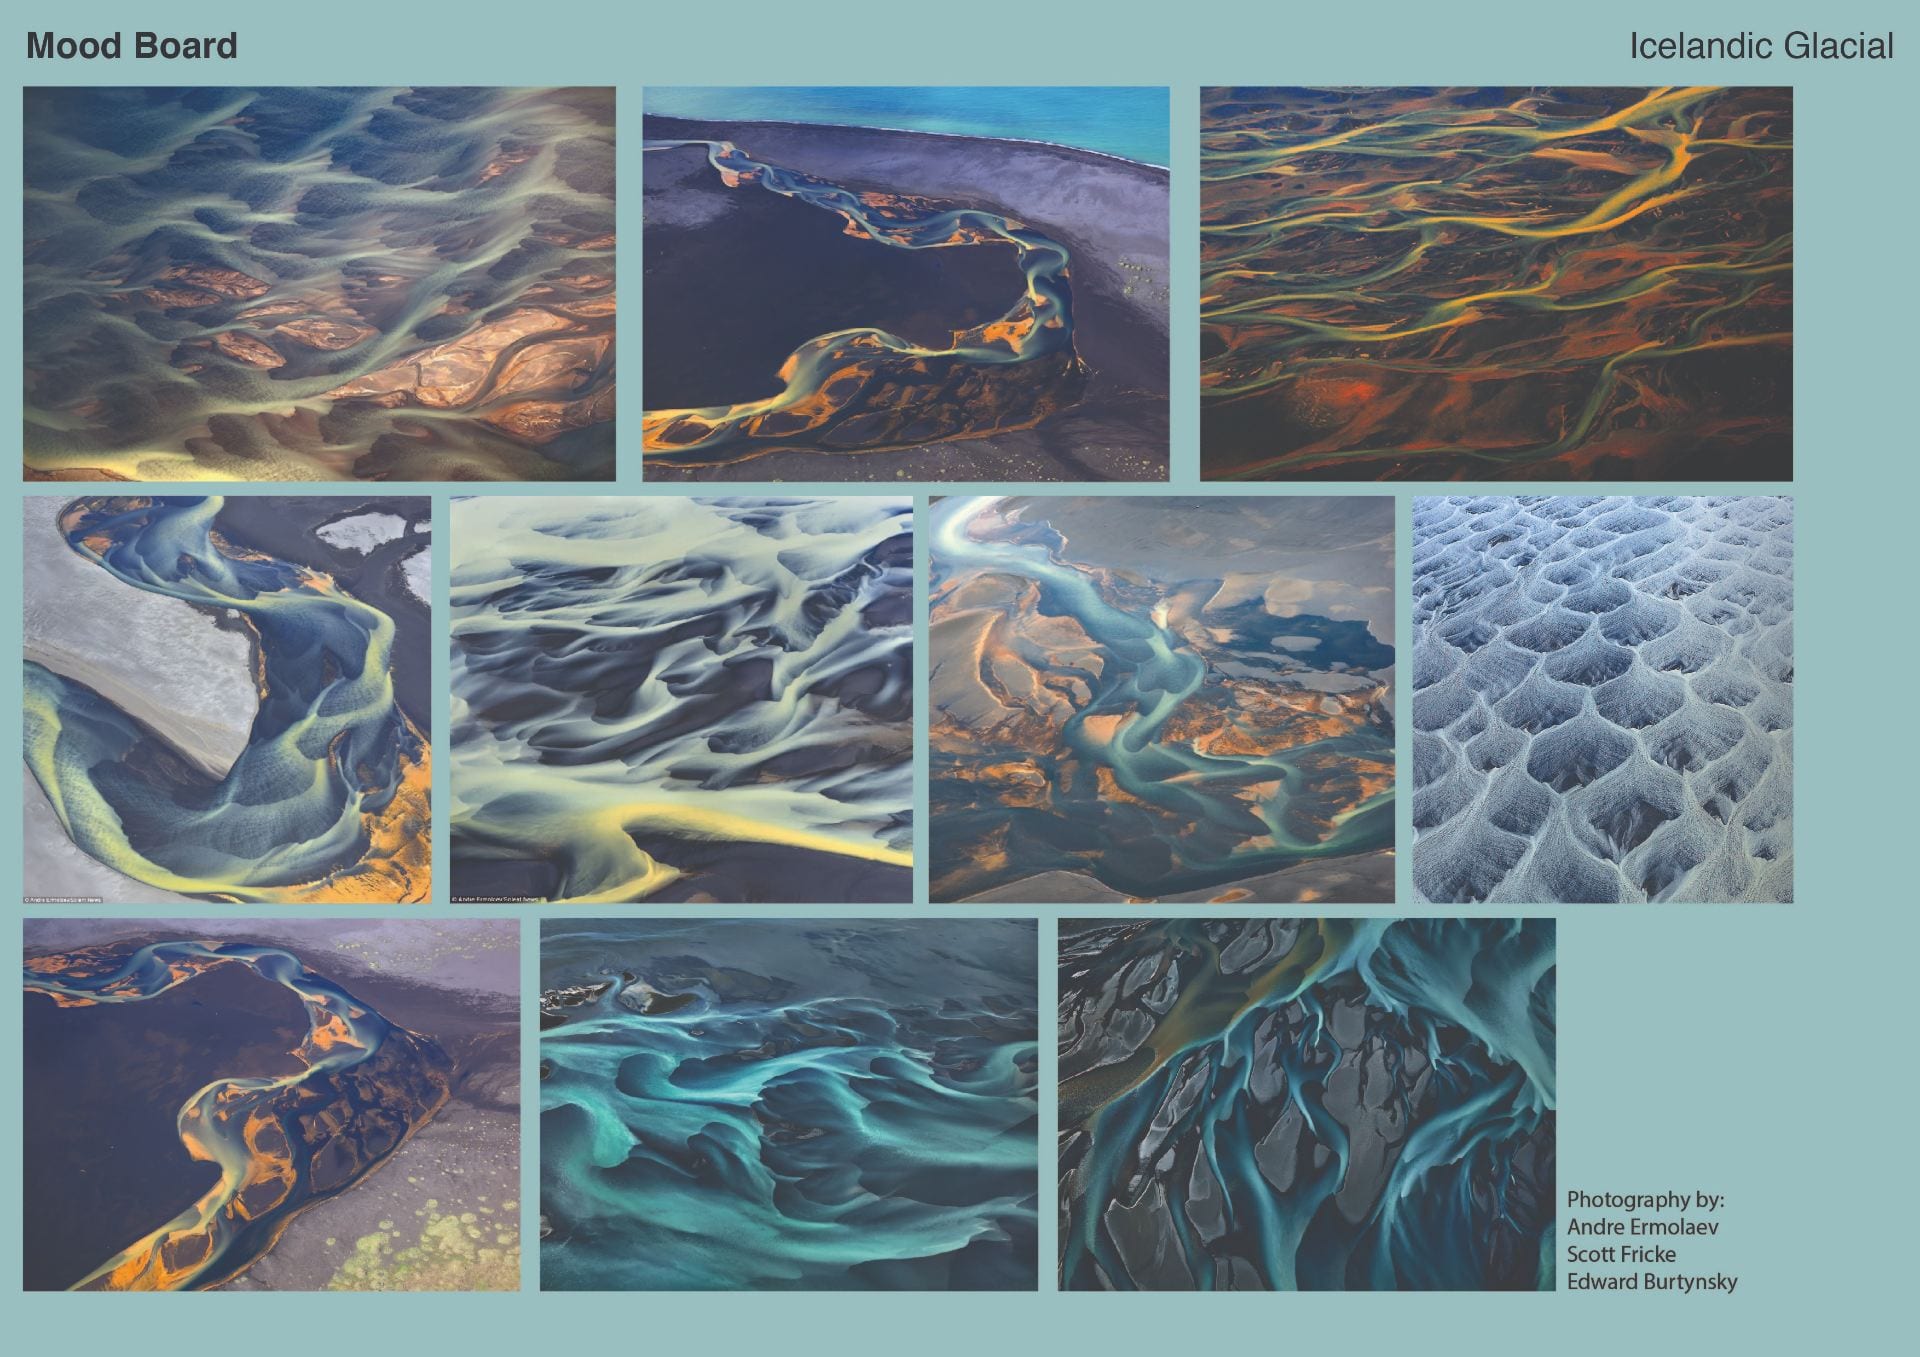
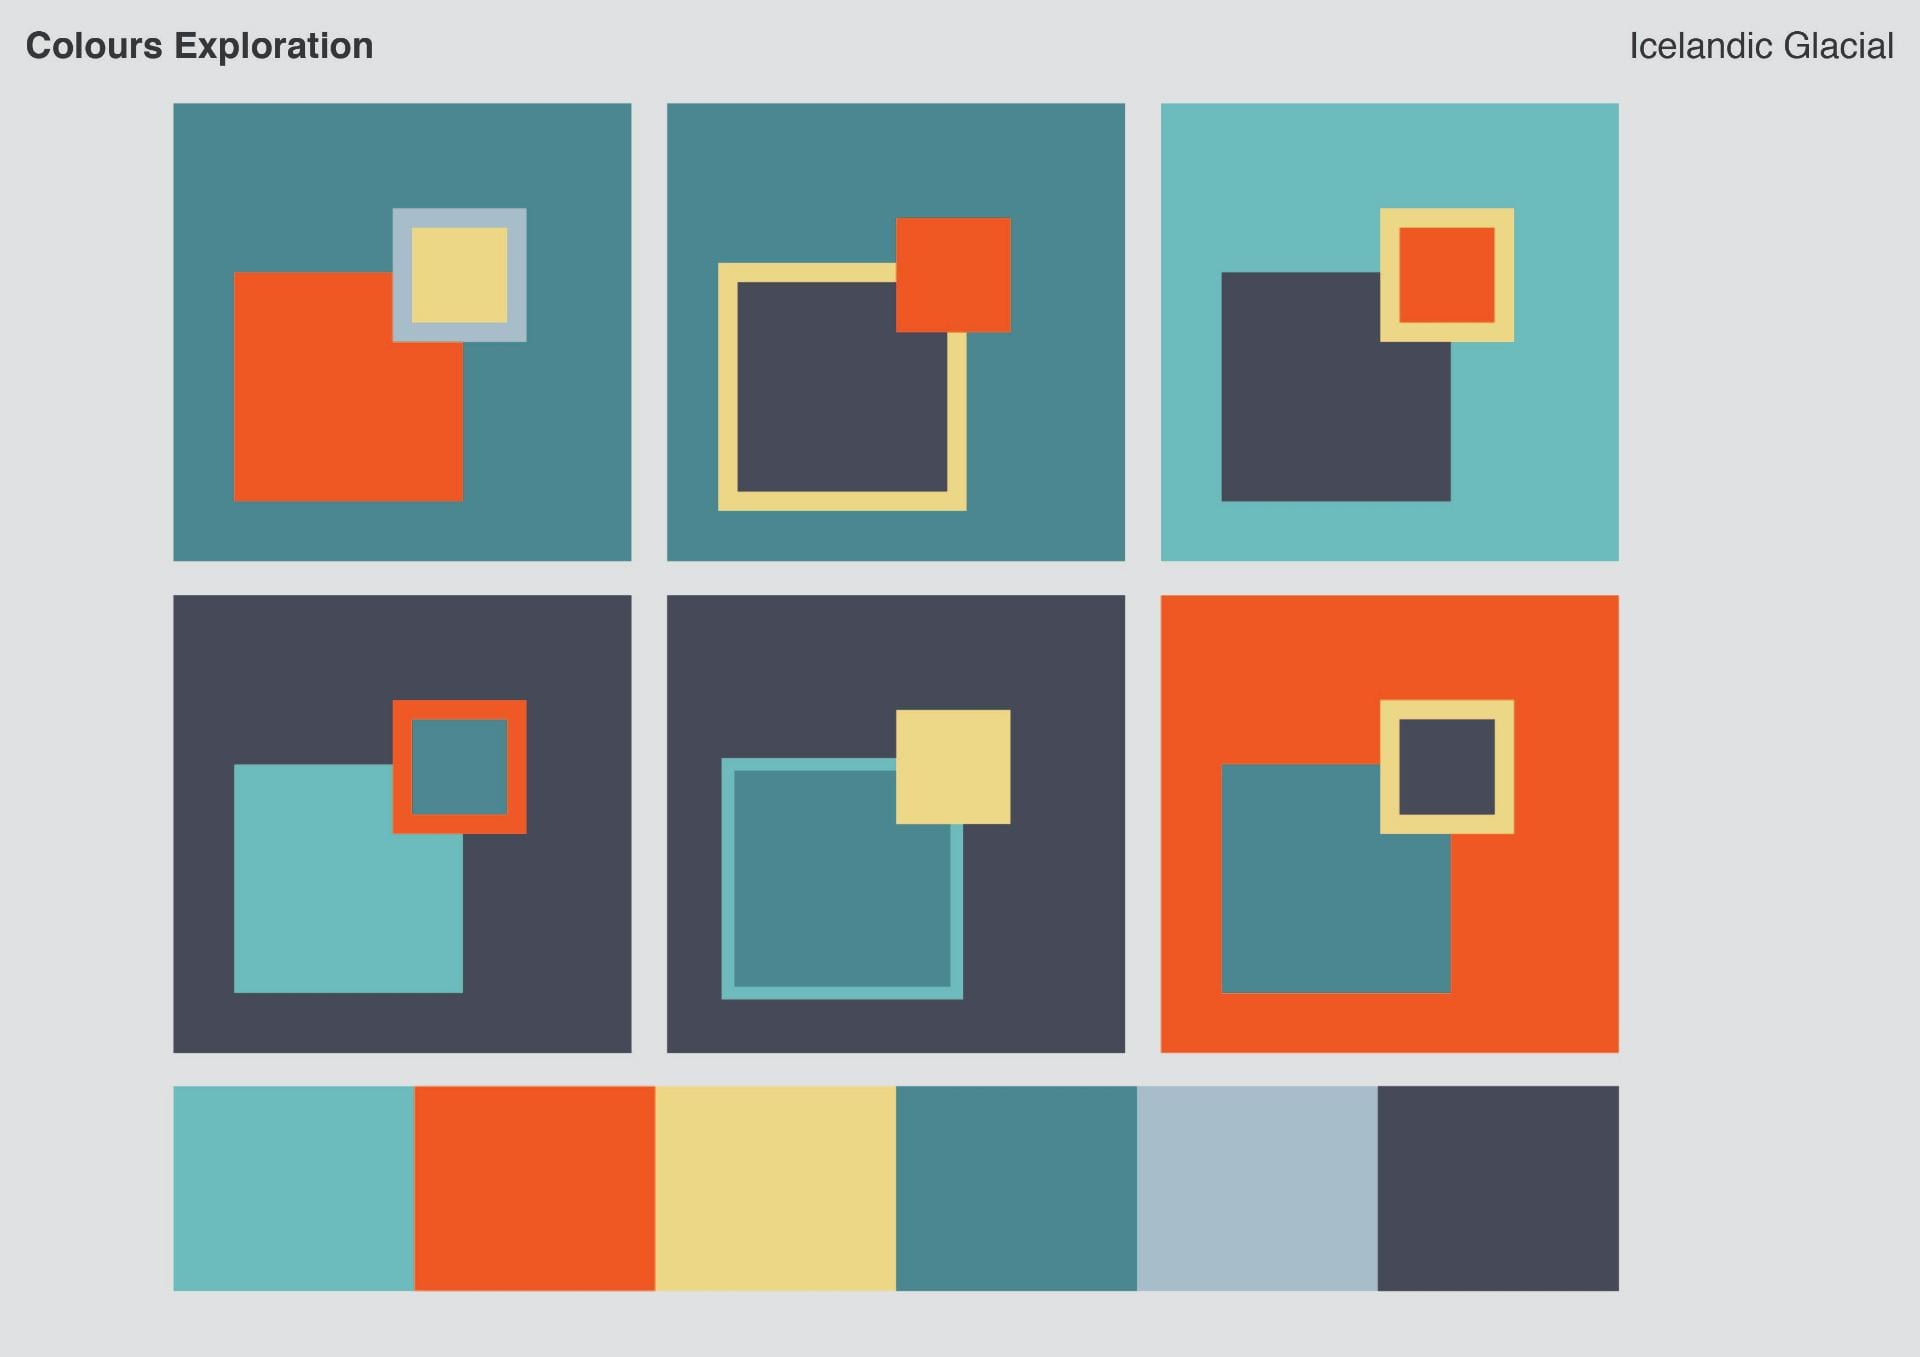
The landscape photographs captured how clear ices reflects the intense blue sky and shades of earth orange from the drier lands. Hence, I picked the dominant colours of blue and subsidiary colours of orange, yellow and grey.
#01 Marbling on paper


Materials: Paper, acrylic paint, cornstarch, water
Pour cornstarch into boiling water (in proportion of 3:8) and let it cool down. Starch allows acrylic paint to sit on the water surface for a longer time. Final outcome wasn’t desirable as they appear too pastel.


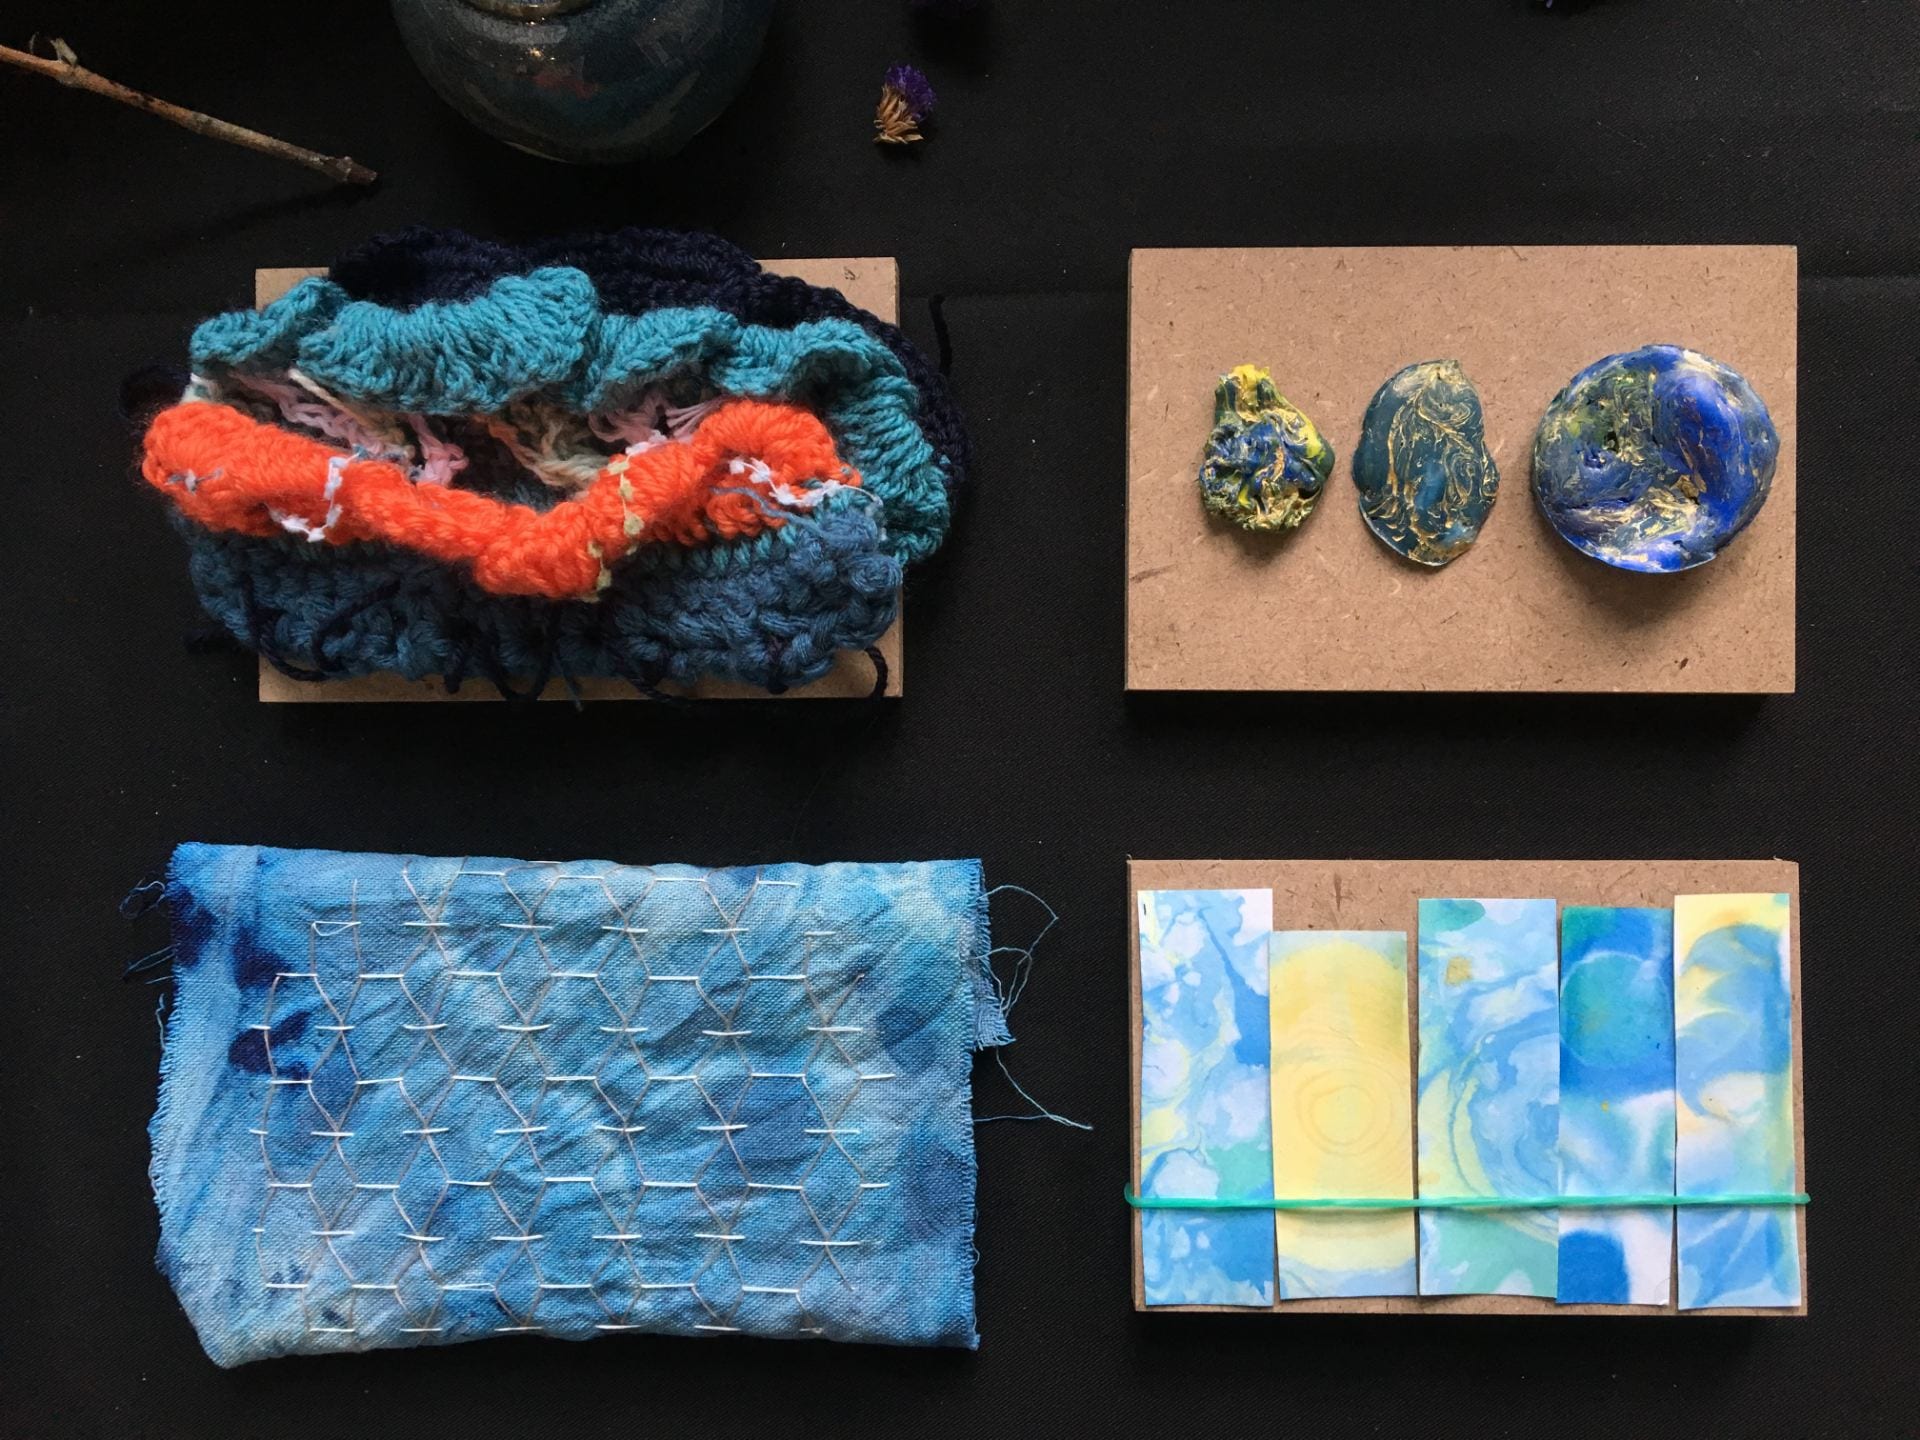
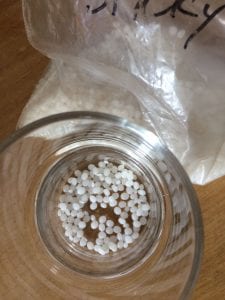
#02 Plastic Fusing


Materials: Lots of plastic bags, styrofoam beads
The translucent quality of plastic bag was helpful to build depth and perforated holes resemble the structure of glacier by the river. I added white styrofoam beads as it looked too dull.
#03 Crochet


Materials: Yarns, crochet hook
I decided to experiment with softer material. I chose crochet over knitting as it gives more texture. Wave crochet adds more substantial layers to the base.
Here’s the tutorial I followed:
#04 Batik Dye + Stitching


Materials: 100% cotton fabric, batik dyes, rubber bands, threads, needles
This is another experiment with soft material using cotton fabric. I tied fabric with knots before dipping into the dye. I did not submerge the entire piece of fabric as I wanted an ombre effect. I also dripped dye directly onto the cloth for darker patches of blue.
To finish off, I stitched up patterns that resembles the pockets of ice and dry land.

#05 Moldable Plastic


Materials: Moldable plastic, oil paints, hot water, stirrer, glass cups
Moldable plastic was an alternative material to resin for me, as I wasn’t able to get hold of resin. My first attempt to work with this material was tough :’) It requires constant high temperature to mold but there’s no pots to sacrifice. Hence, I ran through multiple rounds of hot water to keep it in its moldable state.


How it works:


Oil paint was mixed into the mold. Swirling patterns are done while it is hardening.
I decided to use moldable plastic to create my final prototype since the outcome matched closest to the glacier water.
Sources:
Video: CROCHET: Wave border tutorial by Bella Coco – https://www.youtube.com/watch?v=mim4dNbgxnY
Video: Polly Plastics Moldable Plastics Instructional Demo – https://www.youtube.com/watch?v=cN4KFkIb7Lc
Photo references:
Andre Ermolaev – http://andre.ru/welcome-to-andre-ermolaev-creative-photography/fine-art-photo-portfolio-andre-ermolaev/aerial-iceland-rivers/
Scott Fricke – http://www.frickephotography.com/gallery/iceland/
Edward Burtynsky – https://www.edwardburtynsky.com/projects/photographs/water
.