Category Archives: Uncategorised

Final Project

Moodboard

My choice of inspiration for my final project is the ocean, however it is not only ocean but different parts and form of the ocean. The surface sea, the deep sea marine snow, the great waves of the sea, and the blue ice in the arctic ocean. The ocean is beautiful, the colours, the form, the texture it is able to encapsulate.

TextureBoard

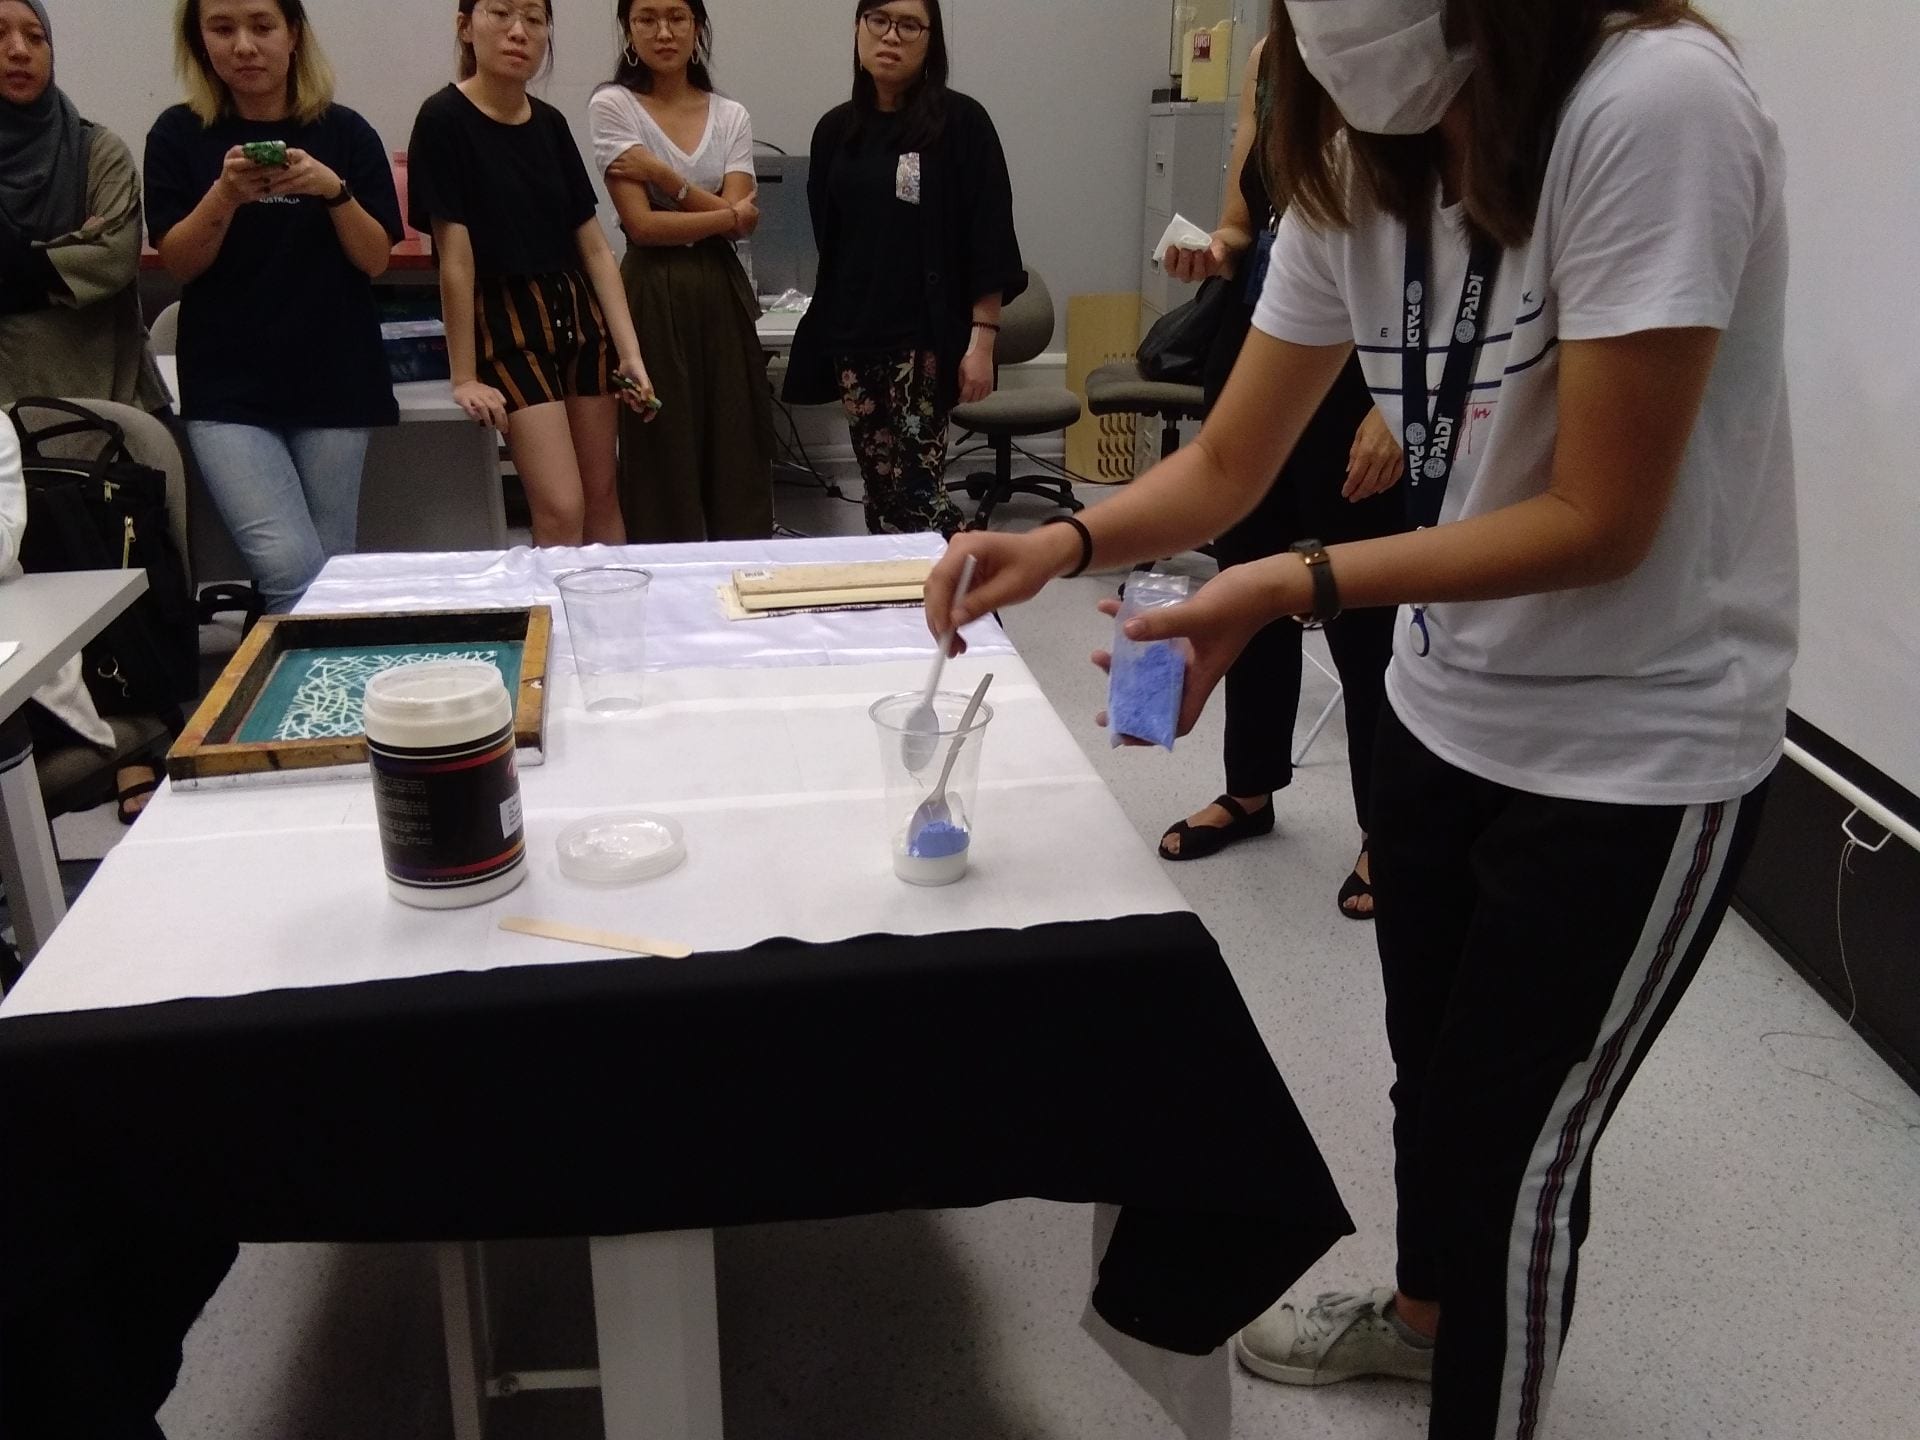
The four technique I chose for my final texture board are Resin, Knitting, Bleaching and Thermoplastic.

Resin

The mold for the resin is created using vacuum forming technique, where pieces of circular wood cut using laser cut are stacked together, and then on top of that several marbles are placed to create bumps.

The resin is mixed with J. Herbin Emerald of Chivor Ink to create this emerald colour which resembles the ocean colour. Fountain pen ink is chosen instead of acrylic to produce a more transparent outcome.

The final piece shine beautifully under light to mimic the form of ocean.

Knitting

Transparent/Translucent tube are being used for this technique.

The tube is first filled 80% with water, and then one end was sealed with hot glue gun. Next, ink was dripped into the tube and then the tube was filled up with more water, leaving some empty spaces to allow for bending and prevent the tube from bursting when knitting. Then the other end was also sealed. This method allow a gradient of colour to form within the tube.

The final outcome is this piece of knitting, where a blue gradient can be seen, and water flow within it. Encapsulating the idea of water.

Bleaching

A piece of denim cloth was twisted and folded, and then sprayed with bleach.

The final outcome resembles the look of deep sea and the space.

Thermoplastic

Many pieces of wood was tied to the light blue organza, and boiled to create this angular form.

The final outcome shines under light, and resembles the shape of ice caps.

ApplicationBoard


Final Display

Lesson 12 Resin

What is the technique?

Resin is a solid or liquid synthetic organic polymer which are being used as the basis of plastics, adhesives, varnishes, or other products. Objects can be encapsulated within the resin, and object of many different shape can be created through this technique.

What are the relevant materials needed for the technique?

  • Resin
  • Hardener
  • Mold Release and Conditioner
  • Mold( must be able to withstand heat)
  • Glove
  • Mask
  • Chopsticks
  • Plastic Cups
  • Electric weighing machine
  • Paints, inks
  • Things to encapsulate in the resin(be creative!)

How to achieve the technique?

*Note* must be done outdoor, because the resin release poisonous gas when hardening.

  1. Wear glove and mask.
  2. Spray a layer of Mold Release and Conditioner to prevent the resin from sticking to the mold.
  3. Place a cup on the electric weighing machine
  4. For every 100gram of resin add 4 gram of hardener. ( add more hardener to create a cracking effect)
  5. After desired amount of resin is weighed, add acrylic/ink if coloured resin is desired.
  6. Mix the mixture evenly.
  7. Pour the mixture into the mold and add object that you wish to be encapsulated.
  8. Allow the resin to harden.
    *Note* the resin release a lot of heat when it is hardening

The process of pouring into mold shouldn’t take too long because when the resin starts to harden, the speed is very fast.

What are the uses and applications of the technique?

This technique can be used to create accessories, ornaments, toys, etc.

Photos

Resin before mixing with ink

Experimentation result


Own personal reflections

I really like this method because I am able to create beautiful piece of work which look like glass and yet is resistant to fall and drop. Through mixing different object and paint into the resin, very interesting effect could be achieved.

What I found most interesting in this method is that even when the resin starts to harden, do not fear, because it can still form very dynamic shape which looks like flowing water.

Also the heat released from the resin hardening softens and changes the shape of the mold I used( made from PVC sheet from vacuum forming) . This in fact was a happy accident as I end up achieving more organic shape in the end when I redo with the same mold.

Lesson 12 Latex

What is the technique?

Latex is an aqueous dispersion of polymers that can be solidified into rubber.

What are the relevant materials needed for the technique?

  • Liquid Latex
  • Hardener
  • Mold Release and Conditioner
  • Mold( must be able to withstand heat)
  • Glove
  • Mask
  • Chopsticks
  • Plastic Cups
  • Electric weighing machine
  • Paints, inks

How to achieve the technique?

*Note* recommended to be carried out outdoor

  1. Wear glove and mask.
  2. Spray a layer of Mold Release and Conditioner to prevent the latex from sticking to the mold.
  3. Place a cup on the electric weighing machine
  4. For every 100gram of latex add 4 gram of hardener.
  5. After desired amount of latex is weighed, add acrylic/ink if coloured latex is desired.
  6. Mix the mixture evenly.
  7. Allow the latex to harden.

What are the uses and applications of the technique?

This technique can be used to create accessories, ornaments, molds, etc.

Photos

Samples showed in class

Latex

Mold Release and Conditioner

Experimentation with latex using a mixture of acrylic and crayon scraps

Experimentation result- zombie pudding


Own personal reflections

I personally find this technique very tough, because I couldn’t think of possible way I could implement it into my own work. Even though the process of using this technique is simple and fast, there are very limited application I can think of.

Lesson 11 Field Trip – STPI Aaron Curry Exhibition

Own personal reflections

Through this field trip I learnt a lot about the artist’s thinking process and also the history of the museum.

Artist who are invited to exhibit at STPI are brought out of their comfort zone, they are not invited because they’re expert in print but because they’ve never done print before, what is important is the concept behind the art.

Aaron Curry

Aaron was influenced by the bmx culture when he was young, and he was not cultured in a rich art family. He loves music, and many different genre. One of his favorite band is the Kinks. He made use of a lot of Neon colours and non natural colour in his artwork. With motif based around bones, body parts (biomorphic shapes) and music shape. He was inspired to do things that exist in both 2D and 3D.

The material used in this exhibition is a material call Dibond- alumimuim sheet sandwiched between plastic.

His art creation process

  1. Inspiration, sketches
  2. Digitised and create stencil
  3. Laser cutting the plastic
  4. Coating the plastic with paper
  5. Screen printing
  6.  Assembled the pieces.

For every piece of work he done, he have thrown away a hundred other pieces. It takes a lot of effort to come up with the best work.

Photos

Exhibition introduction

Works of Aaron

Description of works


Lesson 10 Knitting

What is the technique?

Knitting is a method by which thread or yarn is used to create a cloth.

Knitted fabric consists of a number of consecutive rows of loops, called stitches. As each row progresses, a new loop is pulled through an existing loop. The active stitches are held on a needle until another loop can be passed through them. This process eventually results in a fabric, often used for garments.

Knitting may be done by hand or by machine. There exist numerous styles and methods of hand knitting.

Different types of yarns and needles may be used to achieve a plethora of knitted materials; these tools give the final piece a different colour, texture, weight, and/or integrity. Other factors that affect the end result include the needle’s shape, thickness and malleability, as well as the yarn’s fibre type, texture and twist.


What are the relevant materials needed for the technique?

  • Yarn
  • Single strip of cloth, plastic bag, strings, wires, tubes, etc.
  • Knitting Needle
  • Scissor

How to achieve the technique?

What are the uses and applications of the technique?

This technique can be used to make accessories, scarf, clothing, pouch, etc.

Photos

Samples of knitting shown in class


Samples of weaving shown in class

Materials for knitting

Experimentation with different material

Own personal reflections

This technique is very fun despite that I only know the most simple stitch. Throughout the knitting process, there is a lot of knitting and pulling the knit apart due to missing stitch, uneven stitching, etc.

It is a very beautiful method and is great for killing time.


Lesson 9 Laser Cutting

What is the technique?

Laser cutting is a technology that uses a laser to cut materials, and is typically used for industrial manufacturing applications, but is also starting to be used by schools, small businesses, and hobbyists. Laser cutting works by directing the output of a high-power laser most commonly through optics. The focused laser beam is directed at the material, which then either melts, burns, vaporizes away, or is blown away by a jet of gas, leaving an edge with a high-quality surface finish. Industrial laser cutters are used to cut flat-sheet material as well as structural and piping materials.

https://en.wikipedia.org/wiki/Laser_cutting

What are the relevant materials needed for the technique?

  • Wood
  • Acrylic Sheet
  • Laser Cutting Machine
  • Goggle

How to achieve the technique?

  1. Create design in Adobe Illustrator and save as eps file.
  2. Load into coreldraw and set up accordingly.(Details below)
  3. Place the piece of wood/acrylic sheet in the laser cutting machine.
  4. Wear goggle and do not stare directly into the laser.
  5. Send the file to print with the laser cutting machine.
  6. Ensure the design is properly cut/rastered. If not change the setting and repeat step 5. Be careful not to move the piece of wood/acrylic sheet while checking.
  7. Remove the cut material from the machine.
  • CorelDraw settings 

Laser cutting,
AI file save as .eps
File dimension Custom(spirit)
Coreldraw -> layout -> page setup -> option -> set from printer -> save custom page
Path thickness -> hairline
Pull colour and drop on path to change colour
Fill -> raster, Path -> cutting(vector)
File -> print -> properties -> pen
File -> print -> properties -> advanced -> enhanced vector
-> vector function -> inside out cutting

What are the uses and applications of the technique?

This technique can be used to create very neat design for accessories, small ornament, mold for other methods, etc.

Photos

Laser Cutting machine

Experimentation with laser cutting using wood and acrylic sheet

Own personal reflections

This technique is very simple and easy. But it requires a lot of trial and error with the setting of the laser cutting machine depending on the final outcome desired. It is also very useful as it allow design which require a great load of time to be create by hand to be quickly done through the machine.

Lesson 9 Bleaching

What is the technique?

Bleaching is done by removing the bond between the colour particle and the fabric, which allow the fabric to look whiter after treatment as the colour pigment are being removed through chemical reaction.

What are the relevant materials needed for the technique?

  • Bleach
  • Spray bottle
  • Dark coloured fabric (100% cotton recommended)
  • Pattern stencil(optional)
  • Gloves
  • Mask

How to achieve the technique?

  1. Prepare the fabric, such as through twisting,tying or folding and even taping with masking tape to allow creation of negatives.
  2. Prepare the bleach in spray bottle (can choose to mix with water to dilute the solution)
  3. Lay the fabric on a table(recommended to be done outdoor)
  4. Wear glove and mask.
  5. Spray the fabric with bleach.
  6. Let the fabric sits until desired colour is achieved.
  7. Wash the fabric.
  8. Repeat step 1 to 7 until desired design is achieved.
  9. Let dry.

What are the uses and applications of the technique?

This technique can be used to create wearable items, pouches, shirts, etc.

Photos

Bleach used

Sample showed in class

Denim used for experimentation

Experimentation result


Own personal reflections

This technique is very simple and can allow very organic and unique design to be achieved. However, due to the nature of this technique. No two same design could be created, so every piece of work achieved through this technique is unique.

It is also very fun to see how bleaching changes the colour of the fabric to colour we do not expect such as from black to orange.

Lesson 9 Fiber Etching

What is the technique?

This technique is more commonly known as DEVORE. The chemical used in this technique ‘attacks’ on cellulosic (plant based) fibre, leaving the
other non plant based fibre(e.g. polyester) within the fabric intact.
It works best on fabrics blends : cellulose + non cellulose.

What are the relevant materials needed for the technique?

  • Fiber Etch® Fiber Remover
  • Silk Screen Stencil
  • Squeegee
  • Paint brush
  • Velvet(Half rayon and half silk)

How to achieve the technique?

  1. Iron the velvet.
  2. Lay the velvet flat on the table with the cellulose side facing up and lay the Silk Screen Stencil on the velvet.
  3. Lay the fiber etching gel on the top of the stencil evenly then use squeegee to push the gel through the stencil.
    OR
    Use a paint brush to paint desired design.
  4. Wait for 24 hour, and iron the velvet.
  5. Heat accordingly until the part painted with gel become brown and can be scratched off.
  6. Wash with water to clean the fabric.
  7. Let dry.

What are the uses and applications of the technique?

This technique could be used in creating design on clothes, and on plant based materials such as papers and wood.

Photos

Samples showed in class

Velvet pieces of different colour

Fibre Etch® Fiber Remover

Getting the gel onto the velvet

Iron the velvet

The velvet turns brown but instead of just dissolving the top layer everything was dissolved.

On the other hand, the gel have no effect on the black and green velvet.


Own personal reflections

This method is simple and the final product looks beautiful. However getting the right type of fabric is tedious, because it require the fabric to contain half plant based and half non-plant based. And using the wrong type of fabric will either cause no design to be visible or the fabric to dissolve completely.

Lesson 8 Thermochromic Inks

What is the technique?

Thermochromic inks can change from colourless to colourful or colourful to colourless very quickly. Although thermochromic inks were introduced in the 1970s, they are used extensively today.

What are the relevant materials needed for the technique?

  • Thermochromic Powder
  • Clear Base
  • Acrylic paint
  • Cup and Spoon
  • Silk screen stencil
  • Squeegee
  • Fabric
  • Mask

How to achieve the technique?

  1. Wear mask.
  2. Mix 1 spoonful of thermochromic powder to 5 spoon of clear base in a cup. (If different colour is desired, add acrylic paint to the mixture)
  3. Ensure the mixing is even.
  4. Iron and put the fabric on the table.
  5. Lay the mixture on the top of the stencil evenly.
  6. Use squeegee to push the mixture through the stencil.
  7. Repeat step 6 a few times until the design is clear, checking that the printing is even by pressing the fabric down while slowly lifting up the stencil.
  8. When printing is completed, hold down the fabric and remove the stencil.
  9. Let dry.

*Note* When printing T-shirt or double layer fabric, remember to layer a piece of paper, cloth in between the back and front to prevent seeping.

What are the uses and applications of the technique?

This technique could be used in fashion design, toys, mugs, accessories, etc.

Photos

Mixing the thermochromic powder

Table setup

Clear base to be used with the powder

The stencils

Final printed outcome


Own personal reflections

I find this technique very interesting as the pigment changes colour according to temperature. I believe it can be use to create very interactive design such as on toys,clothing,mugs or furniture.

This method reminds me of the packaging of Meiji Yan Yan Sprinkles Biscuits, where through rubbing reveal the answer to the quiz printed on the packaging.

Lesson 7 Field Trip- Touch Print


Own personal reflections

The trip to touch print was very informative as I not only learn about many different way I could make use of the Digital Transfer using Magictouch, but also clarify the problems I faced when using the method.

The speaker taught us many different ways where we could integrate technology with Digital Transfer, and also the many different types of Magictouch papers which can allow many different possibilities. Such as the use of spray adhesive, with RST transfer paper(applicable on wood and acrylic) would create better effect than CPM6.2, and is possible without heat press.


——————-
Digital Print with RST transfer paper

Without heat press

  1. For wood, spray adhesive three times
  2. Then press the transfer paper onto the wood
  3. Wait for 10~15 min
  4. Spray with water and peel off the transfer paper.

With heat press

  1. Place the transfer on the wood
  2. Set up the heat press machine to respective temperature for wood.(refer to Lesson 2)
  3. When the heat press machine is hot enough, heat press.
  4. Spray water and peel off the transfer paper while hot.
    ————————————–

After talking to the speaker, I realised that the reason why my Digital Transfer didn’t come out as I was expecting was because I didn’t apply enough pressure onto the print, and also to allow printing on darker material, special printer that prints white ink was required. In addition, to prevent design from becoming distorted when remove the transfer paper, pull according to the grain of the shirt, where the shirt doesn’t stretch. For fabric, it’s also good to heat press/iron it first to flatten before transfer.

Another interesting thing I learnt from the field trip was that the speaker also taught us some basic printing knowledge such as the differences between CMYK and RGB (additive and subtractive). And the reason why K is present in CMYK but not just CMY is because black is most commonly used in printer and it is cheaper to have K, than to layer CMY.

Overall the trip was very fun and I learnt a lot within the short 1~2hour.