What is the technique?
In sewing, shirring is two or more rows of gathers that are used to decorate parts of garments, usually the sleeves, bodice or yoke. The term is also sometimes used to refer to the pleats seen in stage curtains.
What are the relevant materials needed for the technique?
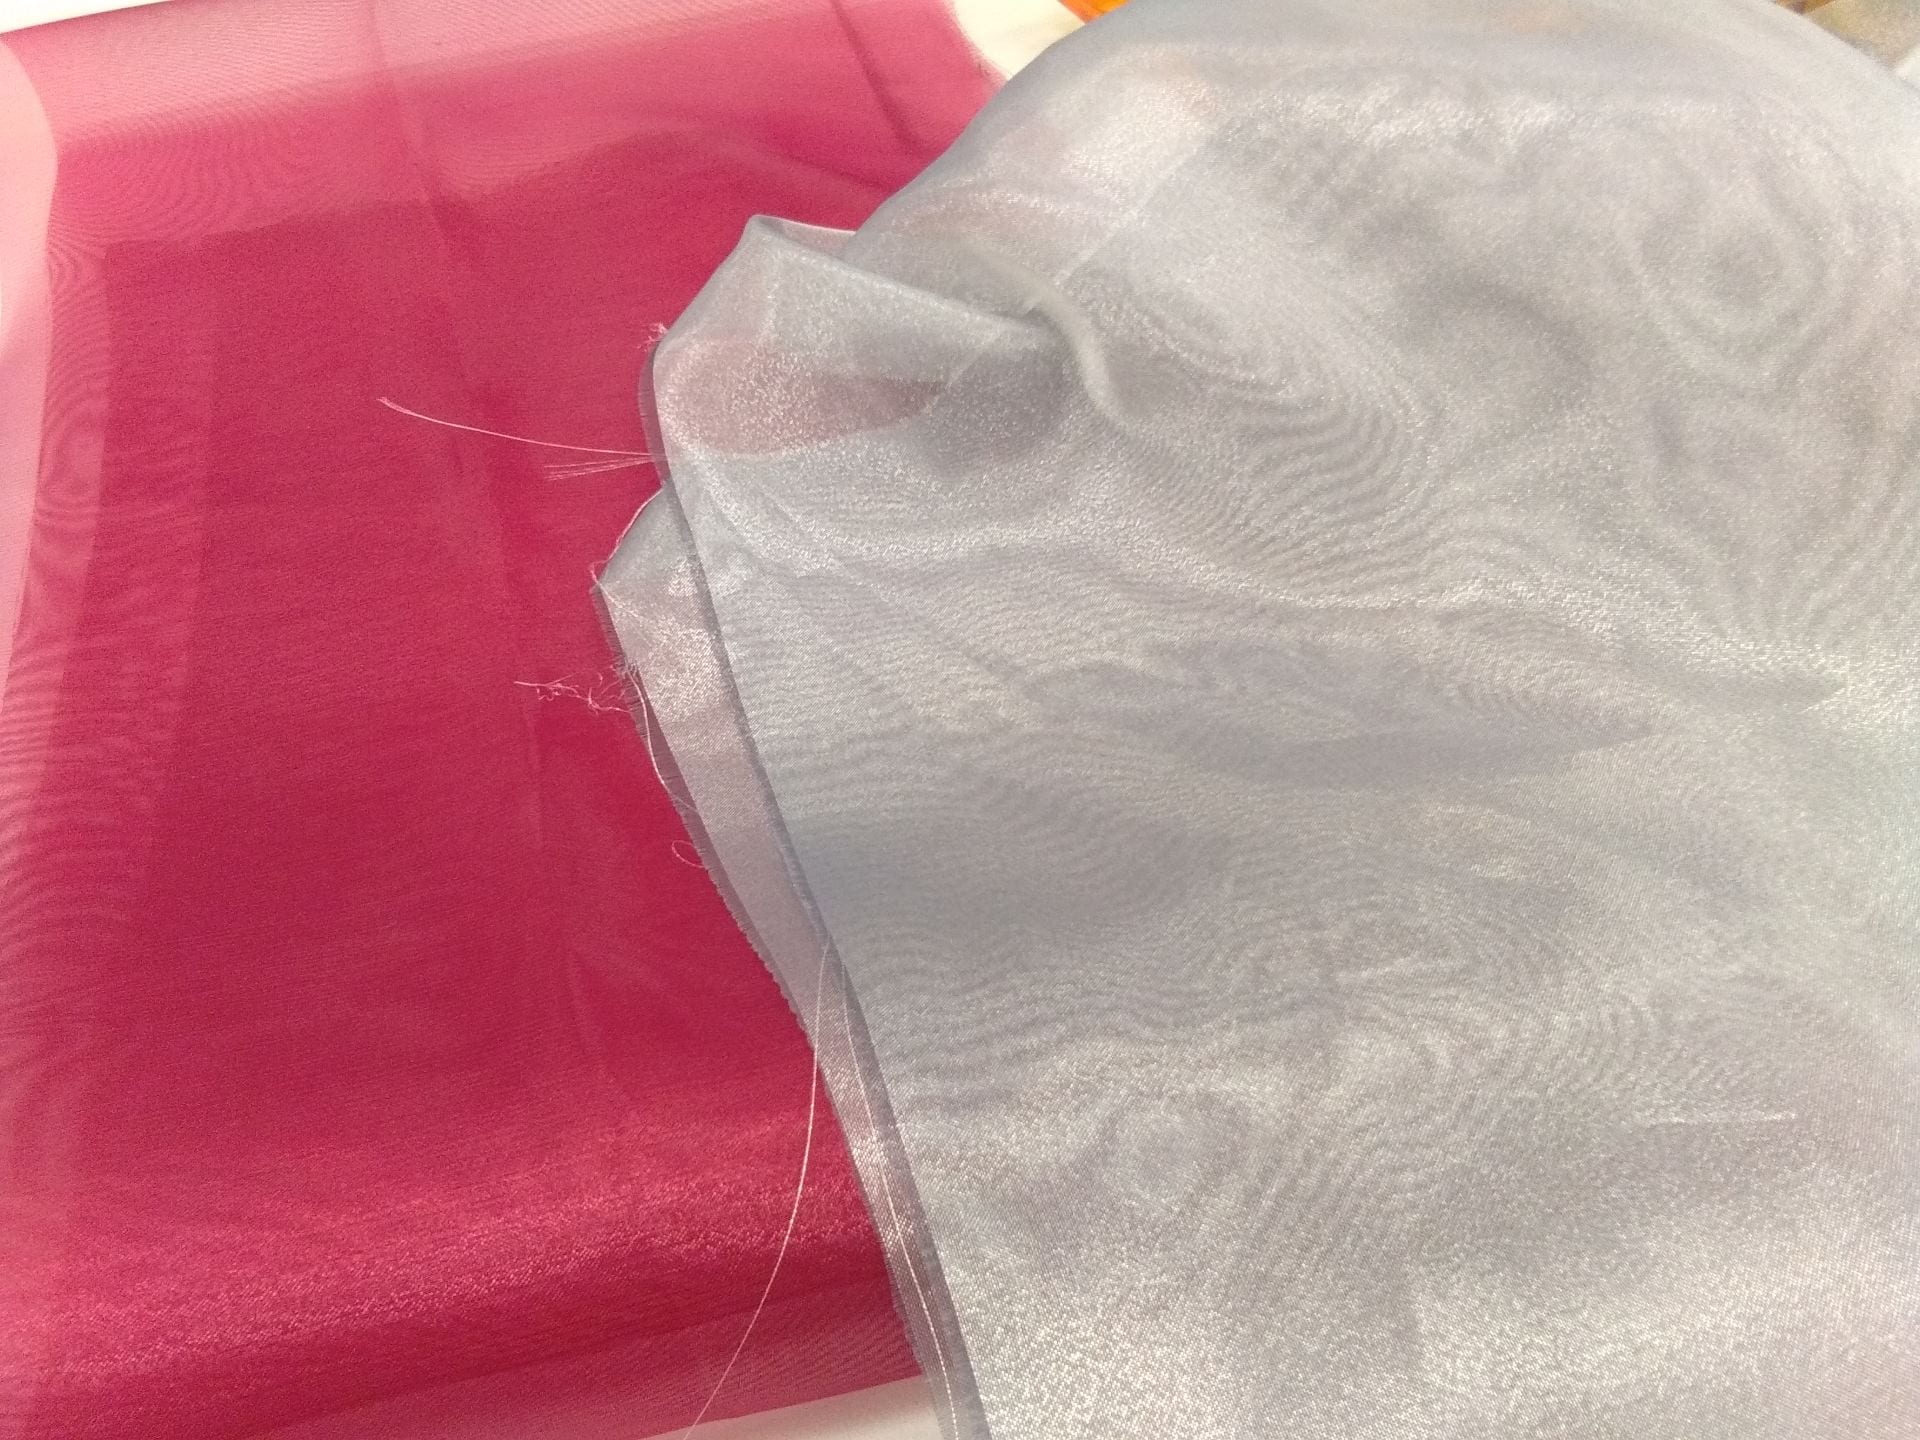
- Fabric
- Elastic thread
- Elastic band
- Sewing machine
- Threads
- Pins
How to achieve the technique?
Elastic Thread
- Set up the sewing machine with the elastic thread on the bottom bobbin.
- Sew the fabric using the sewing machine(sewing pattern A for school’s machine).
- From second line onward make sure to keep the fabric straight before repeating step 2.
Elastic Band
- Set up the sewing machine with the regular thread.
- Place the elastic band on the inside of the fabric, pull to stretch completely and secure with pins.
- Sew the fabric and elastic band together using the sewing machine with the zigzag stitch.
What are the uses and applications of the technique?
This technique could be use to created accessories, dresses, sleeves, pouches, etc.
Photos


samples shown in class

Small pouch made with elastic thread

Experimentation with elastic band
Own personal reflections
This method is particularly simple, but coming up with application and new idea is very tough.
Shirring with elastic band is actually pretty tough because the elastic band might not stay in place after being stretch. The result also differ quite a lot through out different type of fabric, where with thinner material like cloth the gathering cause by the elastic will be bigger, with thicker material like leather or felt it will be lesser.