All posts by Tan Li Ling

4 Thermoplastics & Vacuum Forming

Thermoplastic: refers to the quality of a fiber whose molecular structure breaks down and becomes fluid at a certain temperature, making it possible to reshape the fabric by pleating, moulding or crushing. The fabric is ‘fixed’ on cooling and cannot be altered unless heated to a temperature greater than the one at which it was reshaped.

 Vacuum Forming: is a simplified version of thermoforming, whereby a sheet of plastic is heated to a forming temperature, stretched onto or into a single-surface mould, and held against the mould by applying a vacuum between the mould surface and the sheet.


MATERIALS:

Thermoplastic:

  • 100% Polyester fabric
  • Aluminium foil
  • Rubber bands
  • Moulding objects or templates which can withstand heat (e.g. marbles, laser cut shapes, yupo paper for making origami like patterned folds)
  • A pot for boiling


  Vacuum Forming:

  • Thermoplastic sheet (e.g. PVC)
  • Scissors that cut plastic
  • Objects for moulding; solid objects preferred to have some holes in them, helps with vacuum suction
  • Vacuum forming machine

boxes were formed using an old picture frame and the tube/tree stump looking object was formed from a toilet roll. There was also wire mesh at the bottom of the vacuum forming machine and it created a wavy scale like texture.

APPLICATIONS: Image result for thermoplastic organzaPicture of A folded expressing garment

can be used to make wearables, lampshades (interesting textures/pattern/folds cast when lit)


Vacuum Form Idea for Multitool

vacuum forming is very practical, can be used for packaging design


REFLECTION: Vacuum forming is quick and easy and we managed to make moulds for resin and latex to cure in which was very fun! Thermoplastic organza makes structural volumetric structures; its very interesting to physically stretch and touch the fabric after boiling and after all that, it still retains its shape.

3 Fabric of threads & Plastic fusing

WHAT IS THE TECHNIQUE

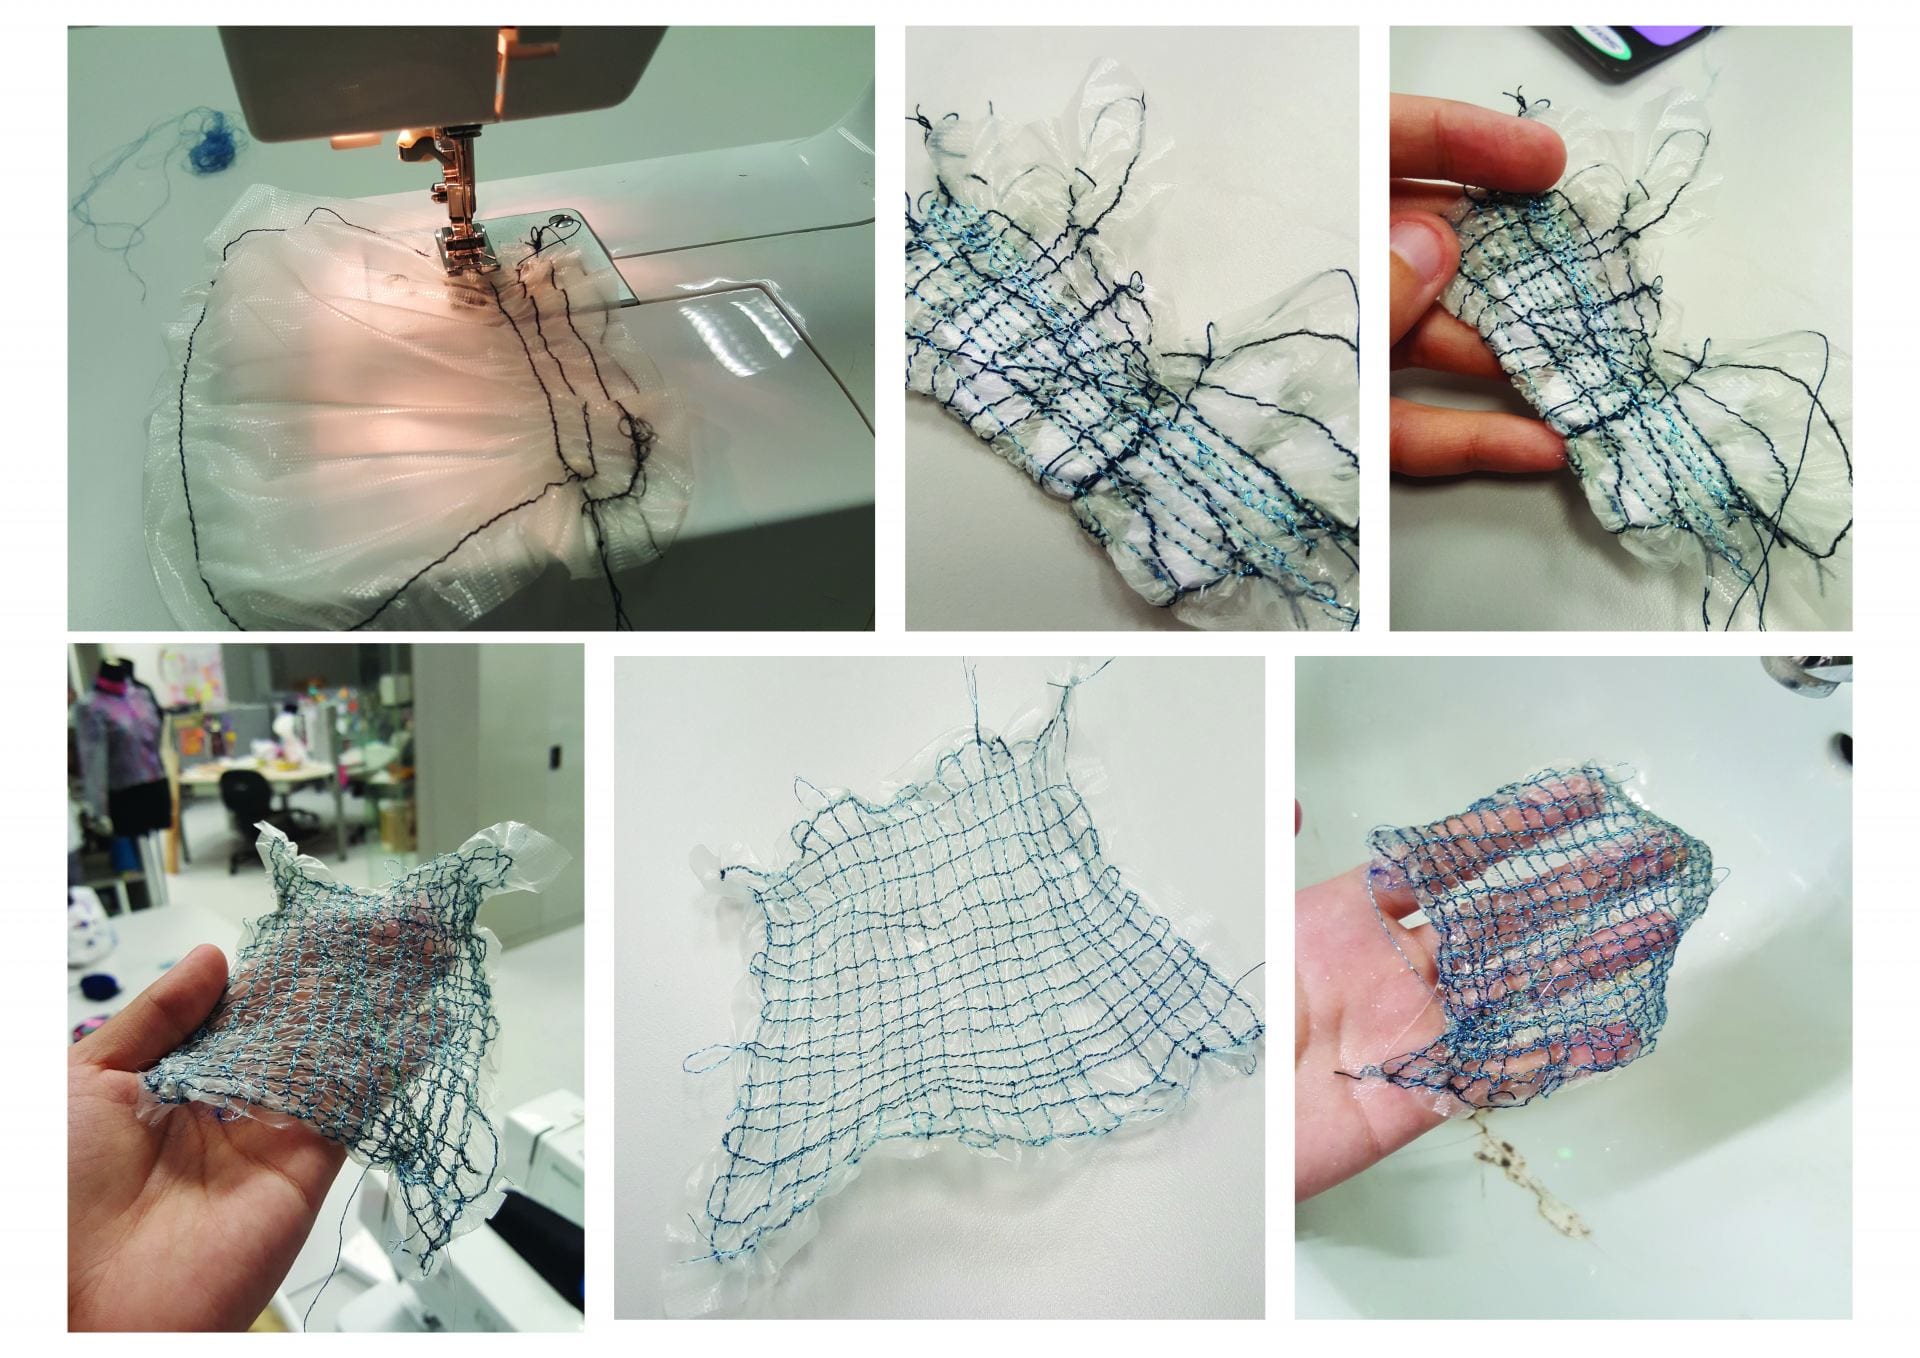
  1. Fabric of thread: Using a sewing machine sew on mass of threads/fabric or designs with thread, yarns and other fabric on a water soluble stabilizer.
  2. Plastic fusing:  Heating plastics so that they melt and fuse together to create new textures of textiles or items


MATERIALS:

  • Fabric of thread:
  • Sewing Machine
  • Water soluble stabilizer
  • Any Threads, yarns, fabrics, strips, trimmings
  • Acrylic spray/Starch spray to help with holding shape
  • Optional: object to form shape over


  • Plastic fusing:
  • Plastic bags
  • Iron
  • Baking papers
  • Scissors


HOW:

Fabric of thread: Spread and pin threads and yarns on water soluble stabilizer and sew a grid like pattern using a sewing machine. Then rinse in water to remove water soluble stabilizer. For objects to be molded, leave some water soluble membrane left and use acrylic spray to strengthen and harden the molded form.

Plastic fusing: Cut the plastic bags and layer them to make a design, then sandwich them between baking paper and iron on until fused together.


What are the uses and applications of the technique?

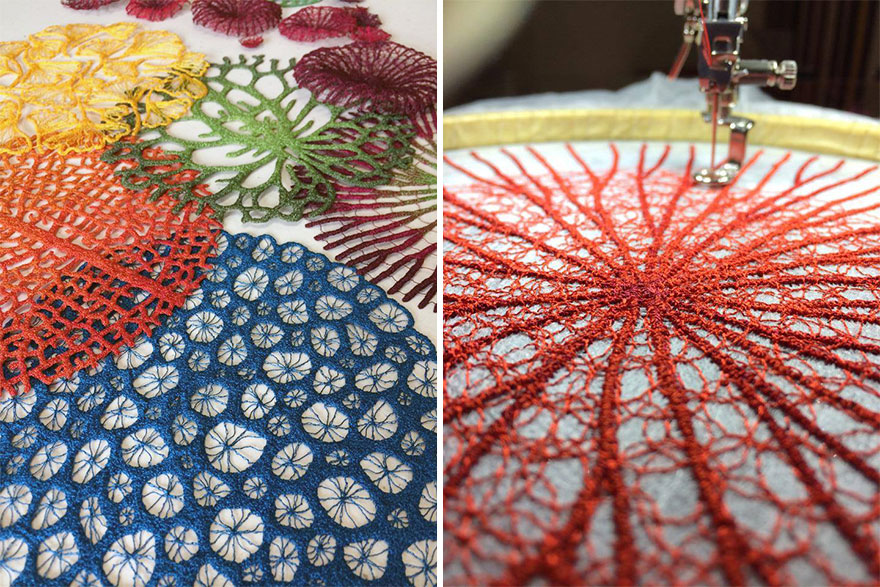
Fabric of thread- table wear, textile/clothing, sculptures, lampshades etc

Image result for WATER soluble fabricImage result for WATER soluble fabric


Plastic fusing is very interesting, thickness, texture vary with the amount and type of plastic used.

hard plastic tiles/coasters made entirely out of plastic bags and a mould

Fused Plastic Bags and Accessories


REFLECTION: 

Fabric of thread was challenging as the sewing machine kept tearing my water soluble stabilizer. A sewing hoop would help to hold and stretch fabric in place. Regret that I did not have much material left to explore more sculptural forms that can be made using this technique.

Plastic fusing is very fun, higher heat will cause the plastic to scrunch up more quickly = more texture (holes/wavy ends/overall form) and lower heat will produce a more uniform surface which is great for sewing together

More industrial methods allow plastic to melt and mix effectively to give a marbled effect which is very aesthetically pleasing and hard to achieve via DIY. Thicker plastics (more layers) can be used to make sculptural items which can stand on their own with the use of moulds.

2 Transfer Printing

TRANSFER PRINTING:
transference of an image to fabric or other materials via a substrate. The image made is transferred via heat and pressure. How it works: the dyes in the substrate sublime when sufficient heat and pressure is applied; sublimation printing. There are 3 types of transfer printing: Dry Transfer, Wet Transfer and Digital Transfer.

FOR DRY TRANSFER: We used crayola fabric crayons which contain fabric dyes. The dye will work on both cotton and polyester materials. The rainbow assortment of colors may not show up on dark-colored T-shirts and other materials.

MATERIALS REQUIRED:
Crayola Fabric Crayons
Baking Paper/Parchment Paper
Iron
Cotton/Polyester cloth

HOW:

  1. Create/draw your design onto a piece of paper using the crayons
  2. Place the coloured side of the paper facing fabric
  3. Iron on evenly
  4. Lift corner of paper to check for transference and if satisfactory, let cloth cool

FOR WET TRANSFER: We used Kraftcolor Transprint Ink, painted it onto object such as leaves then placed them onto the fabric with the coloured side down before ironing onto it to disperse the ink dyes.

-Indirect wet transfer: Painting the paper with Transprint Ink and using it to cast a printed shadow/outline of the item placed onto it. The objects create a barrier for the transferring to seep into the fabric and the empty space will show up as the design

MATERIALS REQUIRED:
Transfer ink
Polyester cloth
Brush
Iron/ Heat press machine
Baking paper

HOW:

  1. Brush onto paper the inks, making sure it is larger than the outline of the object to be used for indirect transfer
  2. Place the object between the coloured side of the paper and the fabric
  3. Iron on evenly
  4. Remove and let cloth cool

FOR DIGITAL TRANSFER: We used touch print’s special printing papers for transfers onto various surfaces depending on the type of paper used. Any image can be used; just select an image to be printed onto the TTC papers within A4 size. Printer used has to be a laser printer.

MATERIALS REQUIRED:
TTC 3.1 for light coloured fabric
CPM 6.2 for non-fabric hard surfaces (Wood)
Cloth
Wood/ceramic
Laser Printer
Heat press machine
Baking paper

HOW:

  1. Select image/images from a computer and print them within A4 size
  2. Print using a laser printer
  3. Cut images according to its outline as the transfer paper shows up as a semi matt/glossy surface on the fabric when ironed onto.
  4. Sandwich the printed image and the target surface to transfer onto in between baking paper and heat press it
  5. This part is really tricky as timing and temperature of heat press differs for every material and surface so its good to keep checking by lifting up at the corner of the transfer image.
  6. Once ready, lift transfer paper from surface at a 45 degree angle to remove while still hot. When paper has cooled, it is difficult to remove image successfully.


What are the uses and applications of the techniques?

Transfer Printing is used to create all sorts of images onto surfaces of various meduims as long as it is able to withstand the heat from heat press machine.

Image result for transfer print onImage result for transfer print onImage result for mugRelated image

Reflection: Transfer printing is a super quick and fun way to make patterns/images onto fabric. For dry and wet transfer, the longer the heat in applied onto dyes, the more intense the colouration. For digital transfer, it is hard to grasp the correct temperature and timing to get a good transfer image onto target material for me but it is super cool and you could easily make your own printed designs on everyday items using this method.

 my friends hard at work 😀