I was inspired by the marbled colours, the crashing waves texture/motion and the irregular layers.
EXPLORATION/EXPERIMENTATION OF SAMPLES:
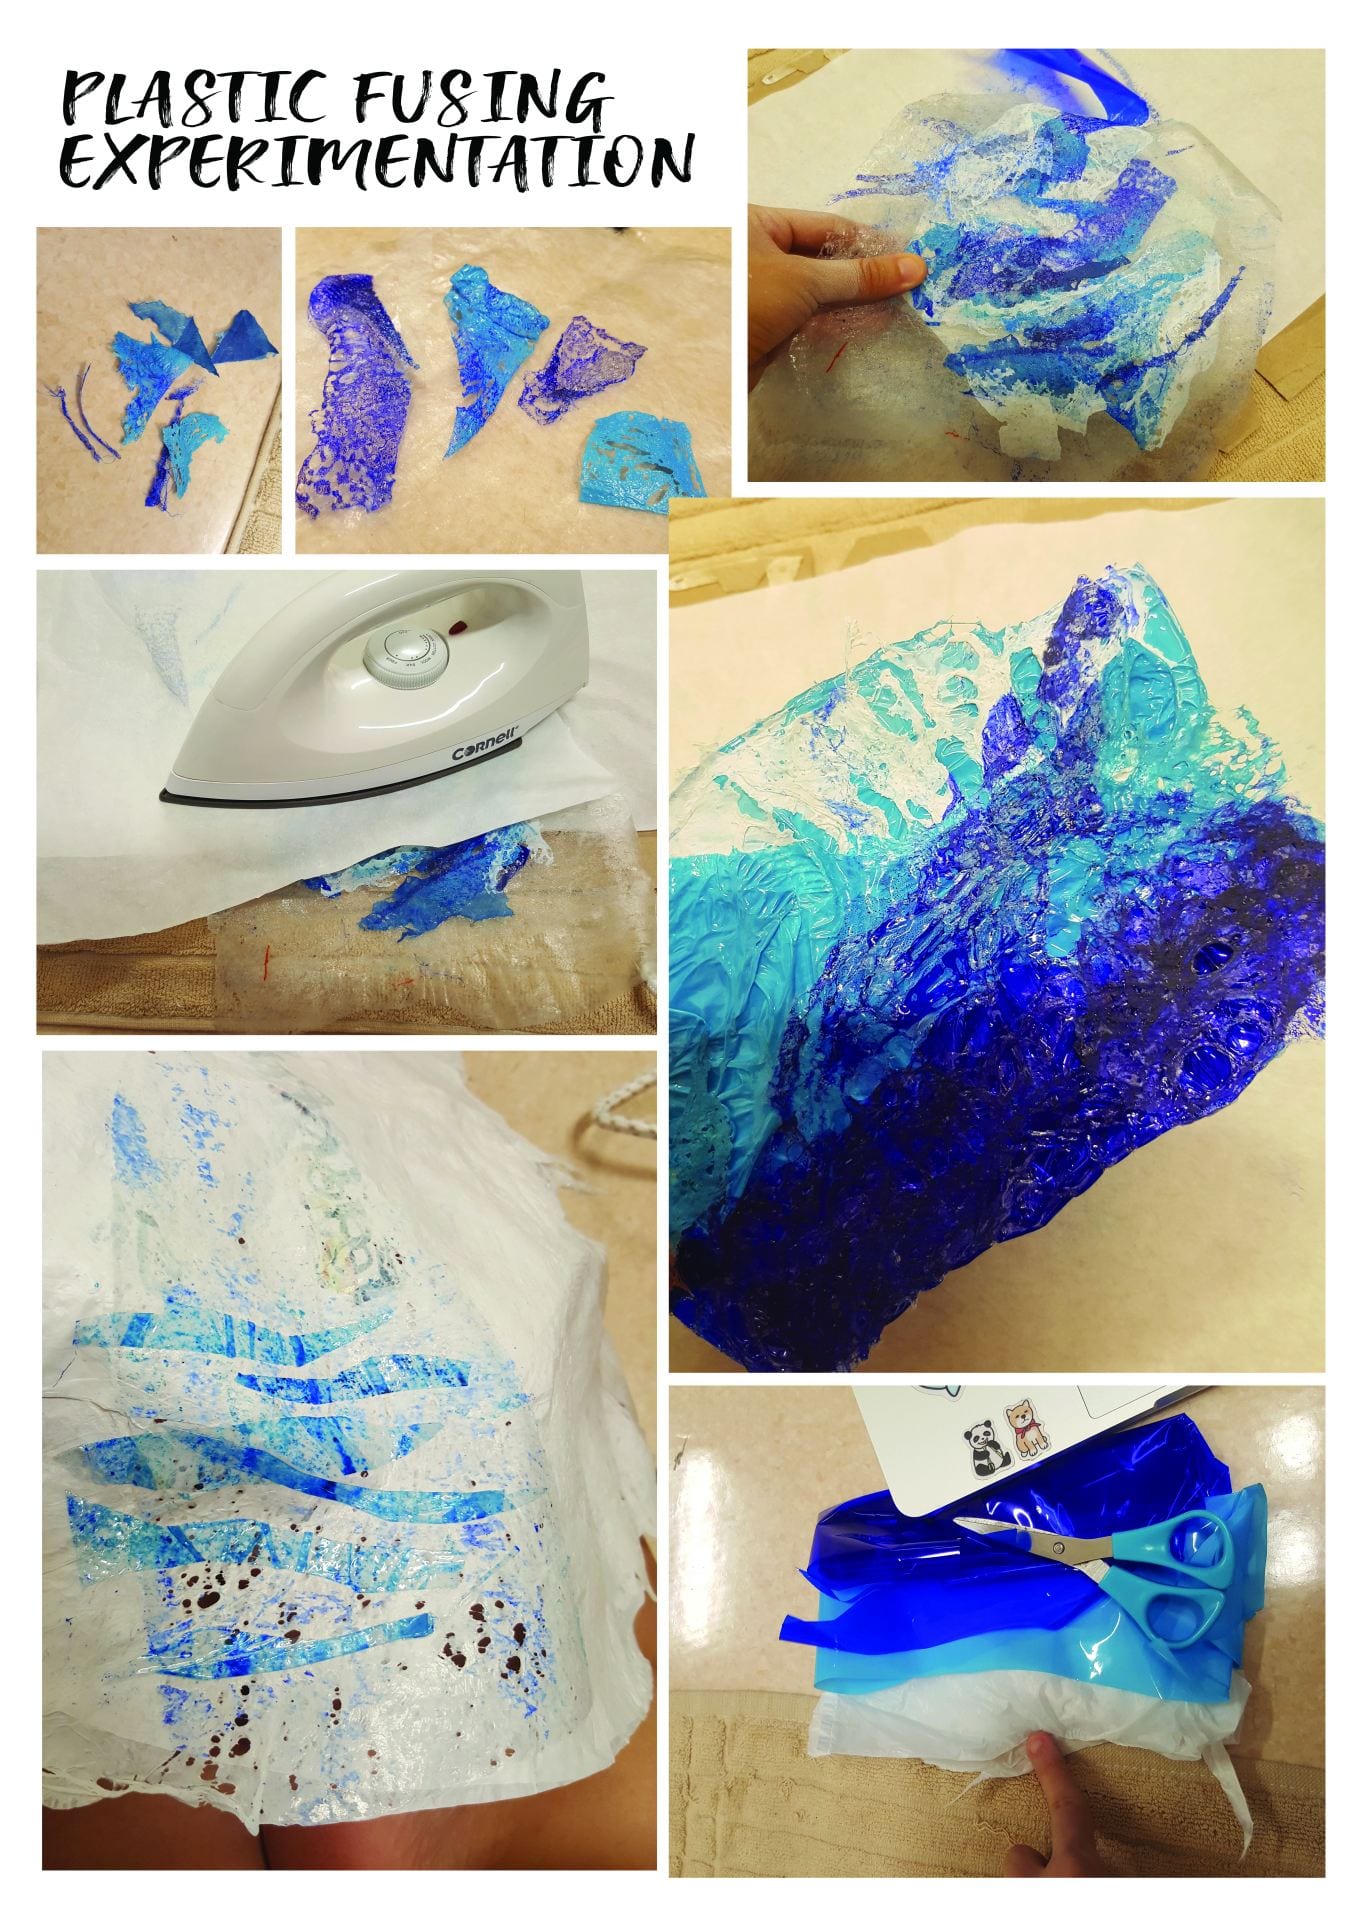
- PLASTIC FUSING


 I was able to make a nice marbled plastic fused piece and my final plastic fusing samples are a wave inspired clutch and replica of waves
  Clutch (2 hexagon boxes) were modelled using Rhino (software) and then 3D printed out. Marbled plastic fusing piece is die cut and stuck onto the clutch and the sides and empty spaces of the casing of the clutch were spray painted to achieve an ombre effect and also to blend the colours together (continuation from plastic fusing piece) Metal hardware was later fixed and glued onto the case and small beads were added to the plastic fusing centre piece to give it more texture and match the hardware.
2. SPRAY PAINT + MANIPULATING PLASTIC
I crunched up plastic to replicate irregular wave like creases then spray painted it at a 70 degree angle. After which, super glue was dotted on certain points on the plastic and pinched together to make deeper creases or higher peaks on the surface 
3. THERMOPLASTICS
I sandwiched organza in between 2 pieces of baking paper and use clips on one end to stop the organza from slipping. Then proceeded to fold horizontal lines in alternating directions throughout (same method of folding a paper fan), used a hot iron and pressed onto the baking paper for up to 1 min on high heat, continuously checking and making sure not to burn organza. Then i let it cool for a few minutes and slowly unwrapped the baking paper. I twisted and sewed down on specific areas of organza to make the textured ridges look wavy.
4. APPLIQUE
Switch to desired stitch settings and thread colour on sewing machine then mark out the pattern to stitch on. I used various coloured thread and zig zag stitching on white felt as the base and sewed on a wavy pattern.
5. MANIPULATING FABRIC
This idea sparked sporadically as i had scrap fabric after making my final project: Umiko, the waves inspired skirt. I layered the textured white fabric on top of each other to the desired thickness, then sewed all the pieces down on one side after which i trimmed the dangly side to create a curvaceous wave like volume and spray painted it with some blue spray paint (only the curvaceous tip).
6. FABRIC OF THREAD
I layered and glued on leftover threads in a meandering wave pattern and left some trails to dangle put of the frame
7. LATEX
There wasn’t sufficient hardener for latex mixture when I went back to try to recreate bumpy splashy wave like motion with latex hence I ended up using the first one I made during class. Mix 100g latex : 4g harder with wooden stick, pour it onto a smooth flat surface. While it is curing/hardening on the flat surface keep mixing and creating peaks using wooden stick, at the same time gradually add and mix in blur acrylic paint. Keep mixing until satisfied
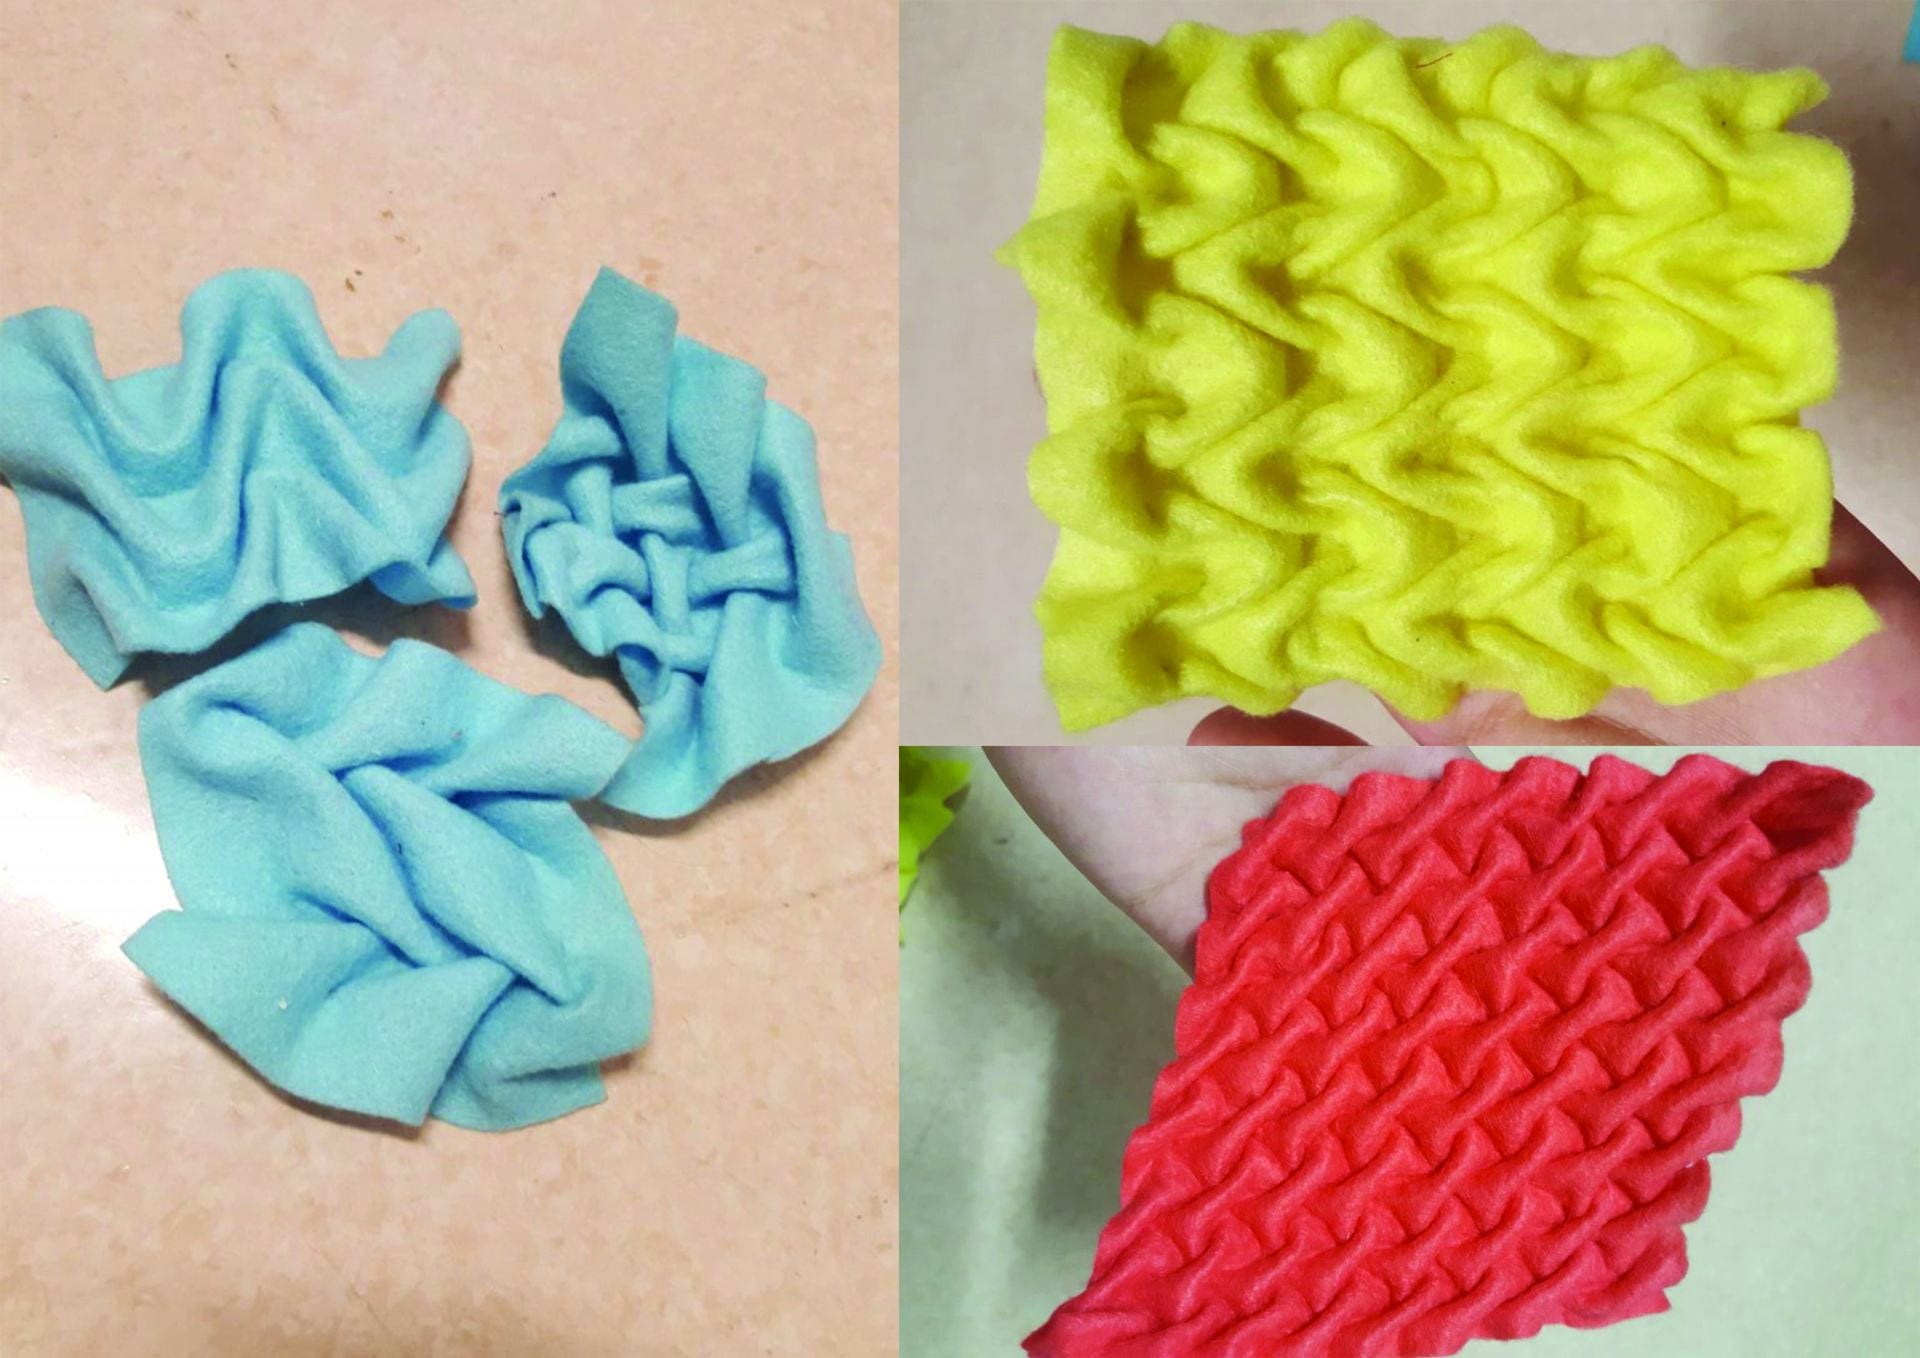
8. SMOCKING
https://www.youtube.com/watch?v=j-46YwO3sbQ
I followed a Canadian smocking tutorial to recreate wave ridge like textures.


