TRANSFER PRINTING:
transference of an image to fabric or other materials via a substrate. The image made is transferred via heat and pressure. How it works: the dyes in the substrate sublime when sufficient heat and pressure is applied; sublimation printing. There are 3 types of transfer printing: Dry Transfer, Wet Transfer and Digital Transfer.
FOR DRY TRANSFER: We used crayola fabric crayons which contain fabric dyes. The dye will work on both cotton and polyester materials. The rainbow assortment of colors may not show up on dark-colored T-shirts and other materials.
MATERIALS REQUIRED:
Crayola Fabric Crayons
Baking Paper/Parchment Paper
Iron
Cotton/Polyester cloth
HOW:
- Create/draw your design onto a piece of paper using the crayons
- Place the coloured side of the paper facing fabric
- Iron on evenly
- Lift corner of paper to check for transference and if satisfactory, let cloth cool

FOR WET TRANSFER: We used Kraftcolor Transprint Ink, painted it onto object such as leaves then placed them onto the fabric with the coloured side down before ironing onto it to disperse the ink dyes.
-Indirect wet transfer: Painting the paper with Transprint Ink and using it to cast a printed shadow/outline of the item placed onto it. The objects create a barrier for the transferring to seep into the fabric and the empty space will show up as the design
MATERIALS REQUIRED:
Transfer ink
Polyester cloth
Brush
Iron/ Heat press machine
Baking paper
HOW:
- Brush onto paper the inks, making sure it is larger than the outline of the object to be used for indirect transfer
- Place the object between the coloured side of the paper and the fabric
- Iron on evenly
- Remove and let cloth cool
FOR DIGITAL TRANSFER: We used touch print’s special printing papers for transfers onto various surfaces depending on the type of paper used. Any image can be used; just select an image to be printed onto the TTC papers within A4 size. Printer used has to be a laser printer.
MATERIALS REQUIRED:
TTC 3.1 for light coloured fabric
CPM 6.2 for non-fabric hard surfaces (Wood)
Cloth
Wood/ceramic
Laser Printer
Heat press machine
Baking paper
HOW:
- Select image/images from a computer and print them within A4 size
- Print using a laser printer
- Cut images according to its outline as the transfer paper shows up as a semi matt/glossy surface on the fabric when ironed onto.
- Sandwich the printed image and the target surface to transfer onto in between baking paper and heat press it
- This part is really tricky as timing and temperature of heat press differs for every material and surface so its good to keep checking by lifting up at the corner of the transfer image.
- Once ready, lift transfer paper from surface at a 45 degree angle to remove while still hot. When paper has cooled, it is difficult to remove image successfully.
What are the uses and applications of the techniques?
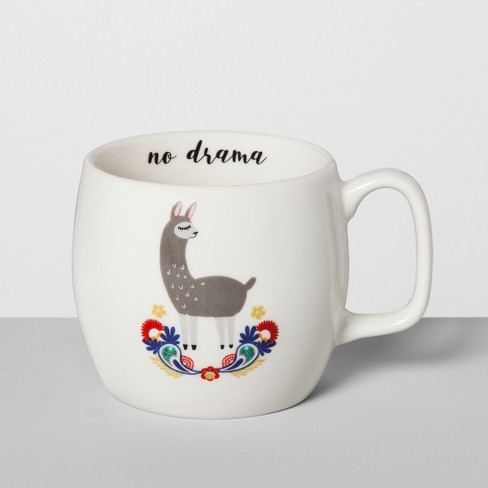
Transfer Printing is used to create all sorts of images onto surfaces of various meduims as long as it is able to withstand the heat from heat press machine.


Reflection: Transfer printing is a super quick and fun way to make patterns/images onto fabric. For dry and wet transfer, the longer the heat in applied onto dyes, the more intense the colouration. For digital transfer, it is hard to grasp the correct temperature and timing to get a good transfer image onto target material for me but it is super cool and you could easily make your own printed designs on everyday items using this method.


