
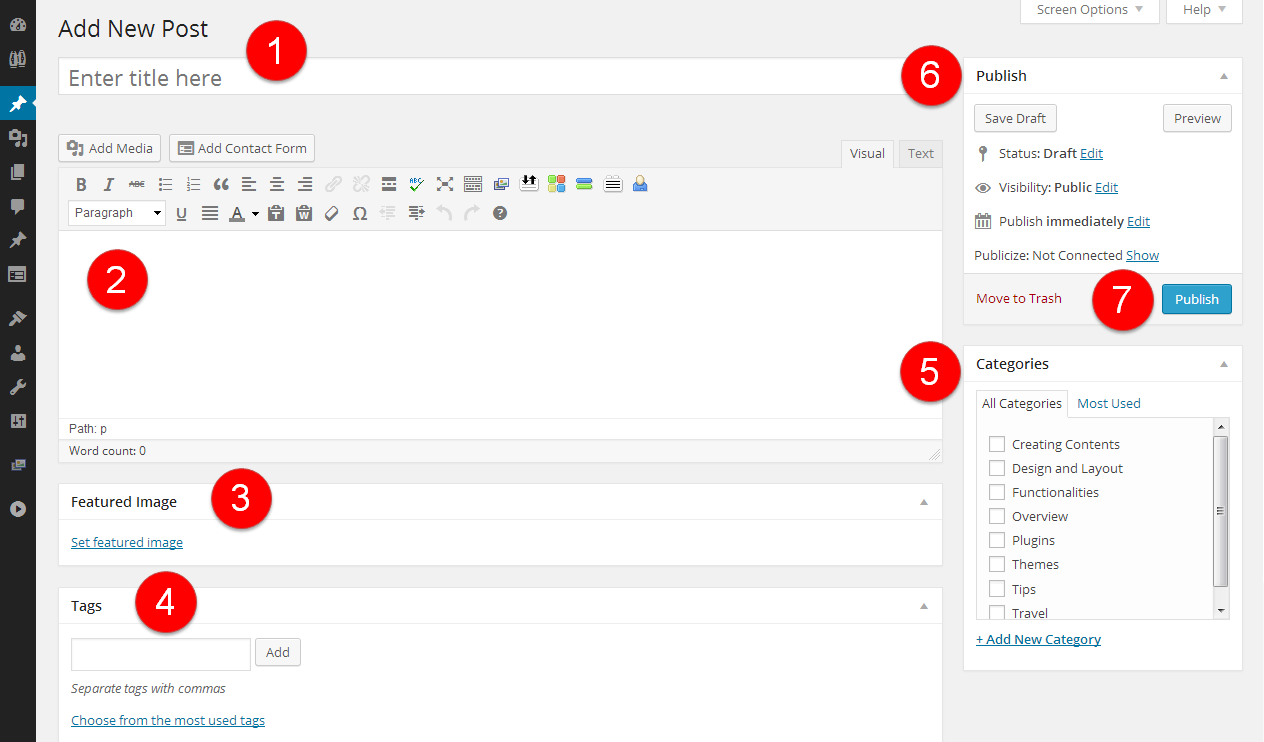
- Enter a title of your post.
-
Enter your post content using the post editor. There are two modes of editing: Visual and Text. Choose the mode by clicking on the appropriate tab. Visual mode gives you a What-You-See-Is-What-You-Get (WYSIWYG) editor. Click the
 icon in the row to get a second row of controls. The Text mode allows you to enter HTML along with your post text. Please note that typing or copying HTML codes with visual mode will reformats your html code.To add media into your post Click
 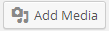 icon above the post editor to insert media files. You can select existing images and files (e.g. PDF) uploaded to the Media Library, or upload new media to insert to your page or post. You can also edit the image via the Media Library or from the posting.Visit below links to find out:
- How you can find and attribute copyright free images
- 10 places to find free stock images
- Using Getty Images
- Free Online Image Editors
To embed media into your post
You can also embed media from many popular websites including Twitter, YouTube, Flickr, and others by pasting the media URL on its own line into the content of your post. To learn more about embeds, please visit https://wp.me/p2cNpV-1xrTo add audio into your post
Click icon above the post editor to insert media files. You can select existing images and files (e.g. PDF, audio files) already uploaded to the Media Library, or upload new media to insert to your post. The default setting when inserting an audio file to your post is “Embed Media Player”. You will noticed the audio file will be embedded as follows:

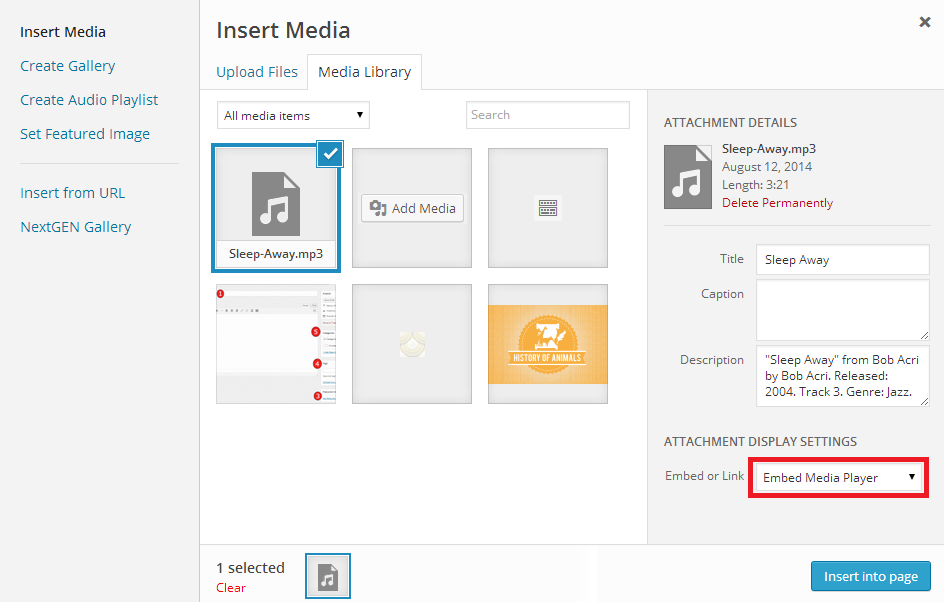
To de-link the file from the player, select “Media File” under “Embed or Link”. You can use a third party platform like SoundCloud to embed audio.
To insert a hyperlink to your post
Select the text you want to be hyperlink. Click the link button. Paste the desired URL into the link field.
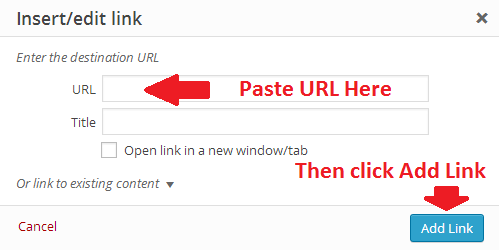
To create a table into your post
See here on how you create a table. - Set featured image, if any. This part is optional.
- Set tag(s) to your post. This part is optional.
- Set category(s) to your post. It is NECESSARY to properly categorize your posts so that the lecturer can find your posts.
- Preview your post to see how it really looks like. You can also save it as a draft and continue to work on it later.
- Publish your post. You can set the terms of publishing your post in the Publish box. For Status, Visibility, and Publish (immediately), click on the Edit link to reveal more options. Publish (immediately) allows you to set a future or past date and time, so you can schedule a post to be published in the future or backdate a post.
