Assembling Technology and Plastics Together
Assembling the suit together
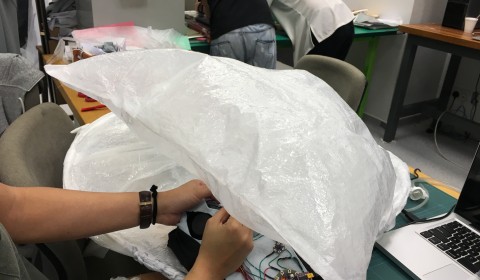
1.(First image) The suit is sealed inside out just like sewing a bag. The outward facing and inward facing sides of the suit are seamed at the sides together with heat. They are covered with wax paper.
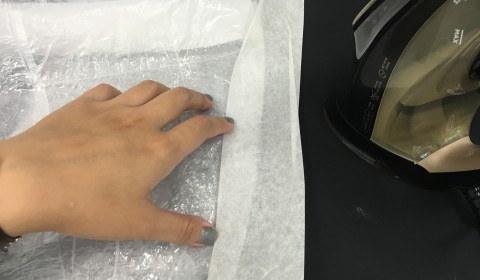
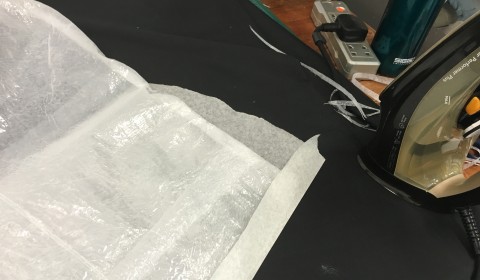 2.Refer to the second image. In order to keep the width of the seam consistent, wax paper was folded to 1-inch width.
3.A small hole is left agape to allow inverting the suit back.
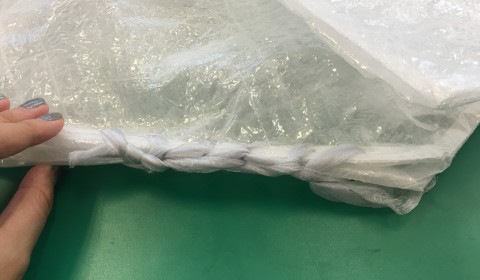
4.A pocket is created by sewing (by machine) a radius of 2cm around the edges.
5.Boning is inserted within the pocket and sewn tight by hand. Excess plastic seams are snipped off to allow the edges to be less thick.
6.The edges are seamed once again to seal the holes created by sewing. The above is repeated for all the inflating pieces.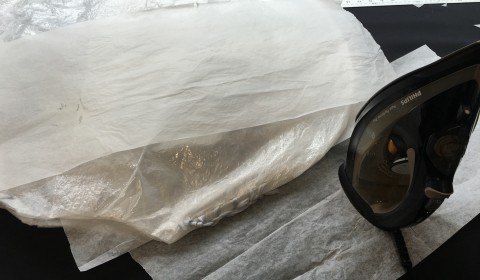
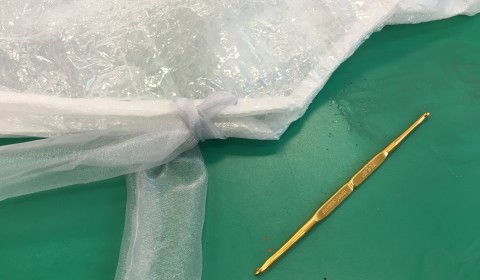
6.Front and back inflating pieces are joint together by piercing holes on the edges of the suit and tied together using scrap twisted organza fabric. To wind through the holes without creating a big hole, I used the crochet needle.
Assembling the technology parts
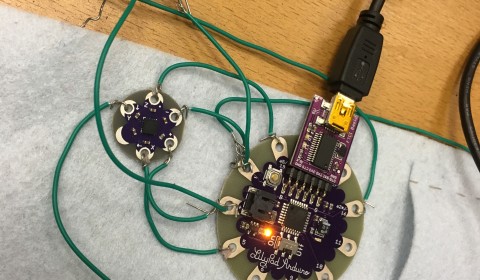
On a piece of felt, the components were assembled and sewn on neatly.
A black elastic sling pouch was made independent to contain and cover the electronics. During the actual runway, the sling pouch was made into a bib attached to the suit – reason being that the air-blower shifted out of place (unable to sit well on the model’s body).
Connecting the air-blower with the suit
Original idea: Use pipes to connect the air blower.
Failed because: The air blower does not act like a pump. So it does not push air through pipes. The only solution is to connect the mouth of the air blower to the airbag.
Method:
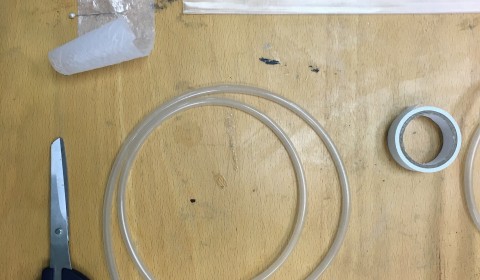
A pipe has to come out from the suit to connect to the mouth of the air blower. To do that, a plastic water bottle is cut and popped into the suit as an extension, then taped. The mouth of the plastic bottle was then taped to the mouth of the blower.