Electronics part 2

img_20161015_210029-1 img_20161015_210021-1 img_20161015_210050

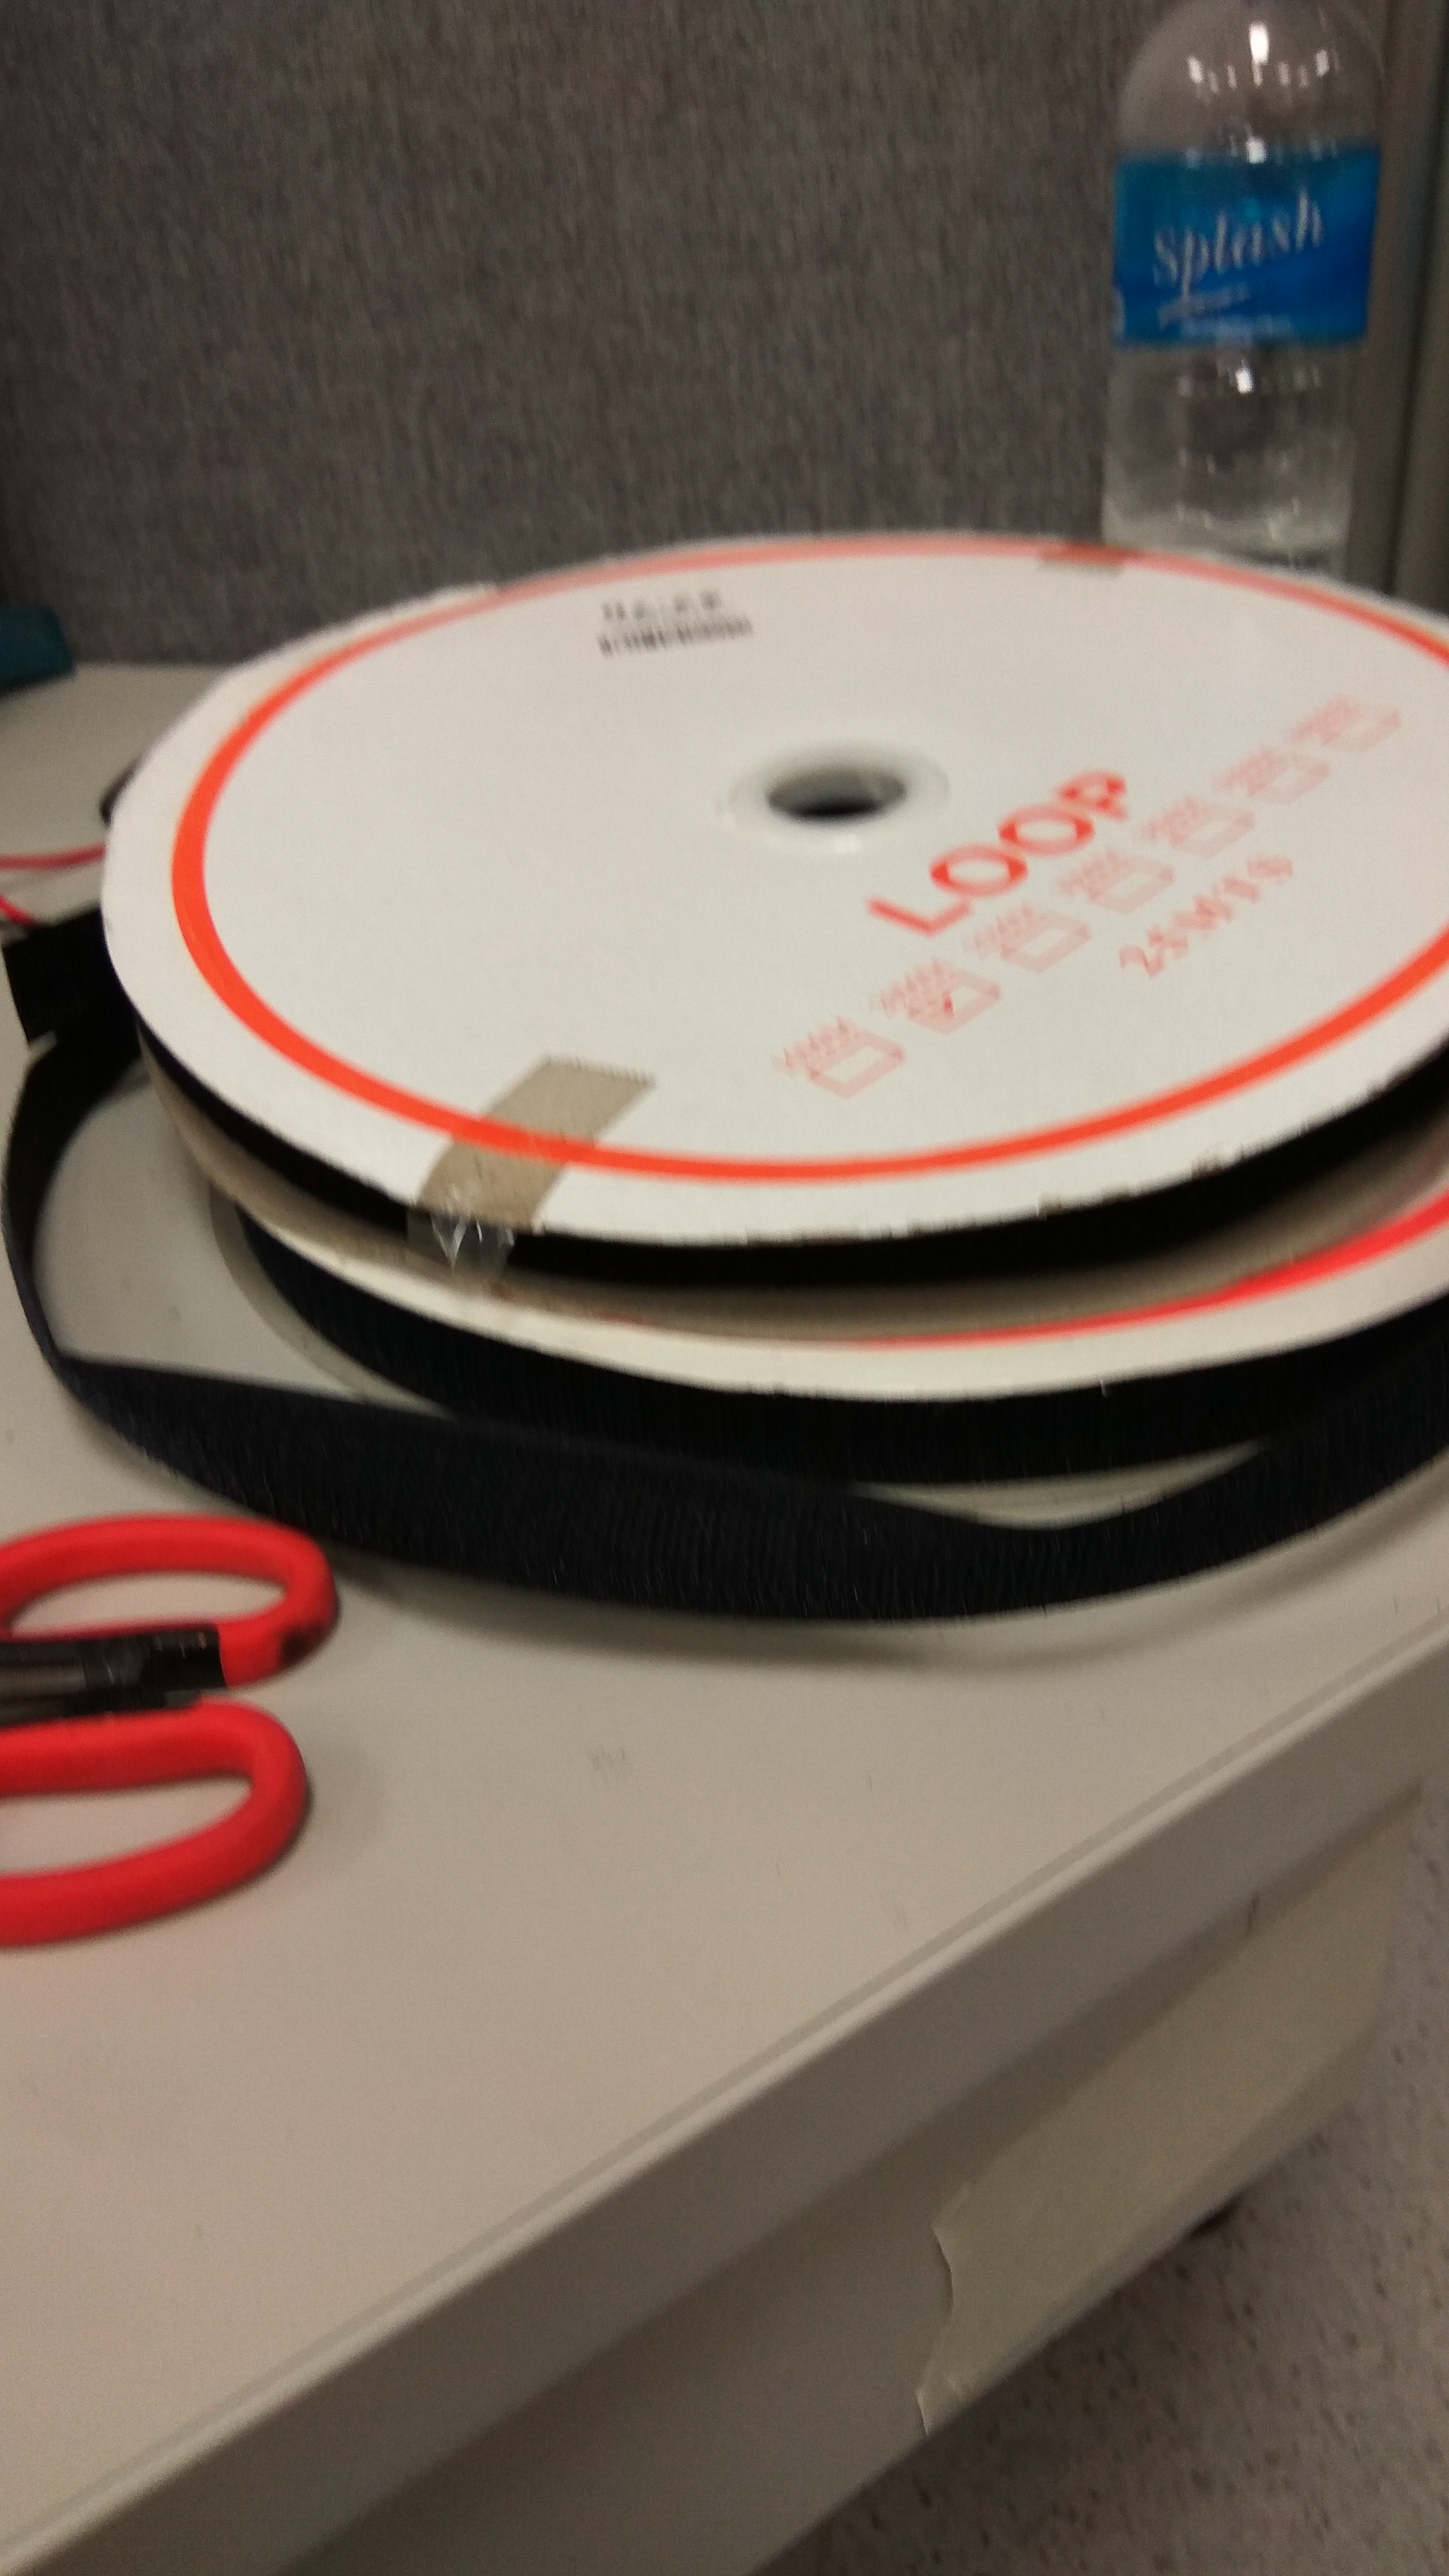
sewing the main electronics on a a velcro compartment that is connected to the inner lining

img_20161016_210342

Testing of the LED strips. I choose to use 5V led strips as the lilypad arduino can only output 5v and the colour red as based on my concept.


The strip of the led that i cut was based on the size of the section of organza bubbles.

I tested one strip and placed them under the organza bubbles, it was not bright enough so i wanted to use two strips.

As led strips cannot bend well, i choose to cut two short strips and link them by soldering them together with short wires. I tested it again and it worked well so i decided to place two short strips of red led under each organza bubbles cutout.

img_20161015_182256-1


Electronics

img_20161013_184759img_20161007_175734

Testing the heat pad with a higher amp battery and crocodile wires

img_20161015_002951 img_20161013_184807

soldering the touch resistor to the lily pad arduino

Soldering is much a much more secure connection than just twisting it around the holes of the lilypad arduino

img_20161013_184815

Connecting the circuit based on this diagram, how the transistor connects to the lilypad arduino to the heat pad to the external battery


sketch and write up

img_20161009_215433

Title: Coral dress


My dress inspiration is from the coral reefs and the sea. Iconic representation was used to represent the themes of the dress. The organic shapes of the waves and the sea form the main shapes of the cutouts of the dress and the bubbles of the dress represent the coral reefs in the oceans. The colours of the dress also allude to the theme of the coral and the sea.
My dress concept is about how the coral reefs are dying due to humans. Over 50% of the world’s coral reefs may be destroyed by 2030 due to human related activities. Through the use of technology, I hope to portray that humans are causing damage to the coral reefs. Upon the human  touch through the sensor, the corals on the dress would glow red, representing the damage that have been done to the corals by humans.

applique

img_20160929_141740img_20160927_125606

Trying out the different tension settings for the applique (zig zag stich at the widest setting)

Had to put the tension at zero as the thread would break easily if the tension was too tight

img_20160929_140005 img_20160929_135956 img_20160927_144701

I cut away the cutouts first, revealing the edges before tacking them with a straight stitch. Then i used the zig zag stitch along the edges, going along the curves. For steeper curves, i would lift up the presser footer with the needle down and shift the cloth slightly

img_20160929_153808

Once the applique stitches are done, i would cut out the peach organza that is in the cutouts so that i can insert the bubble fabric and iron the stitches to make them flat.

I chose the bubble fabric that is layered with white shiny organza rather than the blue as the blue organza is too similar a shade as the baby blue fabric, there’s much lesser contrast.

Making fabric bubbles

img_20160926_182546 img_20160926_182558 img_20160926_212221

Tying of marbles in organza to form the shape of bubbles. Then boiling them in a pot for about half an hour. For one layer i boiled them for about 30 mins. Two layers for about 45 mins. Four layers for about 1hour and 45 mins

img_20160926_212240 img_20160928_154153

I tried making bubble fabric with different colored organza.and also tried layering of fabric, layering peach organza with blue or white.

img_20160929_194727

Designing the cutouts of the dress

img_20160924_184635 img_20160925_131646

drawings to try to visualize the cutouts

img_20160925_135726     img_20160924_220345

trying out in newspaper. I decided on larger cutouts, easier to applique and looks better in terms of composition

img_20160925_183250 img_20160925_183218 img_20160925_174520

tried it out in another fabric first as i have limited baby blue fabric. As i tried the template i made on the royal blue fabric, i realized that the side cutout was too big and there wasn’t enough space for me to join the front and back pieces.Then i edited template to include smaller side cutouts.


trying out the force sensitive resistor

/* How to use a Force sensitive resistor to fade an LED with Arduino
More info: http://www.ardumotive.com/how-to-use-a-force-sensitive-resistor-en.html
Dev: Michalis Vasilakis // Date: 22/9/2015 // www.ardumotive.com */

//Constants:
const int ledPin = 3; //pin 3 has PWM funtion
const int sensorPin = A0; //pin A0 to read analog input

//Variables:
int value; //save analog value
void setup(){

pinMode(ledPin, OUTPUT); //Set pin 3 as ‘output’
Serial.begin(9600); //Begin serial communication

}

void loop(){

value = analogRead(sensorPin); //Read and save analog value from potentiometer
Serial.println(value); //Print value
value = map(value, 0, 1023, 0, 255); //Map value 0-1023 to 0-255 (PWM)
analogWrite(ledPin, value); //Send PWM value to led
delay(100); //Small delay

}