Lesson 3 Materials exploration Fabric of thread & Fusing plastics

What is the technique?

  • Fabric of thread

  Using a sewing machine to create design with thread, yarns and other fabric on a water soluble stabilizer.

  • Plastic fusing

  When layered, heated, and pressurized, plastic bags will melt or fuse to each other or themselves creating a new type of durable, sewable fabric.


What are the relevant materials needed for the technique?

Fabric of thread:

  • Sewing Machine
  • Water soluble stabilizer
  • Threads, yarns, fabrics, strips, trimmings etc.
  • UV-resistant clear acrylic spray
  • Optional: object to form shape over

Plastic fusing:

  • Plastic bags
  • Iron
  • Baking papers
  • Scissors


How to achieve technique?

Fabric of thread:

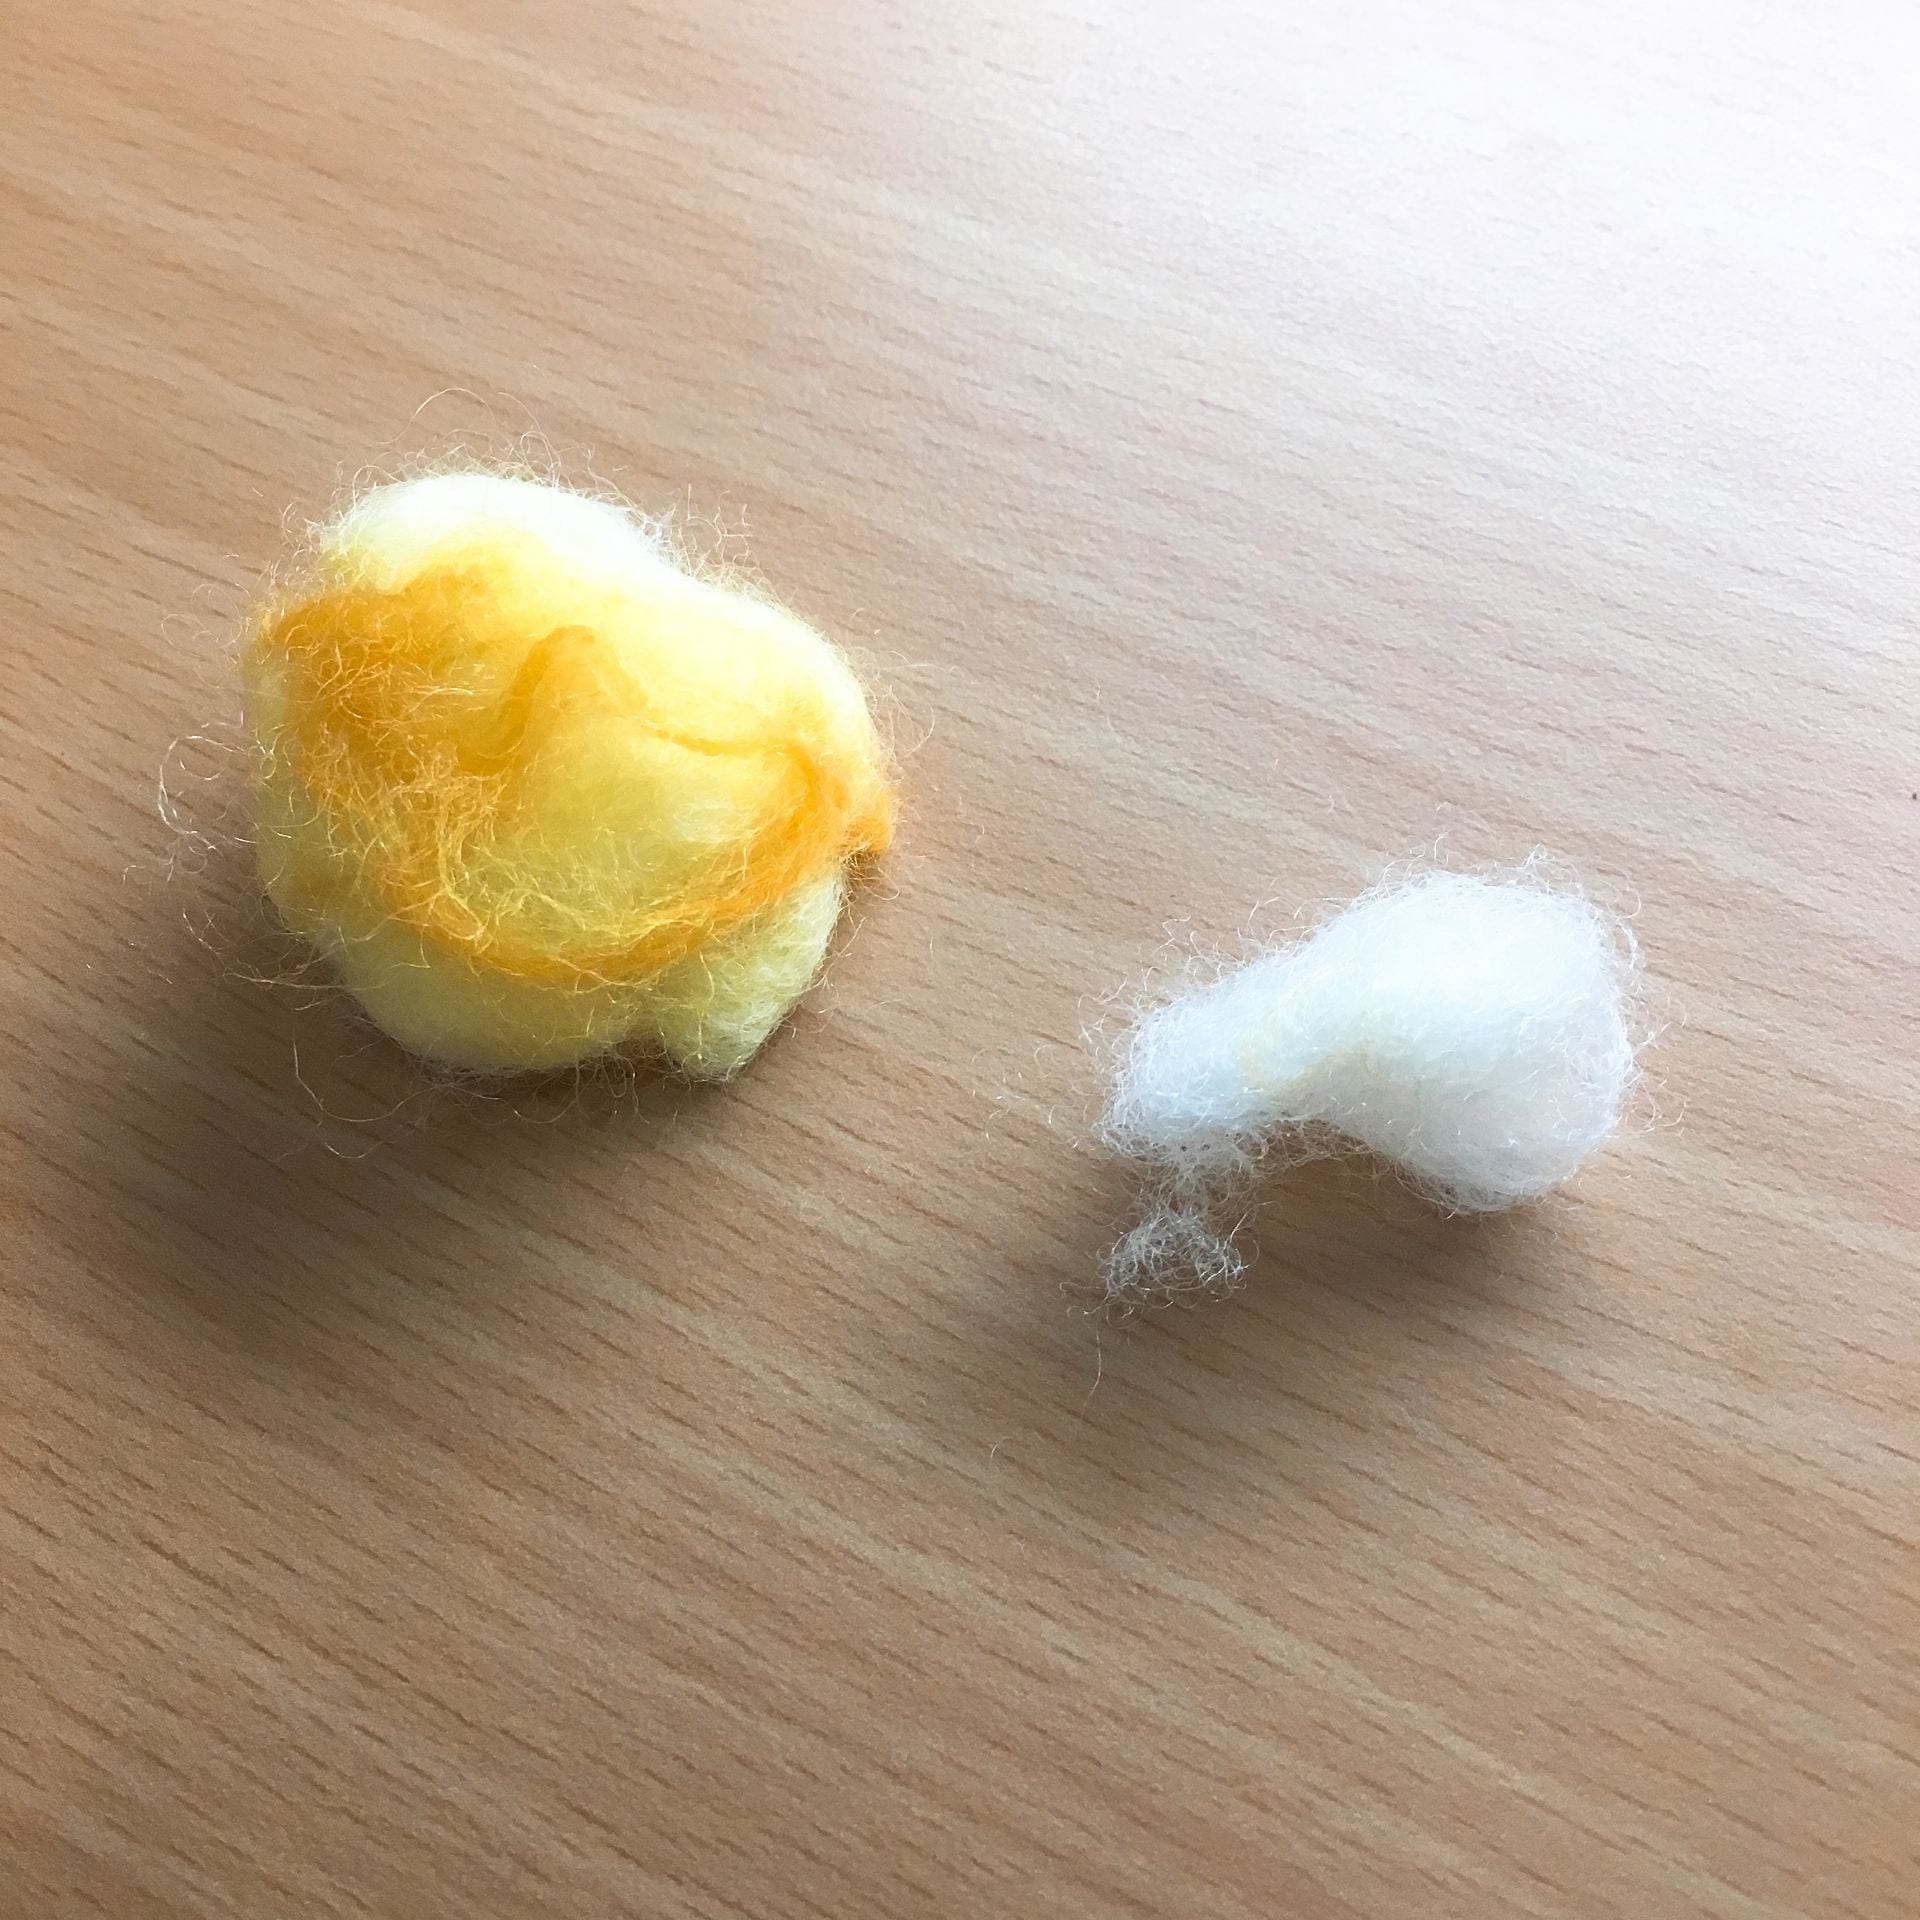
  Layout threads and yarns on water soluble stabilizer and stich across using a sewing machine; wash the piece in warm water; for wearable pieces, wash thoroughly to remove all gluey membrane; for pieces that are to be moulded, place it on the moulding object once the stabilizer dissolves and leave it to dry; Spray the dry piece with acrylic spray to harden it.

Plastic fusing:

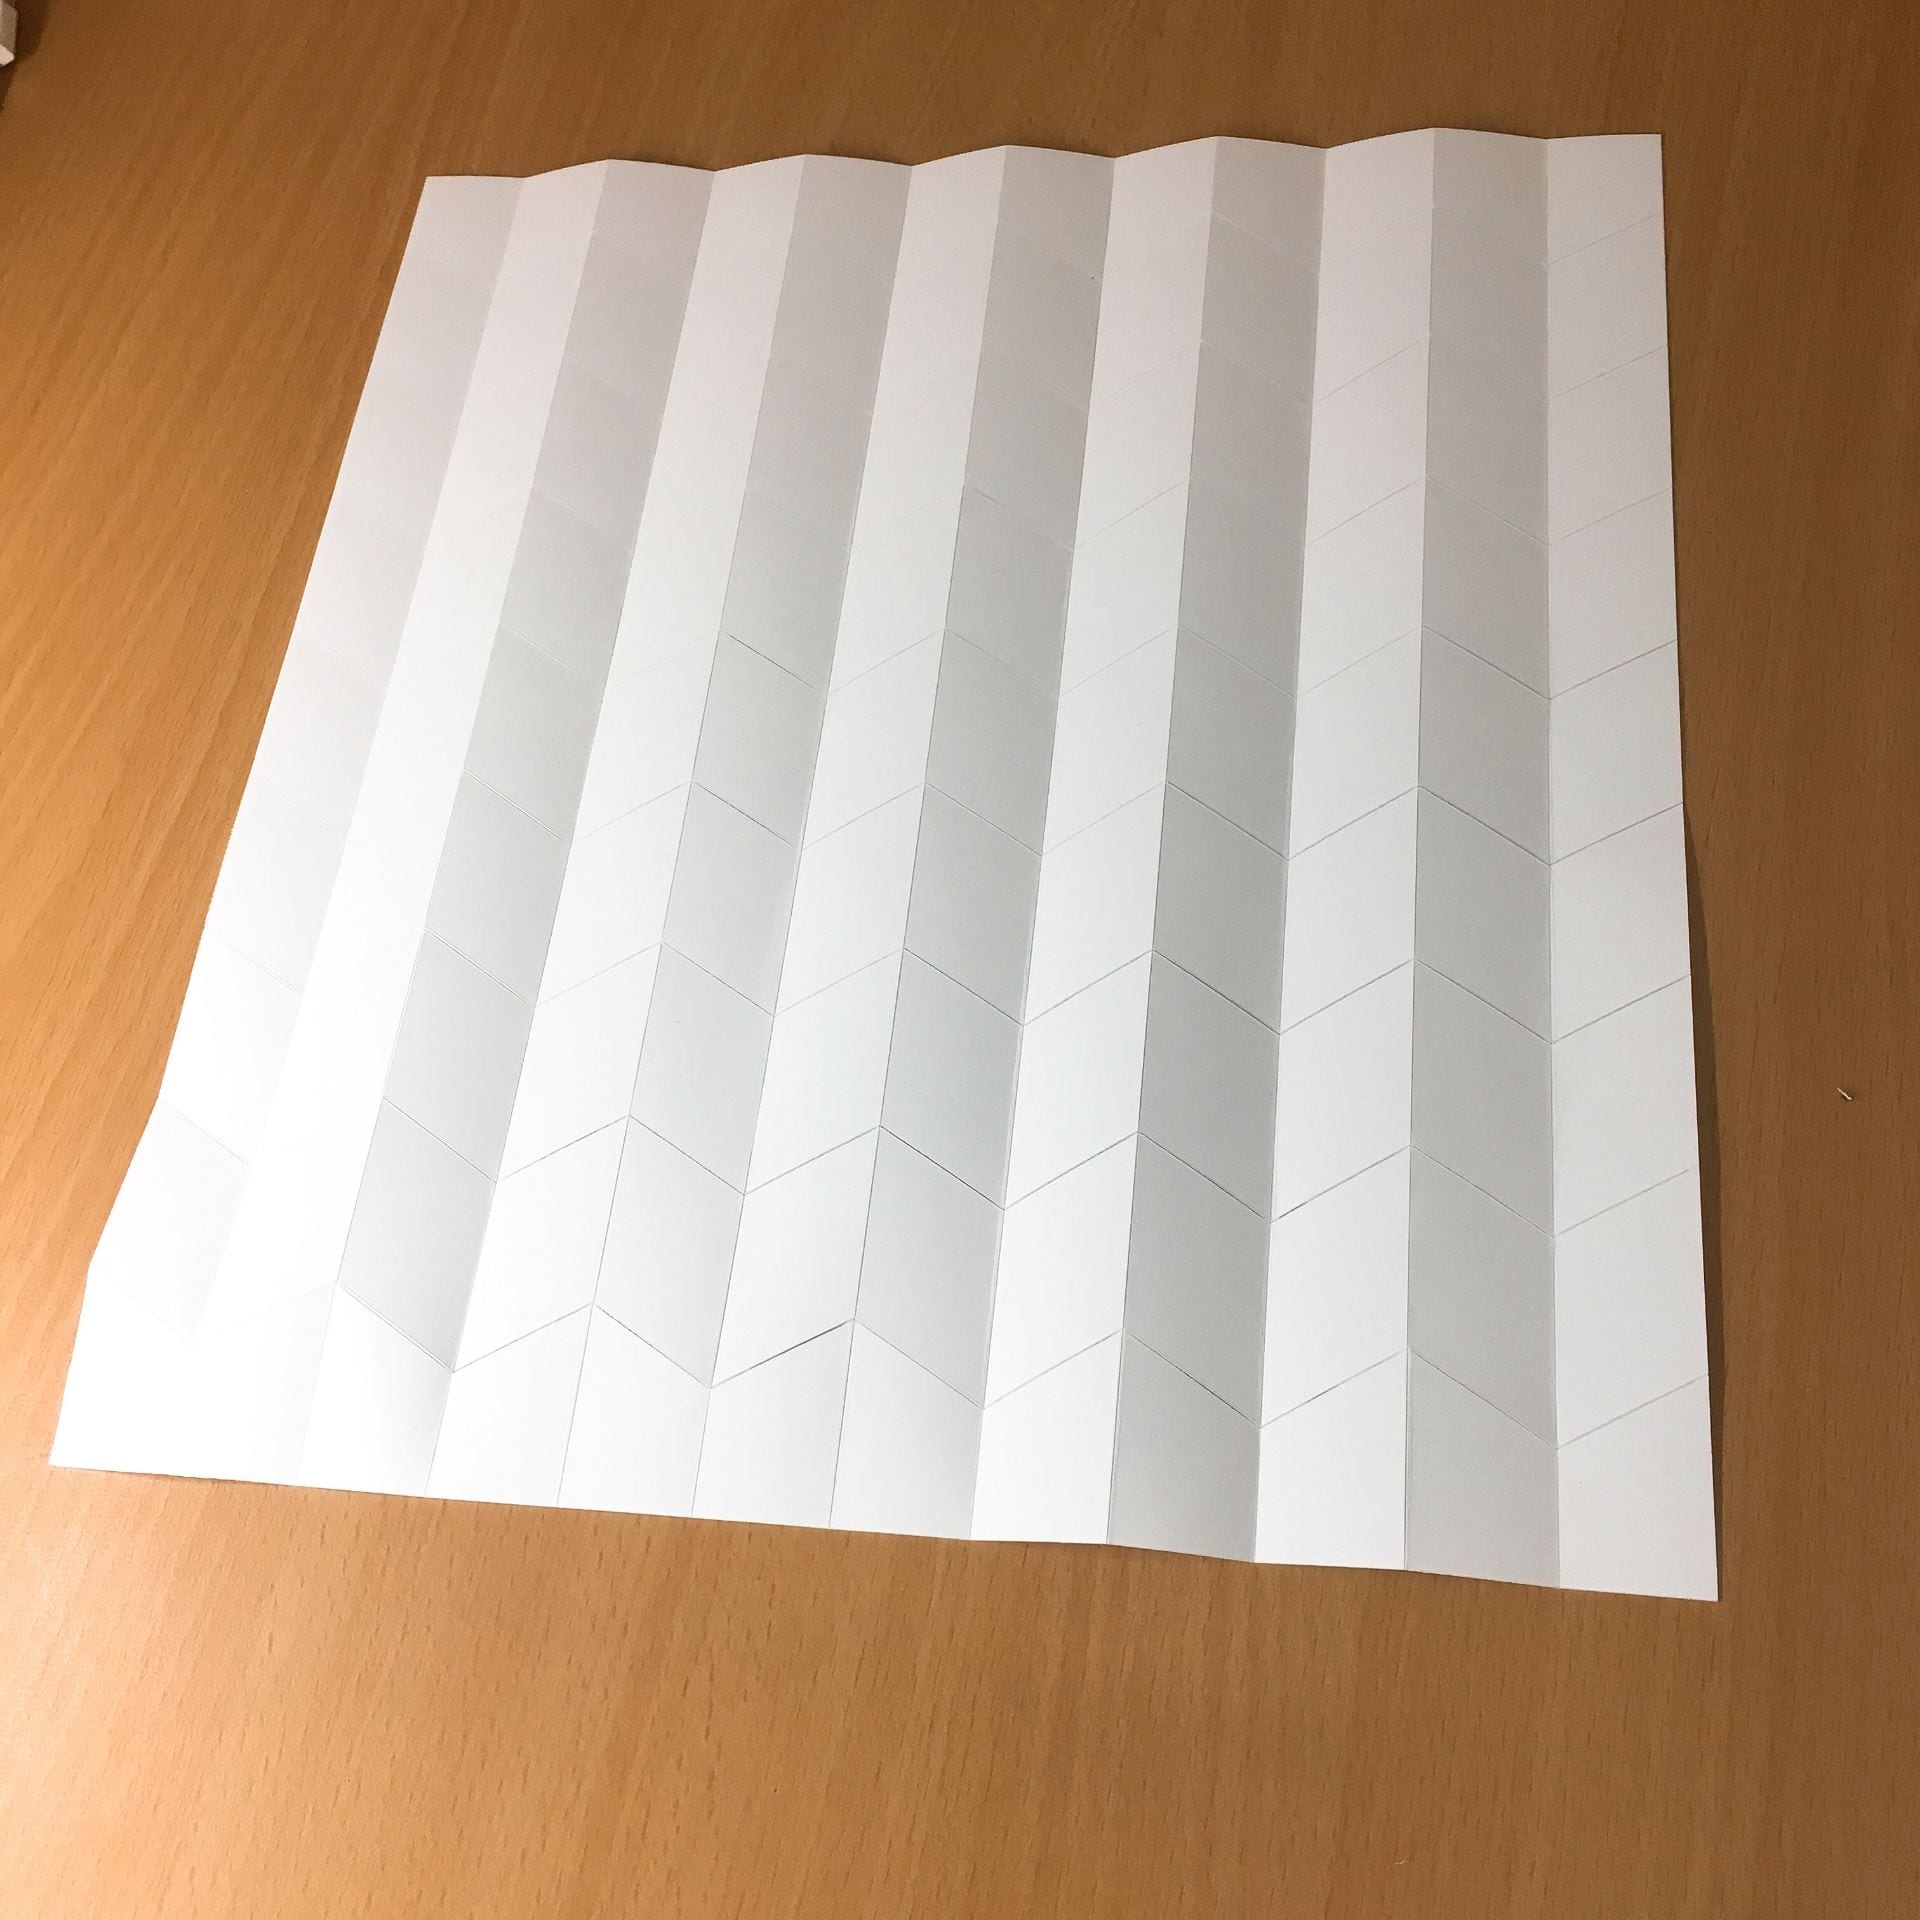
  Cut the plastic bags to create designs; place a sheet of baking paper at the bottom and then put the plastics strips on top; lay down another layer of baking paper and iron over it


What are the uses and applications of the technique?

  Fabric of threading can be used for a wide range of applications from formal dining table to eveningwear. It can also create interesting shape depending on the moulding objects. For example, it can be made into light shade.

  Plastic fusing allows us to create a new type of ‘fabric’ for all kinds of projects; the end results can have different colours, patterns and thickness as we make them.


Experiment

Lay down threads on water soluble material to create a design

  I tied two strings with three different colours to form a circle and then put down some threads matching the colour theme. And then I put another layer of water soluble material and pinned down the design. The piece shrank when I tried to stich down but it turned out quite nicely. I moulded it over a square box.


Plastic fusing testing during lesson

  Trying out different colors and mixing different types of plastic, I realized the shrinkage was very obvious. Some thin clear plastic actually melted and became scrappy.

  I learnt from YouTube videos to cut, tied and make plastic yarn (plarn) and pressed it with an iron to make it more sturdy.

  I also experimented with fusing different colours of plastic bags and tried to merge them together. It was quite difficult to merge if I did each colour one by one first as they would already shrink and harden. I did manage to join the pieces and turned it into a tube. However, it broke when I tried to cut and made some design.


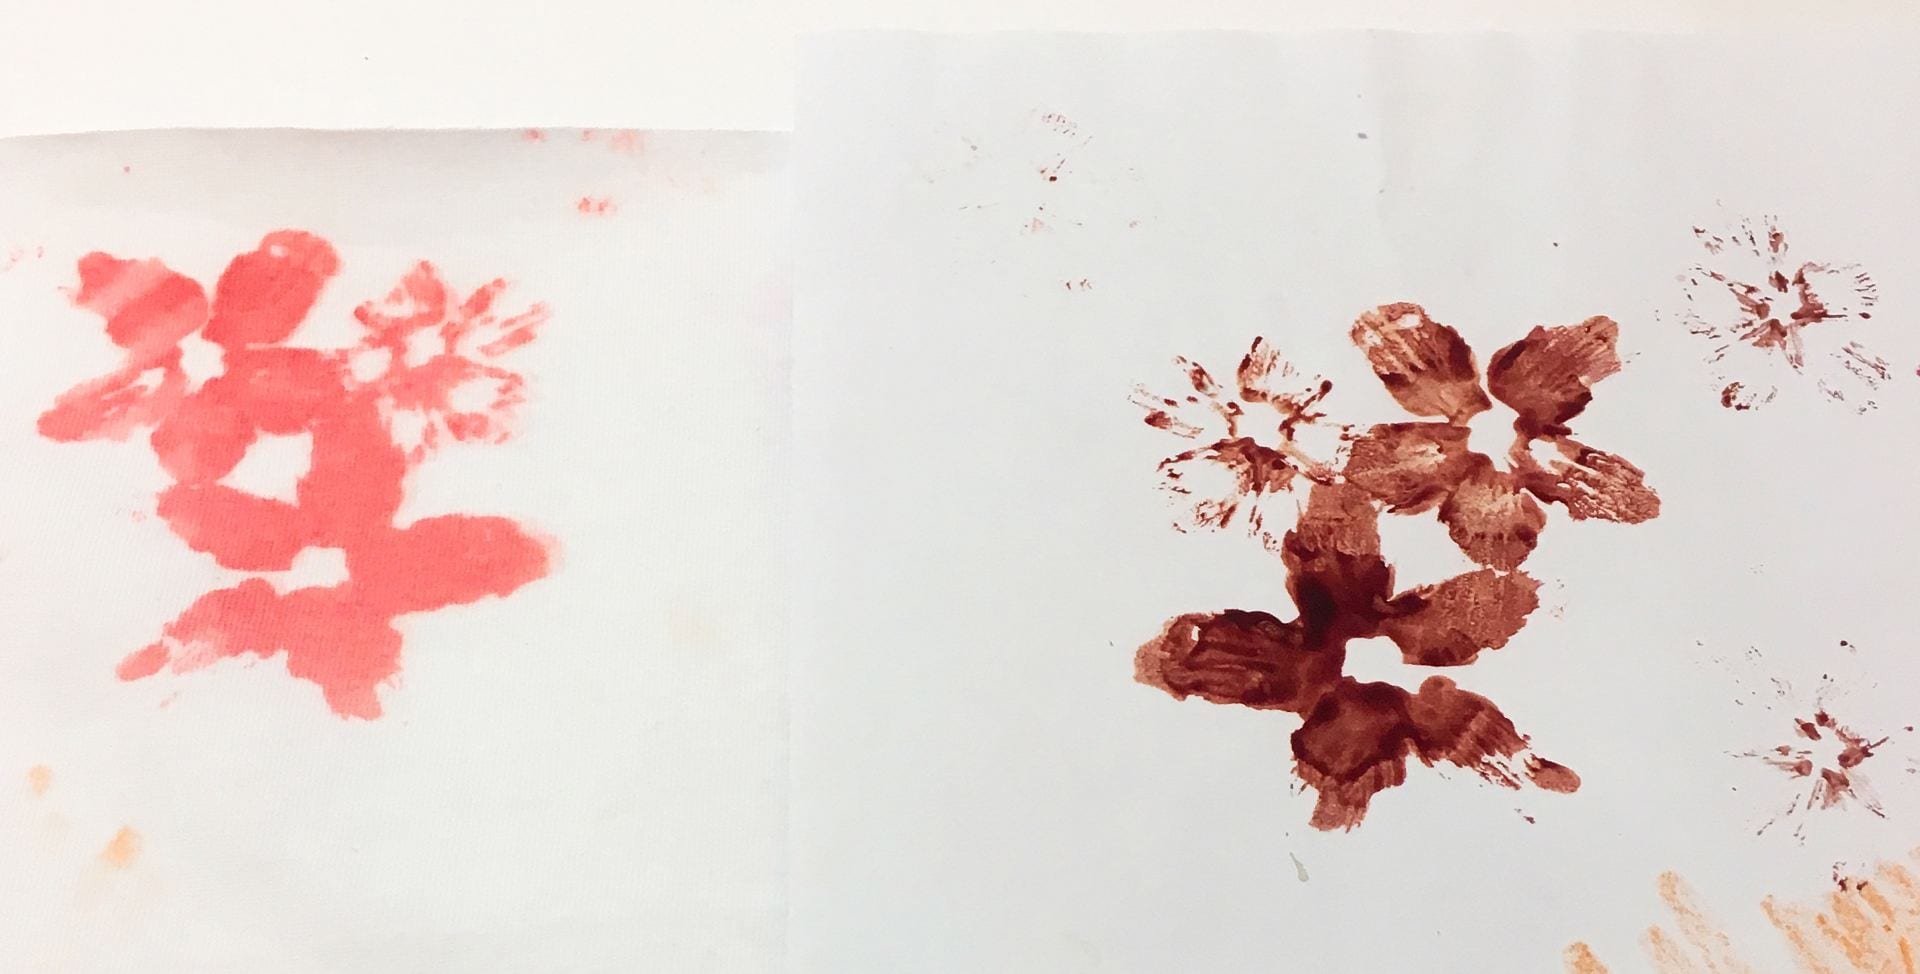
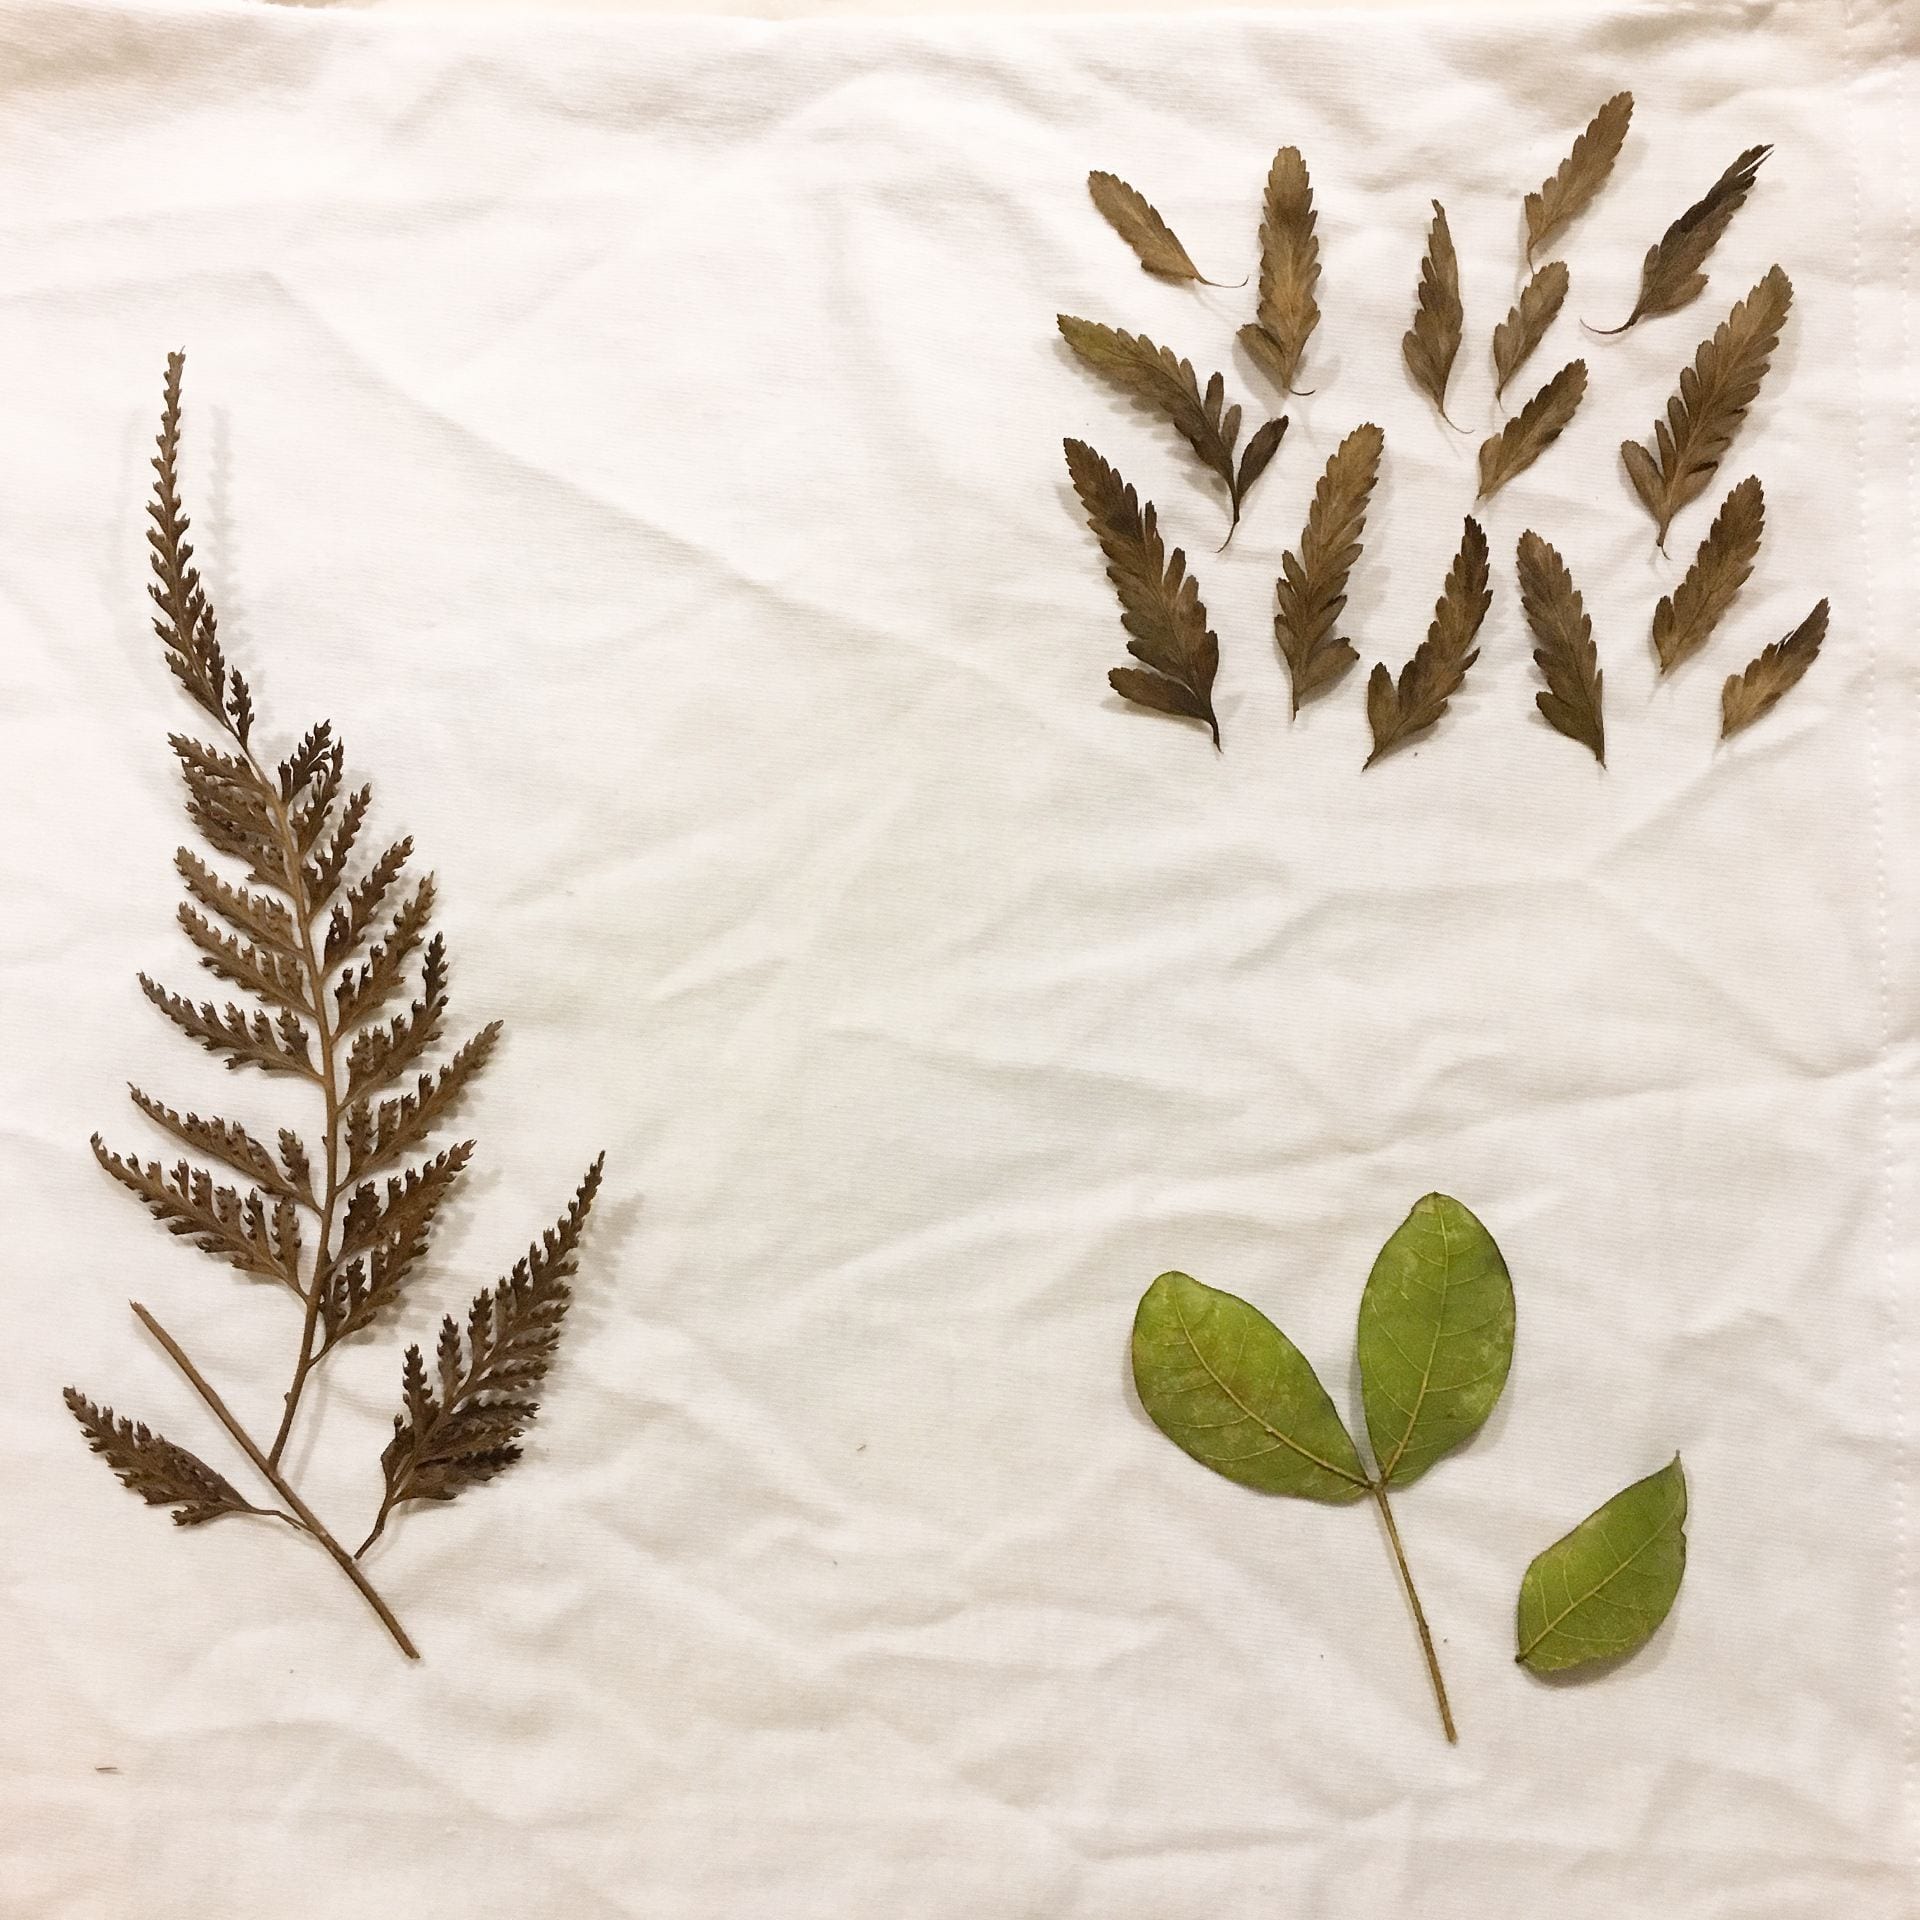
Plastic fusing with fallen leaves

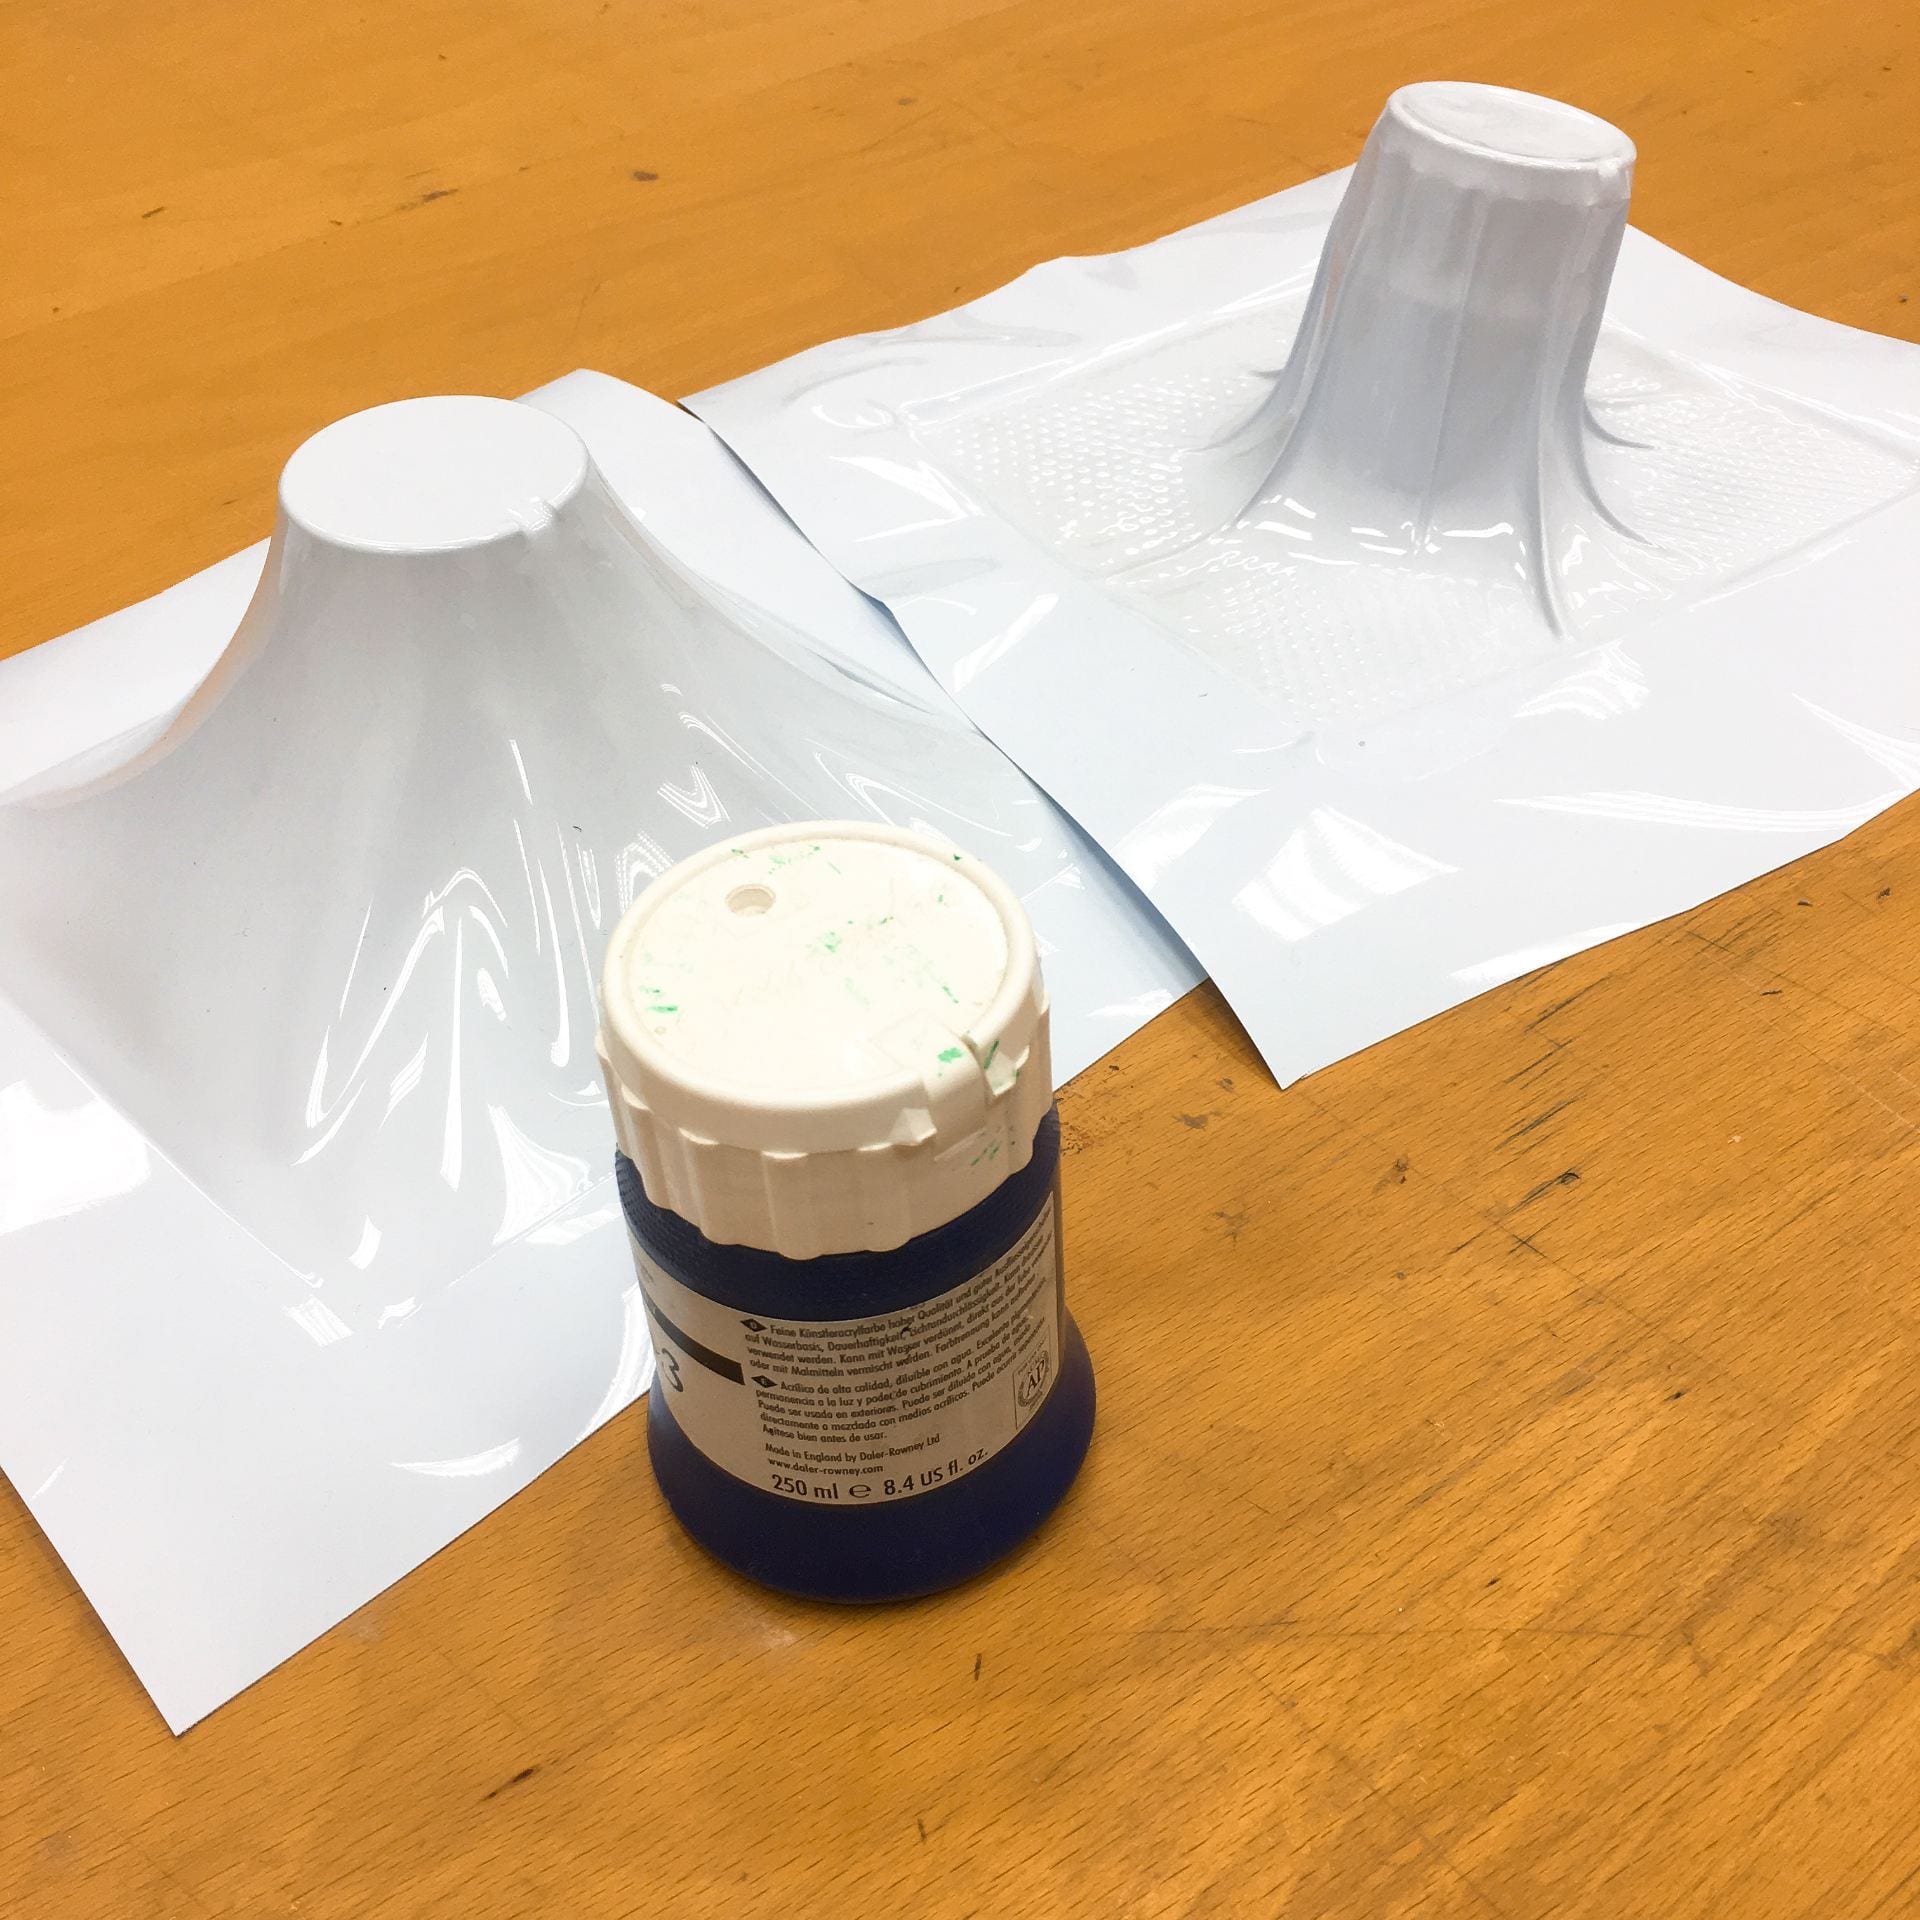
  Picking up some leaves and flower on a rainy day, I decided to test something new by ‘encapsulating’ them in clear plastic sheets. Even though I put more than one sheet of plastic, the end result still had holes everywhere. I trimmed the edges to following the shape and waited to see the colour change in a few days. It didn’t encapsulate as I anticipated but it kind of resembled a frosty leave which was also interesting.


Personal Reflection

  I think fabric of threads was a more organized method since the stiches added onto the design is quite uniform. It can be used to create very intricate patterns with colour variations. Personally I think plastic fusing has a wider range of application and more potential for exploration so that is something I will try in the future.


Lesson 5 Felting and Applique

What is the technique?

  Felting is a non-woven textile that is produced by matting, condensing and pressing fibres together. Felt can be made of natural fibres such as wool or synthetic fibres such as acrylic. There are many different types of felts for industrial, technical, designer and craft applications. While some types of felt are very sift, some are tough enough to form construction materials. Felt can vary in terms of fibre content, colour, size, thickness, density and more factors depending on the use of the felt.

  • Wet felting Felt is made by a process called wet felting where the wool fibres, stimulated by friction and lubricated by moisture (usually soap water). The process takes advantage of the inherent nature of wool and animal hairs. They are made up of unidirectional scales, and they are also naturally kinked. It is the combination which reacts to the friction of the felting process, forcing the hairs to lock together. An artificial felt with a minimum of 30% wool fibres would work as well.
  • Needle felting creates felt without the use of water. Special needles are used as a sculpting tool, which have notches along the shaft of the needle that grab the top layer of fibre and tangle them with the inner layers.

  Applique is a sewing technique that involves stitching a small piece of fabric onto a larger one t make a pattern or design. It is commonly used as decoration, especially on garments. The technique is accomplished either by hand or machine.


What are the relevant materials needed for the technique?

  • Wet felting: wools of different colours; soap or detergent; hot water
  • Needle felting: wools, felting needle, sponge or foam block
  • Applique: Sewing needle & thread/sewing machine, larger piece of fabric as base and smaller pieces


How to achieve technique?

  Wet felting: Firstly, arrange and add layers of wools as preferred on a sheet that covers the table. When ready, add few drops of detergent or soap water and pour hot water over to soak it. Start to rub the piece and form a denser and tighter piece; Do a pinch test to find out whether it is done fully and then wash it.

  Needle felting: Take the wools and lay them down on the sponge or foam board; slowly pock the fibres together to shape it; Use hand to hold up and help with the form and then pock areas to secure the shape; work around and make sure it is tight and dense at all part.

  Applique: Simply cut out shape of smaller pieces of fabrics and place them on the base piece as desired (pinned down if needed); Hand sew or use a sewing machine to stich the edges of the patterns to secure them onto the base fabric.


What are the uses and applications of the technique?

  Felting could be used to make clothing, footwear, rugs and even tents. The end result could be flat or 3 dimensional and it could be soft or has a rather strong structure and rough surface.

  Applique is particularly suitable for work which is to be seen from a distance, such as in banner-making. A famous example of appliqué is the Hastings Embroidery. It is used extensively in quilting (the process of sewing two or more layers of fabric together to make a thicker padded material).


Experiment

Prepare materials for felting

  The first one we tried in class was wet felting as shown below. And I turned it into a shell-like form by pocking it with the felting needle, combining the two techniques.

More felting

  I found it very convenient to add some soap water to accelerate the bonding process before using needle. And I also learnt from videos from YouTube that the felt wool can be placed in a freezer bag. After adding soap water, we can roll up the bag and it made the process easier and much less messy.


Applique

  I tried and tested different kinds of stitches on scrape fabrics and as shown below, there were many types and the stitch distance was adjustable as well. When I made the stitch distance closer to zero, the machine actually kept getting stuck so I went on testing with wider distances. The difference was clear in the two heart shapes below. (One with straight stitch and the other with ZigZag stitch)

  I knew about the blanket stitch when I was searching for ways to secure edges of batik pieces. It could be done with the sewing machine but I preferred to actually hand sew them as it wasn’t complicated.


  Besides these, I also wanted to practice using the sewing machine so I decided to make a simple tote bag. I selected and bought the material that I liked and used the MagicTouch sheets to print some designs for the bag. The fabrics were measured and cut out. And then I sew them together and flip it inside out as shown below.

  And just for fun, I also made three felt balls and hand sew them onto the MUJI totebag that I used for transfer printing before. I think the colors matched nicely with the bag and the print.


Personal Reflection

  Personally I really like felts not just because of its texture but also the fact that it is non-woven and can be bonded pretty simply. I found wet felting very efficient to create colourful pieces and I liked how the colour blend smoothly on its own. Needle felting allows us to make solid and refined 3 dimensional shape and it also could be used to add more detailed to a wet felting piece. Even though needle felting is quite laborious, I found the process quite therapeutic and I really enjoy the fluffy and warmth of the material.

  Applique is also a very interesting technique and it could certainly create all kinds of patterns with different stiches available. Mixing and matching fabrics with different colours, thickness or patterns allow endless opportunities to be explored.


Lesson 4 Thermoplastics and vacuum forming

What is the technique?

  Thermoplastic refers to the quality of a fibre whose molecular structure breaks down and becomes fluid at a certain temperature, making it possible to reshape the fabric by pleating, moulding or crushing. The fabric is ‘fixed’ on cooling and cannot be altered unless heated to a temperature greater than the one at which it was reshaped.

  Vacuum Forming is a simplified version of thermoforming, whereby a sheet of plastic is heated to a forming temperature, stretched onto or into a single-surface mould, and held against the mould by applying vacuum between the mould surface and the sheet.


What are the relevant materials needed for the technique?

  Thermoplastic:

  • Polyester fabric
  • Aluminium foil
  • Rubber bands
  • Moulding objects or template (e.g. marbles, laser cut shapes, yupo paper origami)
  • A pot for boiling

  Vacuum Forming:

  • Thermoplastic sheet (e.g. PVC)
  • Scissors that cut plastic
  • Objects for moulding
  • Vacuum forming machine


How to achieve technique?

Thermoplastic:

  Simply reshape the polyester fabric by all sorts of creative ways such as twisting, wrapping on marbles etc; Secure them with rubber band and wrap the parts with aluminium foil and then tie with rubber bands; Put the pieces inside the boiling water and let it heat for at least 1 hour or longer depending on the quantity and size; Take out the piece, unwrap and wait for it to cool down and dry.

Vacuum forming:

  Preheat the vacuum forming machine; In the meantime, cut out PVC sheets based on the template provided; place object in the center in the machine, load it down, insert the sheet and lock it in place; heat up the sheet until it was flat after being wavy and push back the heater part; use the handle to move object up and press button at the same time; take out the finished piece and trimmed the edges.


What are the uses and applications of the technique?

  Thermoplastic can be used to form all kinds of shape, either organic or uniform depending on the mould used; It can create a volumetric fabric and add texture to be part of a wide range of products such as dresses, bed sheets accessories and etc.

  Vacuum forming is made with thermoplastic to create products including enclosures, packaging, helmets and baths. In terms of the small machine and material provided in school, we could use it to make packaging as well as moulds for resin casting.


Experiment

Thermoplastic:

First trial during lesson

  As shown in the above images, I tried different objects to reshape the polyester fabric, including marbles, key rings, bells and the other was simply by pinching the fabric up and tied it.

    The metal objects rust after boiling and stained slightly on the inside of the fabric so that was something to be careful about. The patterns turned out really nice especially with the metal rings where it had stacking layers of circles. This added depth and volume to the fabric.

Second trial

    The second time, I tried to create patterns with paper clips and I did it on both the organza and a mixed fabric (probably cotton & polyester) to see what the differences were.  I also put the marbles from both sides of the fabric to explore the form. 

   The red organza with marbles on both sides turned out quite nice and it was more 3 dimensional and bouncy. The mixed fabric surprisingly held the shapes of the objects but it was not quite able to maintain if I stretched it.

Origami Template

  We also learnt that we could use a plastic sheet known as Yupo paper to fold origami and used it as the polyester template. Firstly, I drew up the pattern on my computer and used a laser cutter to produce the accurate template. This step took some trial and error time to adjust the power & speed of the cutter. And lastly I had a fold-able sheet of simple origami as shown below.

    I realized that normally two pieces were used as the template when I had already set everything up. Therefore I tried my best to fit the organza onto the template bit by bit and added couples of rubber bands to secure it.  The organza was cut to the size of the flatten piece of the origami. And the result was quite successful and neat.


Vacuum Forming:

Templates in two sizes

Trial and errors

  I tried vacuum forming with different objects as shown below. Some of the cylindrical objects actually formed a smooth slop around the object as I pressed pump when it was forming. Even though it didn’t  fit tightly on the surface, the results were quite interesting. One of the piece broke as the air was trapped inside the small space in the center. Besides these, I also tried vacuum forming to make moulds for resin.


Personal Reflection

  Boiling and reshaping polyester fabrics creates very volumetric pieces. I found it quite useful that it can be turned into both organic or organized patterns and the end result is also very stretchy and interactive. Even though it was quite time consuming and repetitive to prepare the template objects, it was a relatively simple technique to achieve nice effects.

  In terms of vacuum forming, I believe it is useful to create packaging as well as resin moulds. The objects we choose for moulding should be able to withstand heat, otherwise the plastic sheet would slant sideway. We could also combine objects and create more interesting form.


Lesson 2 : Transfer Printing

What is the technique?

  Transfer printing is the transference of an image to fabric or other materials (wood, plastic, glass, ceramics etc.) via a subtrate. Image is transferred via heat and pressure. The technique relies on the fact that dyes sublime when heated which is sometimes also known as sublimation printing. And below are the types of technique we learnt:
  • Dry Transfer
  • Wet Transfer
    • Direct Transfer Printing
    • Indirect Transfer Printing
  • Digital Transfer


What are the relevant materials needed for the technique?

  • Paper
  • Baking Paper
  • Iron/Heat Press Machine
  • Flat objects to create pattern (e.g. leaves, threads, feather etc.)
  • Fabric or any other intended medium to be transferred onto
  • Dry Transfer: Fabric Crayons
  • Wet Transfer: Transprint Inks, paper, brushes
  • Digital Transfer: The MagicTouch Transfer Media (TTC 3.1 for light coloured fabric, CPM 6.2 for non-fabric hard surfaces)


How to achieve technique?

Dry Transfer:

  Draw pattern with fabric crayon (e.g. rubbing technique) on paper; place fabric at the bottom and then the paper with pattern facing the fabric; lastly put one piece of baking paper on top and then iron it evenly

Wet Direct Transfer:

  Simply paint flat objects such as leaves with Transprint Ink, place them on the fabric with the coloured side down and then iron it.

Wet Indirect Transfer:

  Paint the paper with Transprint Ink and cut to the size of the design; place fabric at the bottom and then put the flat objects to block the transferring to create the empty space in the design; place the paper with ink; lastly put one piece of baking paper on top and then iron it evenly

Digital Transfer:

  Using computer software to create pattern (remember to mirror the original image for printing) and then print them onto the A4 MagicTouch medium; Turn on the heat Press Machine and wait for it to reach designated temperature; Similarly place the fabric or other material down first (for material that is not perfectly flat, we can place a piece of fabric at the bottom first to make sure a good contact of the two surfaces); lastly set the timer and start the heat press; we can remove the MagicTouch with either hot peel method or cold peel depending on the result we like 


What are the uses and applications of the technique?

  Transfer Printing is used to create all sorts of patterns on different kinds of medium, ranging for common merchandise such as shirts, hat, mugs, ceramic as well as wood provided the material can withstand the heat used in the process of making and the material can have good contact of the print; The end product can have very decorative flat design.


Experiment

Preparation and crayon rubbing patterns on A4 paper


Paint directly using brushes on a mushroom


Indirect transfer patterns

  I brushed the objects with different colours and folded the piece of paper to create the interesting pair of patterns. The mushroom also produced a very nice shaper with details, much like a jelly fish.


4 pieces of Transprint Ink paper

  I tried to create different kind of textures and was curious to know how they would turn out.


Test prints on cotton (Using Iron)

  For the Transprint ones, the colours were quite different from those on the paper and it took quite more than a minute to have the patterns transferred completely with an iron. The texture drawn as shown above didn’t show very well.

  The Crayon ones were quite clear and fast with the Iron. Although I did think normal crayons work too and took quite long trying to iron the drawn pattern.


MagicTouch Prints (Using Heat Press Machine)

  I printed 3 A4 MagicTouch TTC3.1 & 1 CPM6.2 and then cut out individual patterns. I also prepared different types of materials to be printed on, including polyester, cotton, MDF, plywood, Acrylic sheet, faux leather and aluminium sheet and etc.


Temperature: 215

Duration: 30s on cotton &Hot Peel

  The first attempt seemed quite successful so I proceeded to print on a MUJI bag (made of cotton) with the same setting.

  However, the image of the owl was not able to be transferred after I repeated the process twice. It was quite clear though that there was still quite a bit of ink remaining on the print.


  The print on the left went well despite the colour turned greener. On the right, the blue was not as vibrant. I tried to overlay the previous bag with the green Transprint Ink piece for 35 seconds and it turned out better.

Using the same setting, I also did testing on Polyester fabric and the results were very nice. However, the white borders were also very obvious on this fabric and I think we need to trim the paper precisely to the edge if we only want the design without background. I also noted that we need to mirror the image before printing.


Temperature: 183

Duration: 1min plus on Acrylic & Hot Peel

I was curious to find out what the other side of the print be like so I tried on a sheet of clear acrylic. The acrylic sheet started soften and warped after cooling down.


Temperature: 180

Duration: 50s for plywood; 30s for faux leather

I cut out the honeycomb pattern and transferred it onto plywood and faux leather and both looked quite nice. The faux leather had a bit sunken in at the pattern but it was quite interesting.


Temperature: 180

Duration: 1min on aluminium Sheet

The design turned out very nice on the aluminium sheet as shown. I cut out small strips of patterns to test whether the colours can be overlaid.


Temperature: 180

Duration: 50s for plywood & MDF

However, the design didn’t turn out well on darker coloured material as shown. The MagicTouch Medium we used were mainly for light-colour material only. After repeating the heating process, it was still missing details and unfortunately the wood also started to warp.


  After the field trip to MagicTouch Lab, I decided to try printing on white fabric again. This time, I ironed all the fabric first and adjusted the knot to max pressure for the heat transfer machine. The test print with a smaller piece went pretty well as shown above so I proceeded to print on a white shirt I brought. However, despite the exactly the same setting, the three parts turned out very differently.

Personal Reflection

  I feel that this technique is very useful to create colourful decorative pattern; There will be colour difference from the original to the transferred material so maybe it is good to test out the colours before implementing onto final design; I realize that using Transprint Ink has the most vibrant colours compared to the others; Crayon has a very nice sketching doodling feel to it but the fabric crayons actually can’t create too detailed, accurate and intricate design as compared to digital print; Digital print actually depends largely on the materials used and it takes trials and errors to find out which combination(colours, types of patterns and materials) is the best. Personally I prefer the print on cotton fabric as well as leather.


Lesson 11 Field Trip to STPI

STPI Gallery
Date: 1 Nov 2018

  STPI is short for Singapore Tyler Print Institute. They holds every artist & residence Programme for 4 weeks where they invite artists from different fields to create works in their basement workshop. The artists would create works with prints in their own styles and exhibit them in the gallery upstairs.

Image result for aaron curry artistAaron Curry playing a Gretsch Masterbuilt Penguin guitar at his studio in Hollywood, California.

  The artist on exhibition was Aaron Curry, a Los Angeles-based artist whose work explore the boundary between painting and sculpture. According to the tour guide, he spend his early life in Texas without books, arts or money. Mundane objects such as keys & bones thus have a huge influence on his subject. Later he went to LA for art study and his life changed with a museum visit where he shifted from a painter to a sculptor, inspired to explore in between 2d & 3d.


  As we can see clearly, his works  contained lots of pop neon-colors that was artificial. Shapes and patterns contained lots of body parts. There was energy in the vibrant colors and shape in his works. The process of his creation started with sketching on paper. Then he digitized them & made refinement and made a stencil based on it. He would cut sinfra PVC and dibond into shape and then coat them with paper pulp. After spraying paint, he added the silkscreen print to finish. All the pieces on show were selected from many same pieces made. Therefore each single piece is unique.

  Besides the exhibition, we were also shown around the basement workshop but no photograph was allowed. There were all kinds of equipment & tools to use to product print arts such as hydraulic elephant press, paper mill and there was also an acid room.


Lesson 7 Field Trip to MagicTouch

 MagicTouch Printing
Date: 27 Sep 2018

  During the field trip to TheMagicTouch store, the staff there Leon presented to us with a ppt. on basic knowledge on printing such as differences between RGB and CMYK. He also brought up the importance concept on the white. When we print on the transfer medium, the paper we use is default white and therefore whatever white design would be just left blank. There is no white printed on the transfer medium. When we transfer it to a non-white material, the white is no longer there. To solve this problem, they used printer with a special white toner that actually prints the white part.
Besides, he showed all kinds of transfer medium and some applications. With printing of etching circuit board and combination of a fabric transfer, they made a Santa with trees that actually lights up on the shirt. Another useful tip he mentioned was to print stitching lines or any other guideline with MagicTouch as it would make the making process especially alignment much easier.

  He also demonstrated a new transfer medium called RST9.1, which can be transferred onto wood with just water and spray adhesive. This could be done using normal method with a heat press as well.
At the end, we asked him about some of the issues we had with transfer printing. Below is a list of things to take note:
• Adjust pressure of the heat press; it is important as the medium needs better contact with the materials and we need to adjust to fit objects with different thickness
• Preheat the fabric before transferring
• When peeling off after heat pressing, peel according to the fabric grain direction not across it