Help
Follow below instructions to document your fieldwork under “Pre-Trip Projection“, “In the Field” and “Post-Trip Reflection“. If you need more help, email NTU Libraries New Media Team at nmg@ntu.edu.sg or your Librarian, Jenny at jennywong@ntu.edu.sg.
- Go to : https://blogs.ntu.edu.sg/fad2017/wp-admin/
- Login using your NTU username and password.
- Upon successful login, you will be routed to the administrative panel or dashboard of your blog site.
The default profile shows your NTU username. To update your profile,
- click on your username on the top right corner of the page and then select “Edit my Profile”.

- Insert your First Name and Last Name and set your Display Name
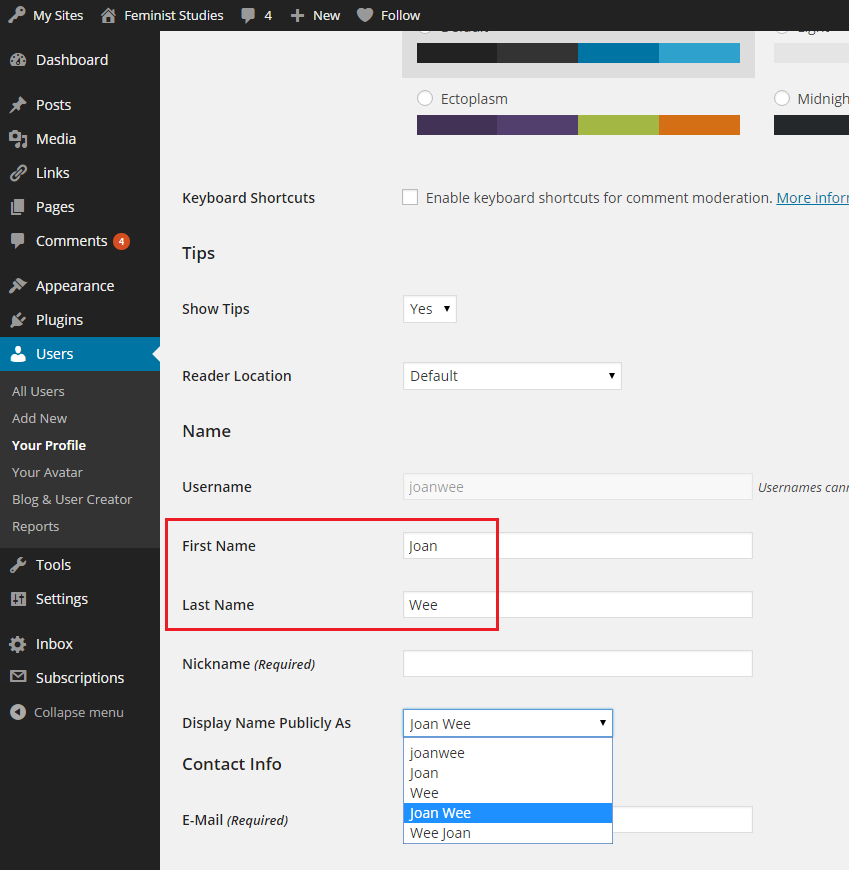
- Scroll down and click “Update Profile”
- Enter a title of your post.
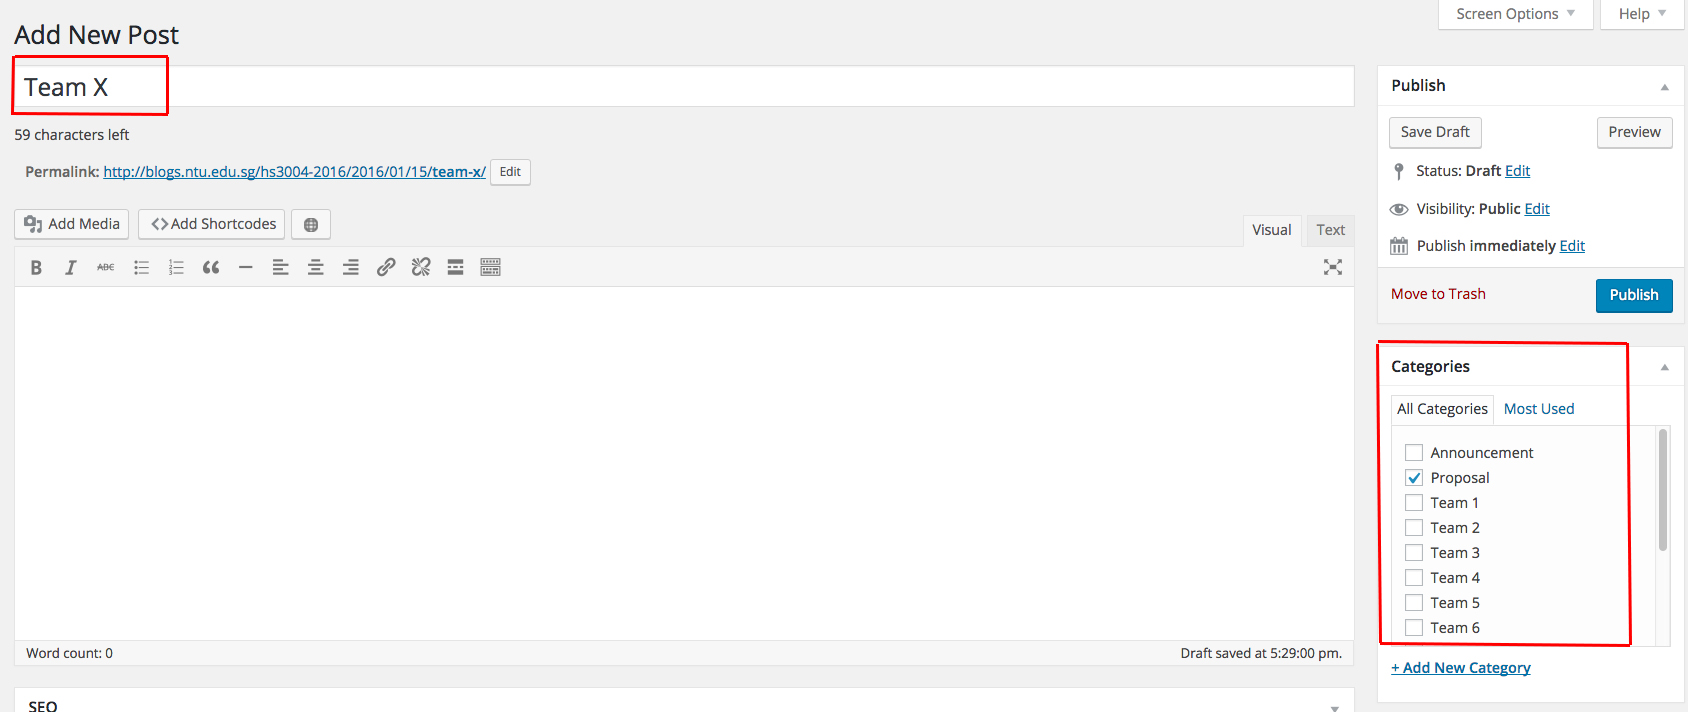
- nter your post content using the post editor. There are two modes of editing: Visual and Text. Choose the mode by clicking on the appropriate tab. Visual mode gives you a What-You-See-Is-What-You-Get (WYSIWYG) editor. Click the
 icon in the row to get a second row of controls. The Text mode allows you to enter HTML along with your post text. Please note that typing or copying HTML codes with visual mode will reformats your html code.To add media into your post
Click
 icon above the post editor to insert media files. You can select existing images and files (e.g. PDF) uploaded to the Media Library, or upload new media to insert to your page or post. You can also edit the image via the Media Library or from the posting. Visit below links to find out:
To embed media into your post
You can also embed media from many popular websites including Twitter, YouTube, Flickr, and others by pasting the media URL on its own line into the content of your post. To learn more about embeds, please visit http://blogs.ntu.edu.sg/creating-contents/embed-content/
To add audio into your post
Click icon above the post editor to insert media files. You can select existing images and files (e.g. PDF, audio files) already uploaded to the Media Library, or upload new media to insert to your post. The default setting when inserting an audio file to your post is “Embed Media Player”. You will noticed the audio file will be embedded as follows:

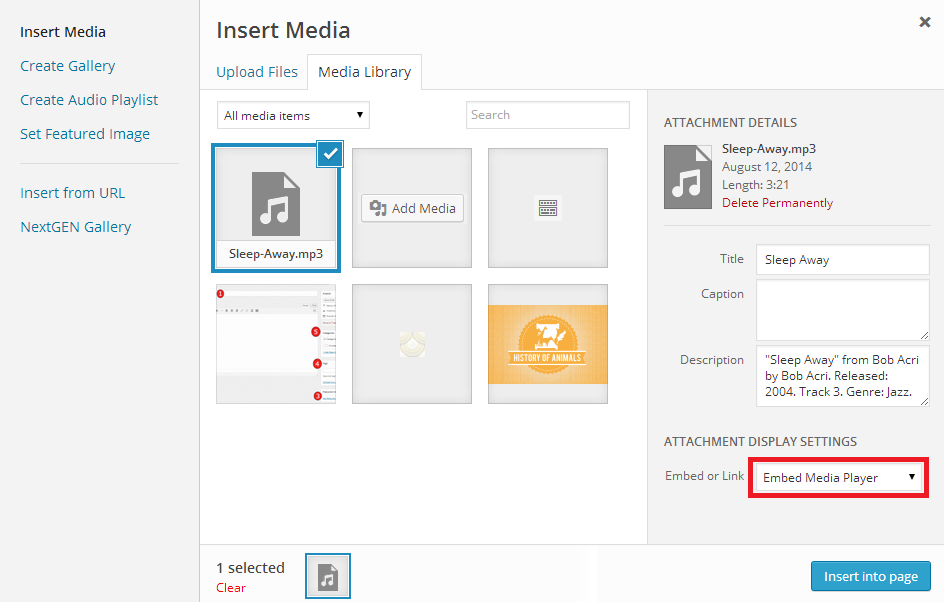
To de-link the file from the player, select “Media File” under “Embed or Link”. You can use a third party platform like SoundCloud to embed audio.
To insert a hyperlink to your post
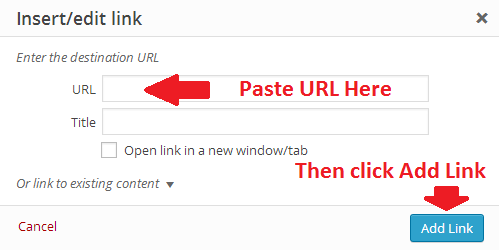
Select the text you want to be hyperlink. Click the link  button. Paste the desired URL into the link field.
To create a table into your post
See here on how you create a table.
- Set category to your post by the related assignment – “Pre-Trip Projection”, “In the Field” and “Post-Trip Reflection”. This is important for your Professor to see what you are sharing accordingly to the related assignment.
- Publish your post. You can set the terms of publishing your post in the Publish box. For Status, Visibility, and Publish (immediately), click on the Edit link to reveal more options. Publish (immediately) allows you to set a future or past date and time, so you can schedule a post to be published in the future or backdate a post.
- Preview your page to see how it really looks like.
To create a good viewing experience for your images, it is highly recommend that you compress the files before uploading them to the blog. You can go to http://tinyjpg.com to compress for free.
To create an image slideshow, simply follow these steps:
- Go to the dashboard/admin panel by adding ‘/wp-admin’ after the URL of the blog. In this case, the URL will be: https://blogs.ntu.edu.sg/fad2017/wp-admin
- To add a new post, go to Posts –> Add New. This will bring you to the post editor.
- In the post editor, click on ‘Add Media’ button located just below the title field.
- Once you click on the ‘Add Media’ button, a popup will appear. Don’t upload your images just yet. Click on the ‘Create Gallery’ link on the left side.

- Upload your images by dragging it to the available space. You can upload multiple images at once. Once finished, you will be able to add caption, alternate text and description.
- You will be able to choose which are the images that you want to include in your gallery. Your current image selection will be reflected on the bottom part of the popup. To de-select the image, simply click on the “tick” icon of the image.
- Once you’ve finished with your selection, click on ‘Create a new gallery’ button.
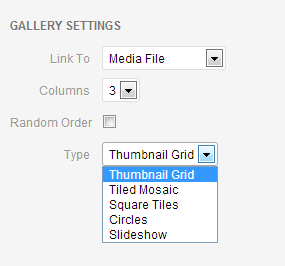
- Here, you will be able to choose your gallery type. Choose ‘Slideshow’. For the ‘Link to’ part, be sure to select ‘None’.
- Click on ‘Insert Gallery’.
- You will be able to see the images line up in the post. Before publishing the post, make sure to choose the proper category for your gallery.
- Click on ‘Publish’ to publish the post.
- Once published, a ‘View Post’ link will appear just above the title field. Click on that button to view your post.
To share other photos of your field trip for your class, go to https://blogs.ntu.edu.sg/fad2017/gallery/ and upload each image with a short caption.
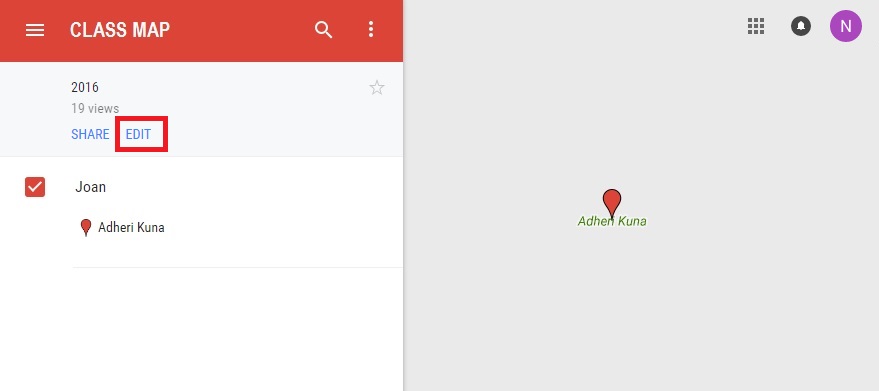
Creating and editing your map
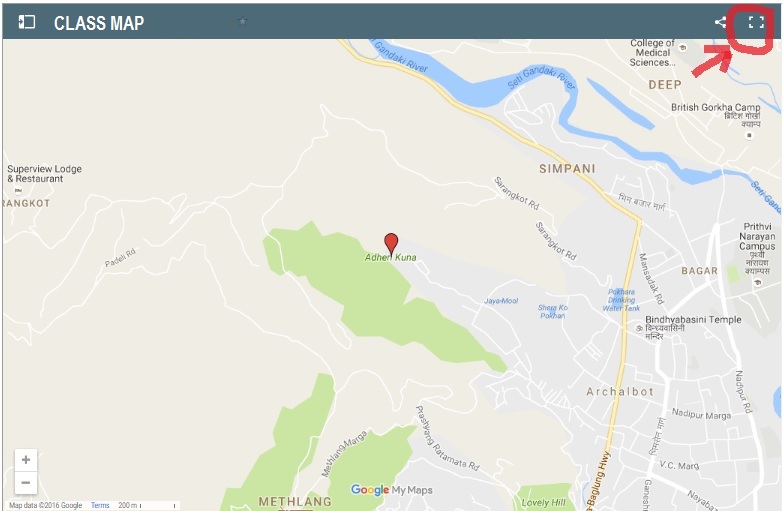
- Go to page “Class Map” and open the embedded map in a new window
- Login with your Google Account to edit your Class Map.
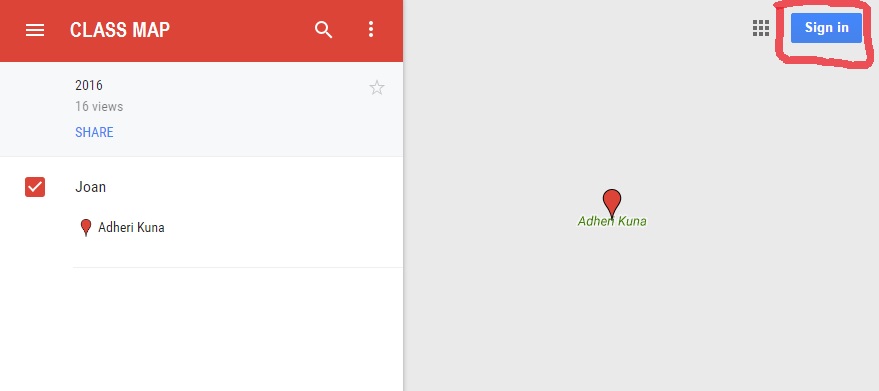
- Once you are login, you will be able to edit the map
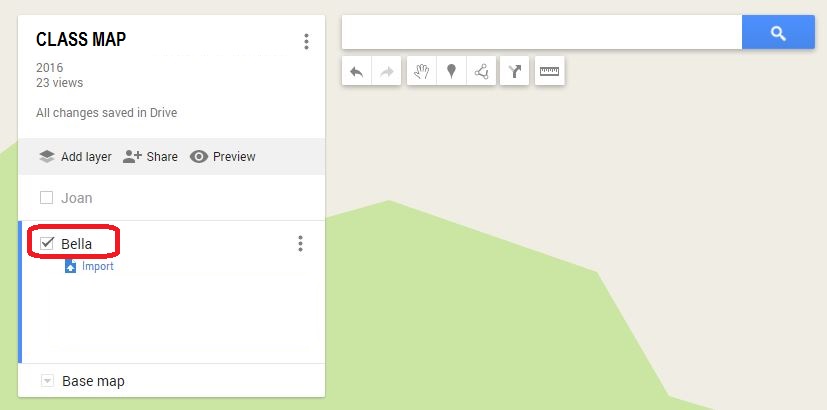
- Each team is expected to create to work on their own “map layer”. Add your own layer by click “Add layer”. to the map.
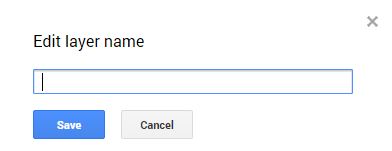
- Click Save.
- To view only your team’s map, make sure only your team’s layer is checked. To edit on your team’s layer, make sure you had selected your layer (indicated by the blue line)
Customising your map
- Use the icons here to edit your team’s layer

- Create a marker first, then you can edit and change it
- You can also change the map view by clicking “Base Map”


Ethics
The Code of Ethics for the Norwegian Press states that as a Content Creator,
you are an important part of the wider public knowledge creation and discussion. This role carries with it a responsibility to be fair, honest and respectful not only toward your fellow members of society but also toward fact…. Above all else your job as a Content Creator is to present fact as fact and opinion as opinion. When creating your own content or when using content from thirty party, it is vital that you had seek the necessary permission and get the appropriate clearances and licenses for your created output like video, images, etc.
Seeking Permission
These include obtaining permission to:
- record, tape or photograph on location
- getting performers’ (including your interviewees) authorization (written or verbal) to use their performance or recording
- Let involved party knows that the content may be shown public.
- Also ensure you have permission from the relevant authorities if you are filming in publicly accessible privately owned spaces, such as a shopping centre, museum or library.
Using of Third Party Content
- Third party content is material that has been created by another person or organisation, and to which you do not own copyright.
- You should not include extracts or clips from other videos, e.g. commercially bought CDs, DVDs, mp3 files or material that has been uploaded to the internet.
Copyright
What is Copyright?
- Designed to encourage scientific discovery, the arts, and creativity
- Protects your right to make money from your efforts
- Similar to property rights (can be assigned)
- Gives you the right to copy your own works
- Allows you to copy others’ works, in certain circumstances and with restrictions
What is Creative Commons License
A Creative Commons (CC) license is one of several public copyright licenses that enable the free distribution of an otherwise copyrighted work. A CC license is used when an author wants to give people the right to share, use, and build upon a work that they have created.
Resources
Videos / ImagesMusic
You must be logged in to post a comment.